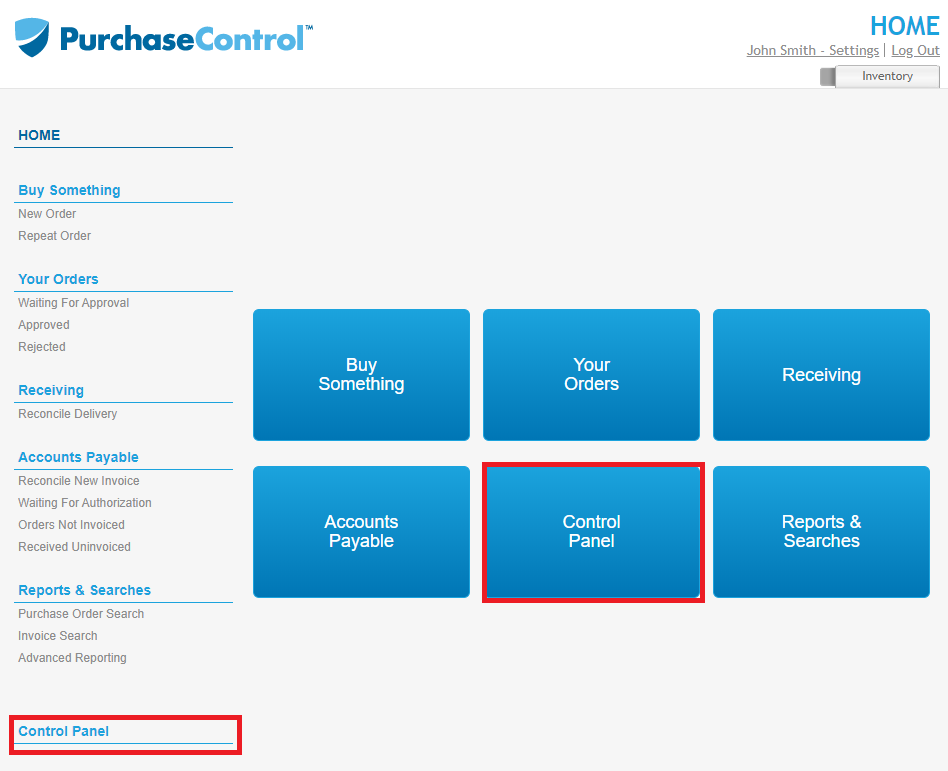
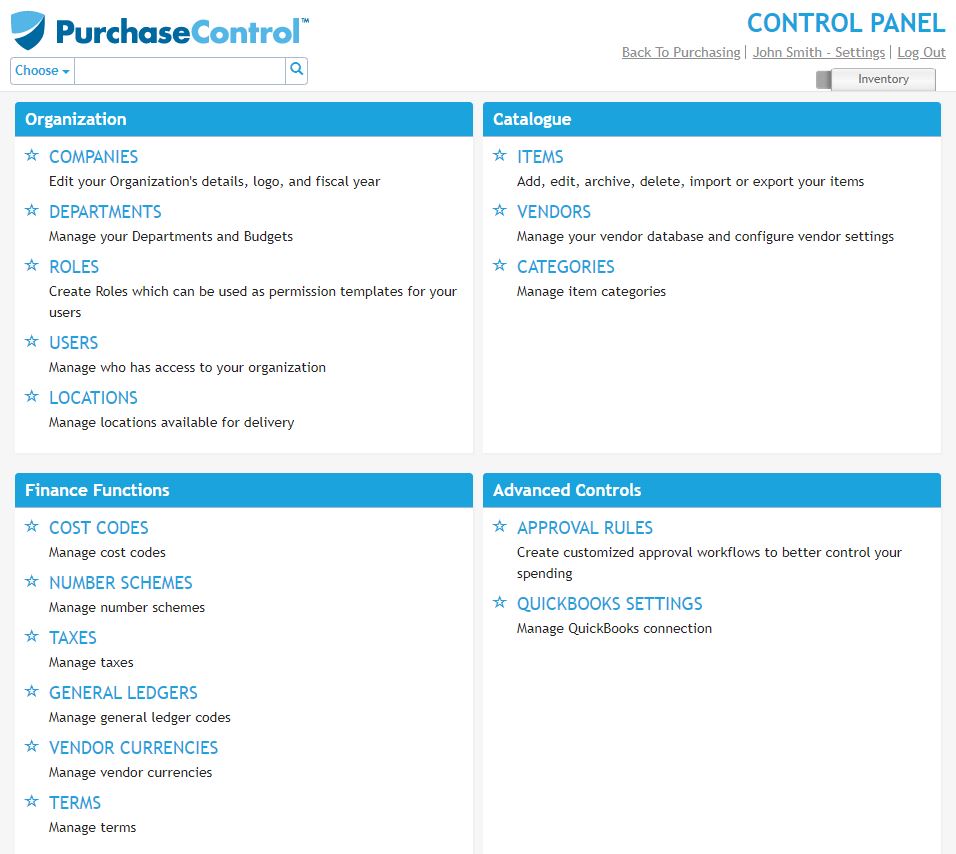
The Control Panel in PLANERGY is where you can update the settings and add to the information in the system. A user with a System Admin role will have full access to this area of the system but other users may have access to only certain sections of the Control Panel.
To access the Control Panel you need to select it from the main menu, if you do not see this option you do not have access to the Control Panel.

This is the screen you will see, the Control Panel home page.

When starting out using PLANERGY there is some information that you will need to add before the system will work correctly. The initial setup of PLANERGY will contain some information already but before beginning to use the system you should ensure the system is fully ready by following these steps:
- Step 1 – Setting up currency
- Step 2 – Setting up main company
- Step 3 – Setting up departments
- Step 4 – Setting up users
- Step 5 – Setting up vendors
- Step 6 – Setting up items
- Step 7 – Setting up delivery locations
- Step 8 – Setting up Cost Codes
- Step 9 – Setting up GL codes
- Step 10 – Setting up roles
- Step 11 – Setting up approval rules
- Submitting tickets to support
