Admin Quick Start Guide – 05 – Step 5 – Setting up vendors
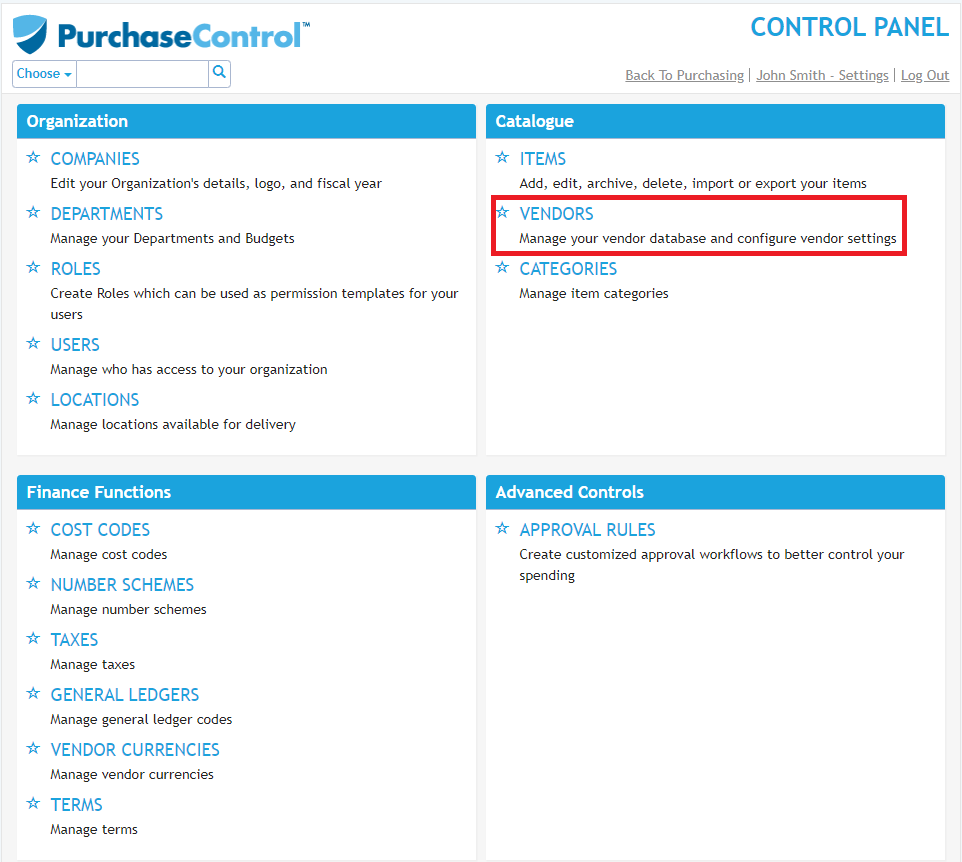
As part of the initial set up of PLANERGY you will have one vendor automatically set up in the system with minimal detail – PLANERGY. You can make changes to your vendor settings and add additional vendors to the system from the Vendors section of the Control Panel.
Adding a New Vendor
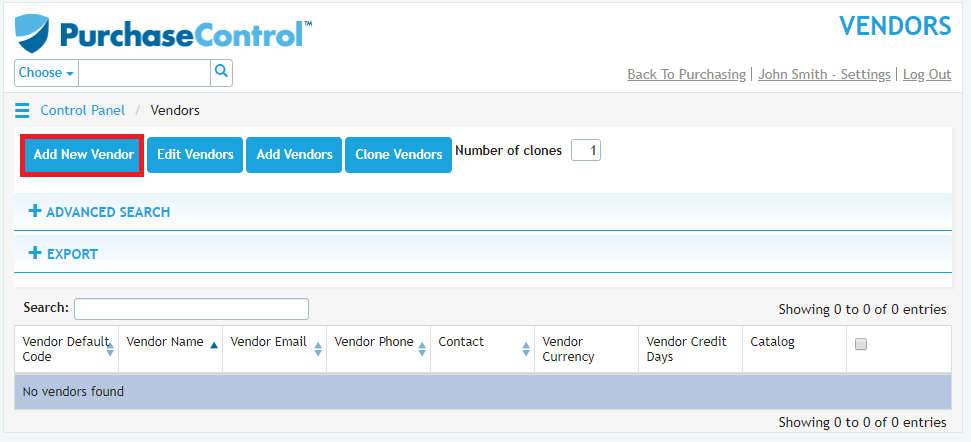
To add a new vendor you need to go to the Vendors section of the Control Panel. Click the blue Add New Vendor button at the top left of the page.
This will bring you to the Add Vendor page where you will need to fill the vendor details – name and default code are the only required fields. The other fields for the vendor are optional.
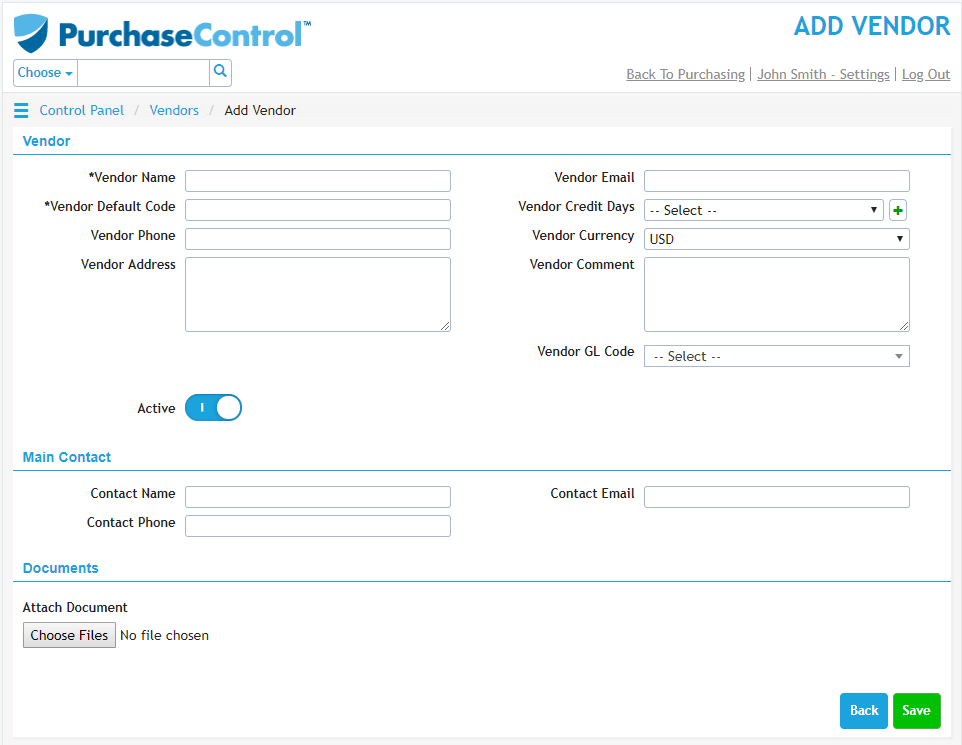
Terms and Currency for the vendor can be restricted. By default these will be left open to be assigned when creating an order but if a specific terms or currency is assigned to a vendor all orders created for that vendor will automatically be assigned with the correct terms and/or currency.
If the option ‘– Select –‘ for either field is selected no restriction will be in place when creating orders for the vendor.
There are a number of default terms available to select from in the system but you can also add new terms if required by clicking the green plus symbol beside the terms field.
A popup window will appear allowing you to add a new terms into the system. The window asks us for two values, Term Name and Term Value, only Term Name is mandatory. Fill in the details and click the green add button at the bottom right of the popup. After this the terms will be available to be selected for the vendor and will also be available when creating a new order in the system.
If you want to edit term for a vendor, go to Finance Functions and click on Term. You will get the list of terms used in the system and the editing logic remains same, but with exception that we must choose which term to edit and click on appropriate edit button. Again we get a similar popup as for create but with few exception. First there are values there since we’re editing a term, and secondly this popup allows us to Archive it.
The codes section is where you can set the code the vendor will be assigned with. For a single company setup or when the vendor code is the same for the vendor in all companies in the system you will only need to assign a default code.
If you use a different vendor code in different companies for the vendor you can assign additional codes per company as required. If no additional codes are set all companies will use the default code.
When you have the details filled as required if you click the green Save button at the bottom right of the page the vendor will be added to the system.
Editing a Vendor
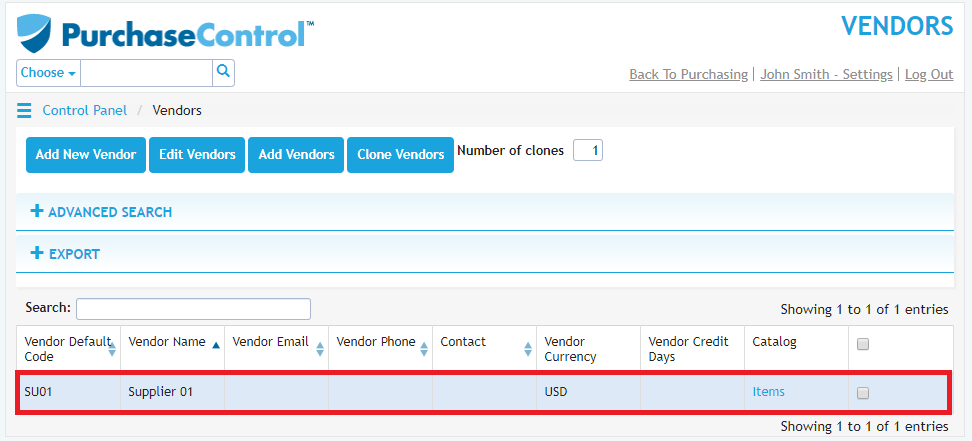
To edit a vendor you need to go to the Vendors section of the Control Panel. Click on the vendor you want to edit in the list of vendors.
This will take you to the Edit Vendor page for that vendor.
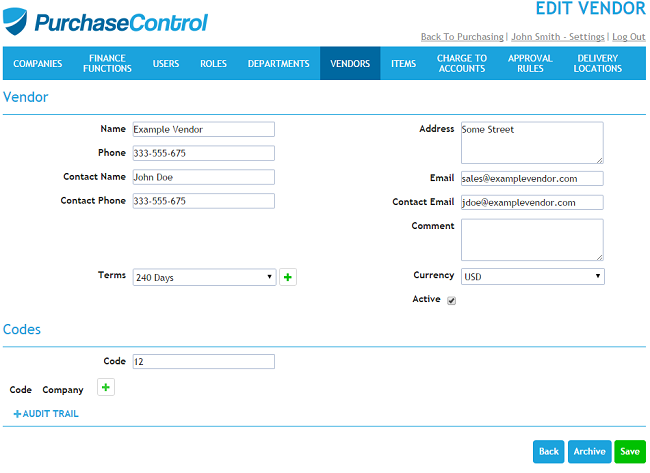
You can edit any details as required and then click the green Save button at the bottom right of the page to save the changes you have made.