Admin Quick Start Guide – 04 – Step 4 – Setting up users
As part of the initial set up of PLANERGY you will be set up as a user with full access to the system to allow you to set the system up and make any changes needed. You can make changes to your user settings and add additional users to the system from the Users section of the Control Panel.
Adding a New User
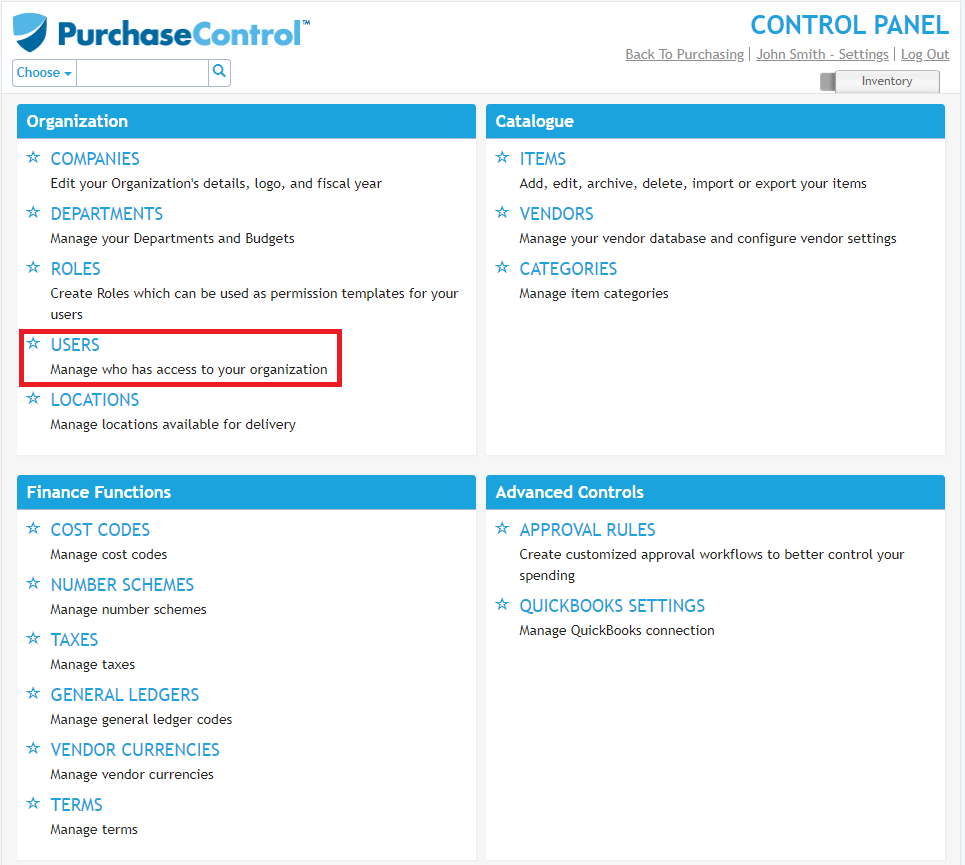
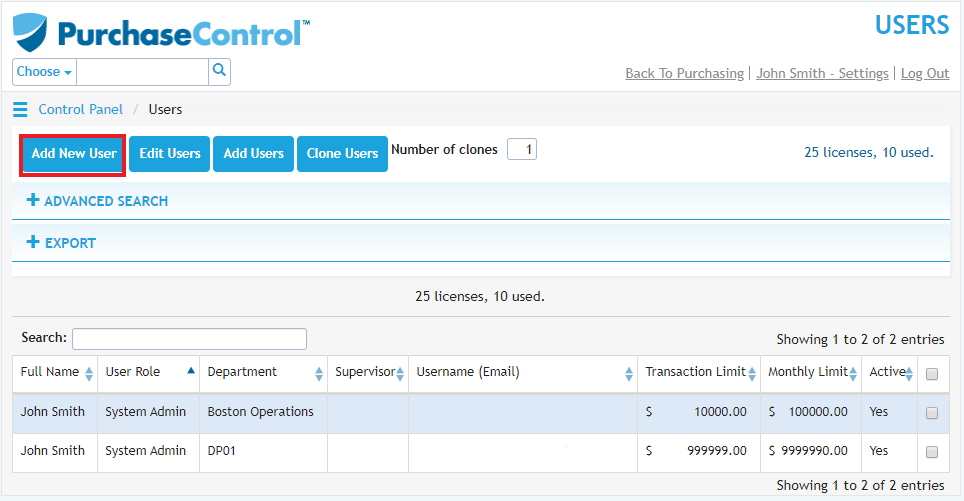
When adding a new user you need to go to the Users section of the Control Panel. Click the blue Add New User button at the top left of the page.
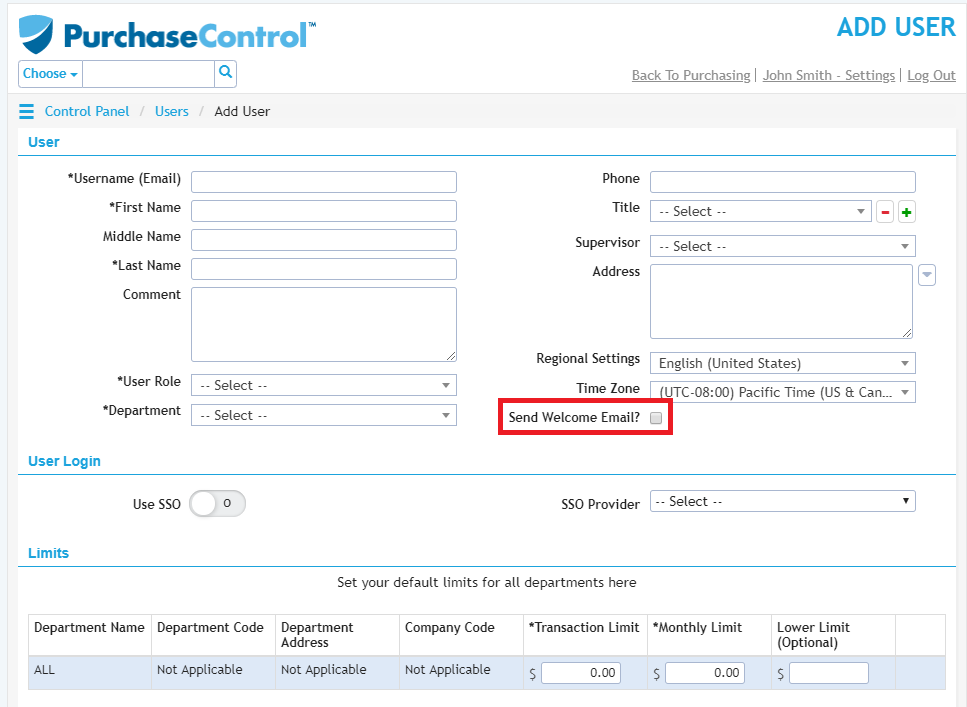
This will bring you to the Add User page where you will need to fill the user details – email, first name, second name, role and department are required fields. The other fields in this section are optional.
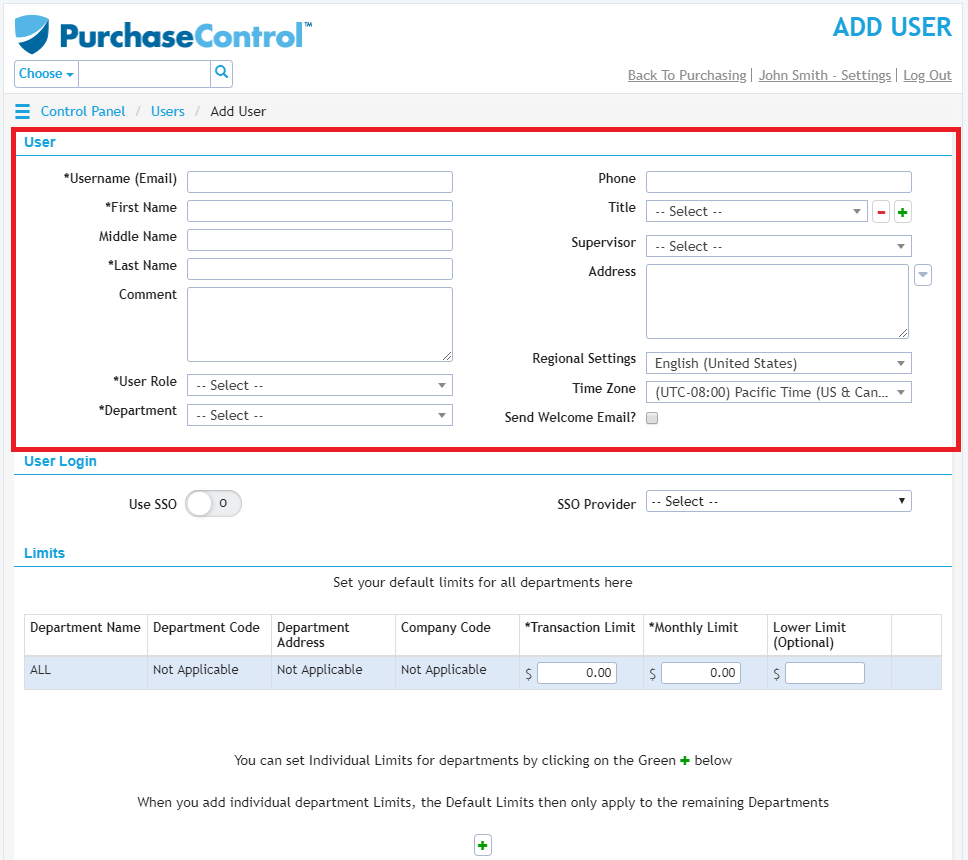
Each user needs to be assigned a role. A role in the system defines what access and abilities a user will have in the system. The role assigned to the user is a template set of permissions that will be applied to the user but each user can be further customised if needed.
Roles can also be custom created as needed to allow great flexibility in the abilities for the users but as there are lot of possible options for these customisations it will not be covered in this Quick Start Guide. There are a number of default roles available in the system that cover some of the general user access levels you might require.
Each user must also be assigned to a department. The department set here serves as the users home department, when customising the user permissions if you select ‘Own department’ for any of the settings the department set here is the one that will relate to.
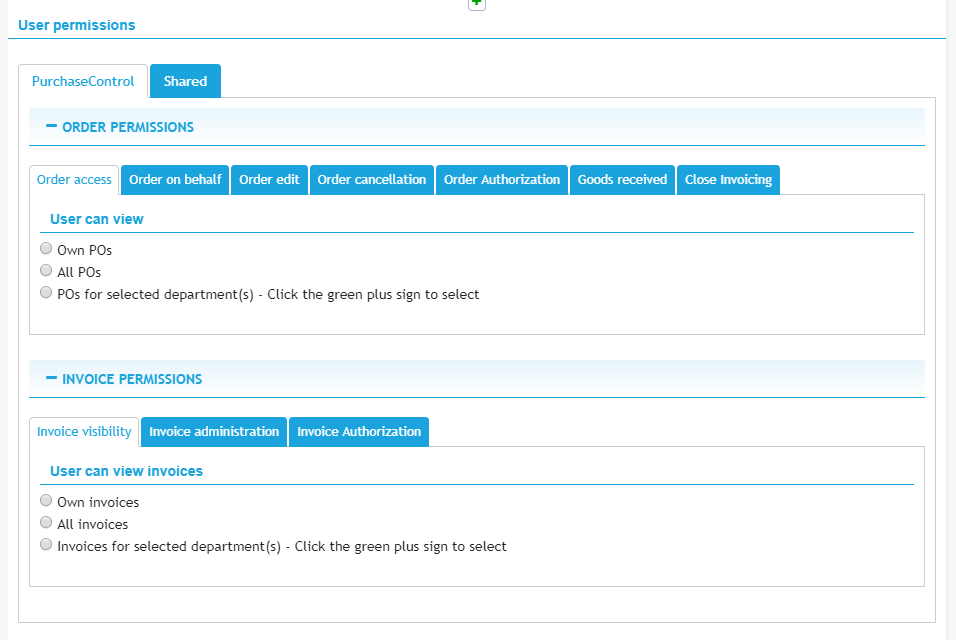
The user permissions section will be completed automatically according to the role assigned to the user. Each user’s permissions can be further customised using the User Permissions options. To see a full explanation of this please refer to the full user setup guide.
If you would like to give a user access to the system immediately after adding them to the system you can check the checkbox ‘Send Welcome Email?’ This will send the user an email allowing them to set up their password and login to the system.
When you have the details filled as required if you click the green Save button at the bottom right of the page the user will be added to the system. If you have selected to send the user a welcome email it will be sent immediately when you click the Save button.
Editing a User
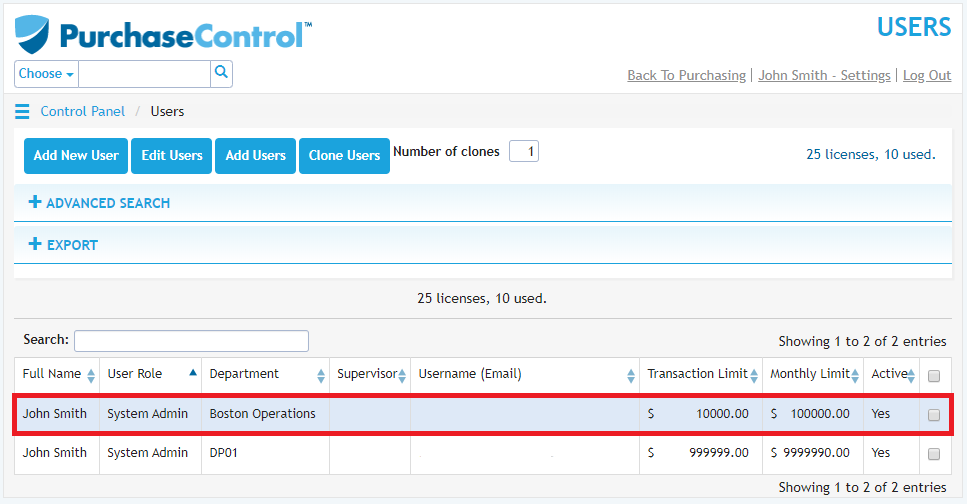
To edit a user you need to go to the Users section of the Control Panel. Click on the user you want to edit in the list of users.
This will take you to the Edit User page for that user.
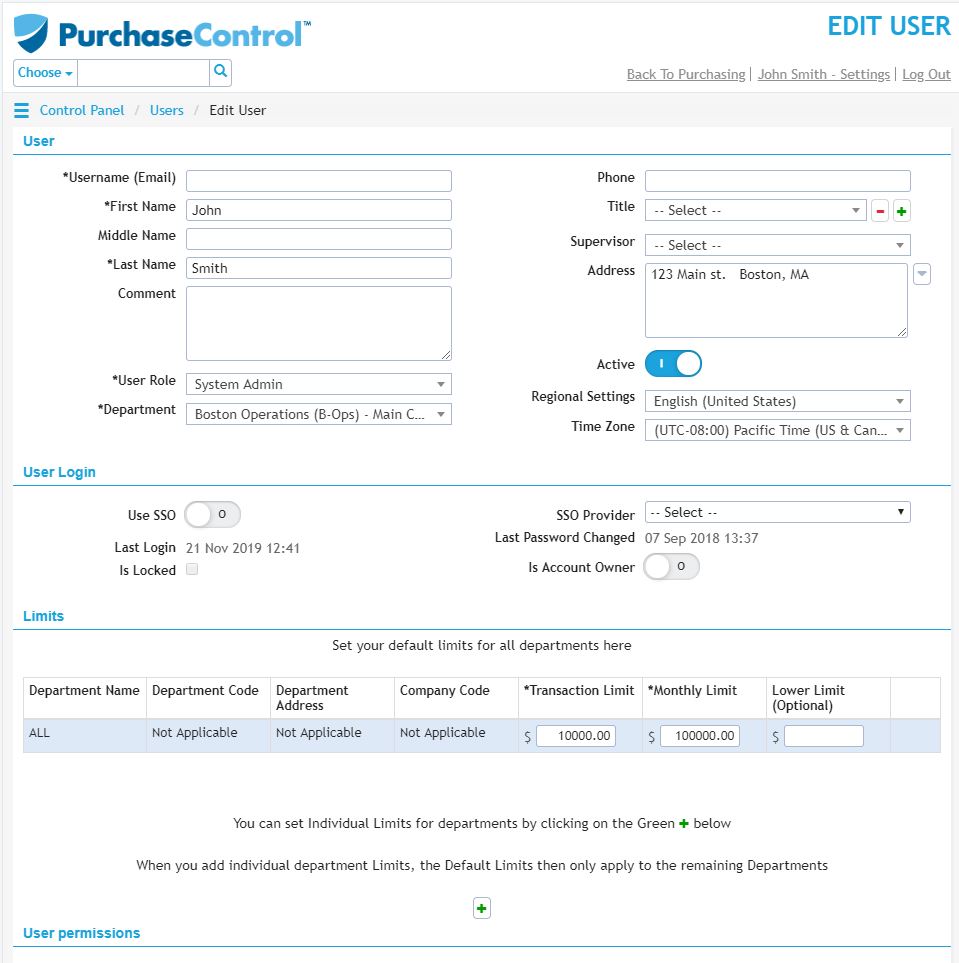
You can edit any details as required and then click the green Save button at the bottom right of the page to save the changes you have made.

Beside the Save button there are also some additional options available when editing the user.
-
- Send Welcome Email
Clicking this button will send the user an email so they can set up their password and log into the system and start using their account.
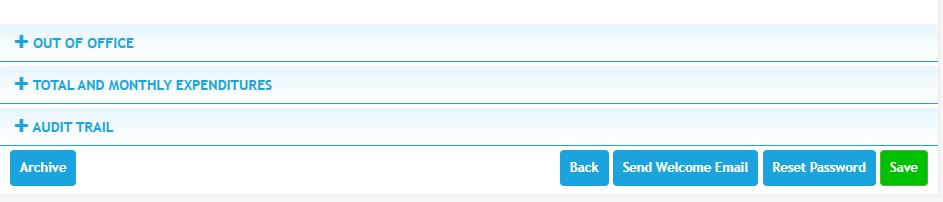
- Reset Password
Clicking this option allows you to reset the password for the user, a popup will appear allowing you to set the password.
- Send Welcome Email
Setting up alerts on Purchase orders
Purchase order alerts is automated notification system that will send an email whenever a user on which they are added approves/authorizes an order to users or to custom email entered.
We can access controls for adding emails to be alerted when editing a user. So we choose a user which we want to track approvals of, and on edit page we find Purchase Orders Alerts under User Alerts section shown on image below.
There we can add or remove emails that will track approvals of the user that we’re editing. It’s possible to add emails to the list in two different ways. First is by clicking the green + and that will show us a popup with a list of users that can be added to the tracking list.
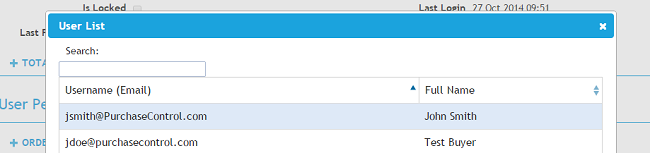
We pick a user simply by clicking on it in that table; and second way of entering emails to tracking list is by entering a valid email address in the email text field shown on image above, and again by confirming it by click on a green + button.