Admin Quick Start Guide – 10 – Step 10 – Setting up roles
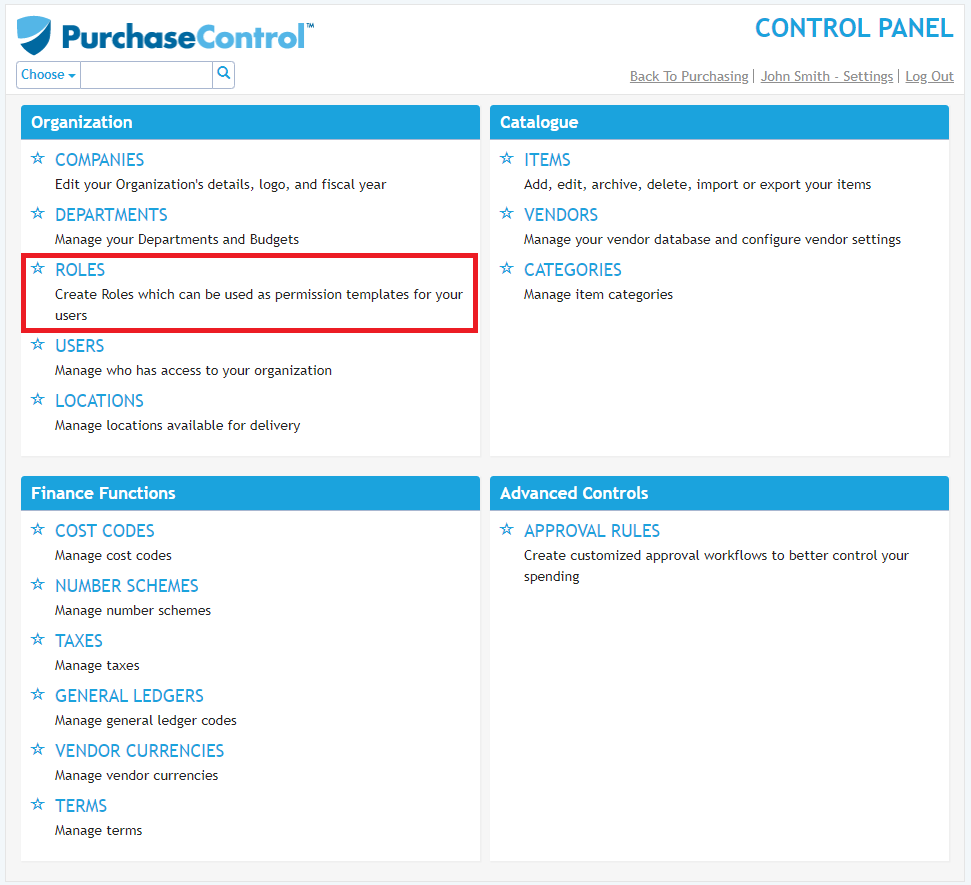
As part of the initial set up of PLANERGY there are a number of default Roles available for selection. You can make changes to the Roles and add additional Roles to the system from the Roles section of the Control Panel.
A role in the system defines what access and abilities a user will have in the system. The role assigned to the user is a template set of permissions that will be applied to the user but each user can be further customised if needed. If a group of users require similar permissions you can create a new role and assign it to the group of users.
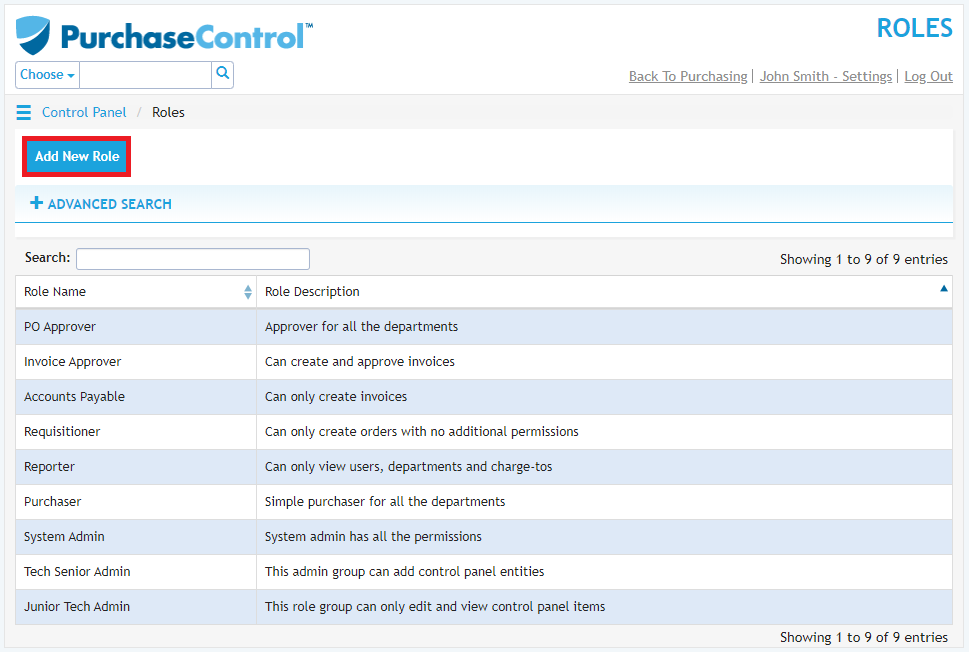
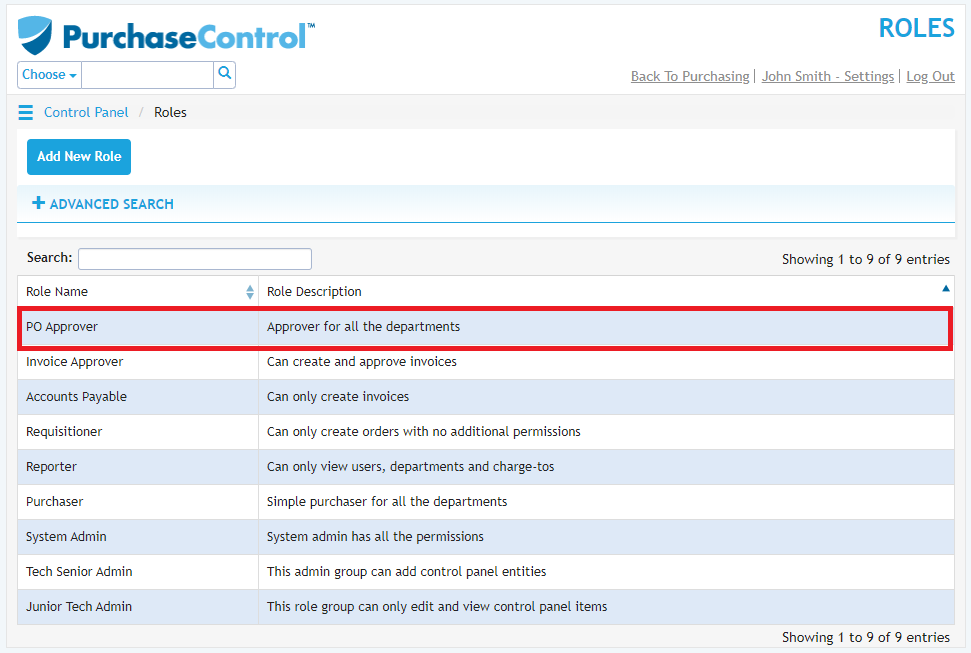
There are a number of default roles available in the system that cover some of the general user access levels you might require. The description field gives a brief explanation of these roles.
Adding a New Role
To add a new Role you need to go to the Roles section of the Control Panel. Click the blue Add New Role button on the top left of the page.
This will bring you to the Add Role page where you will need to fill the Role details – name is the only required fields. The other fields in this section are optional.
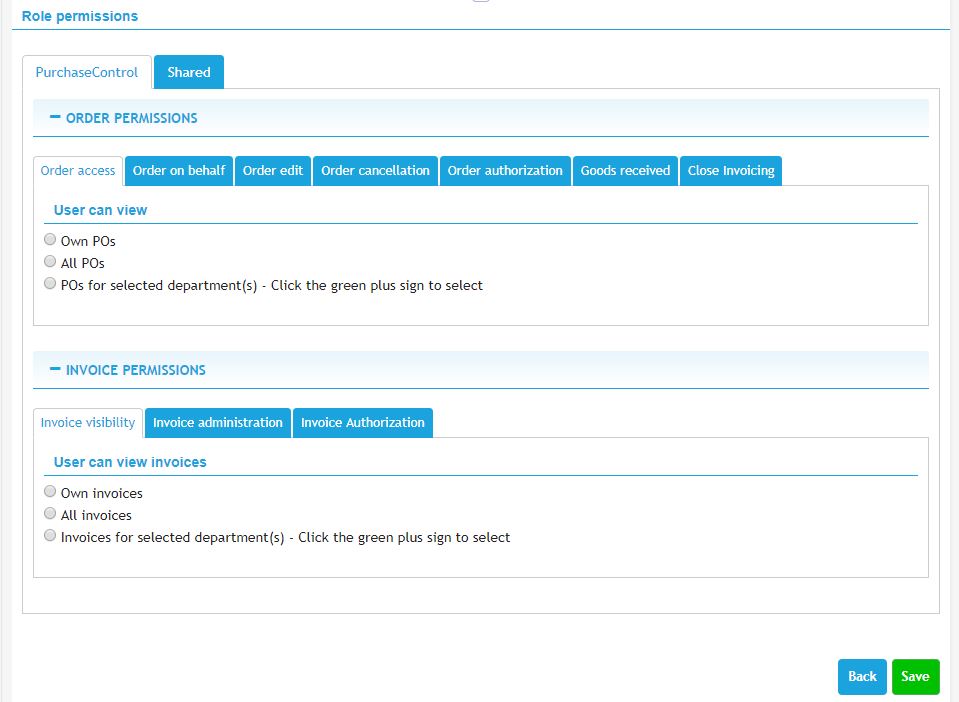
The role permissions section is where you can set the permissions that will be given to any user assigned with the role. To see a full explanation of this section please refer to the full user setup guide.
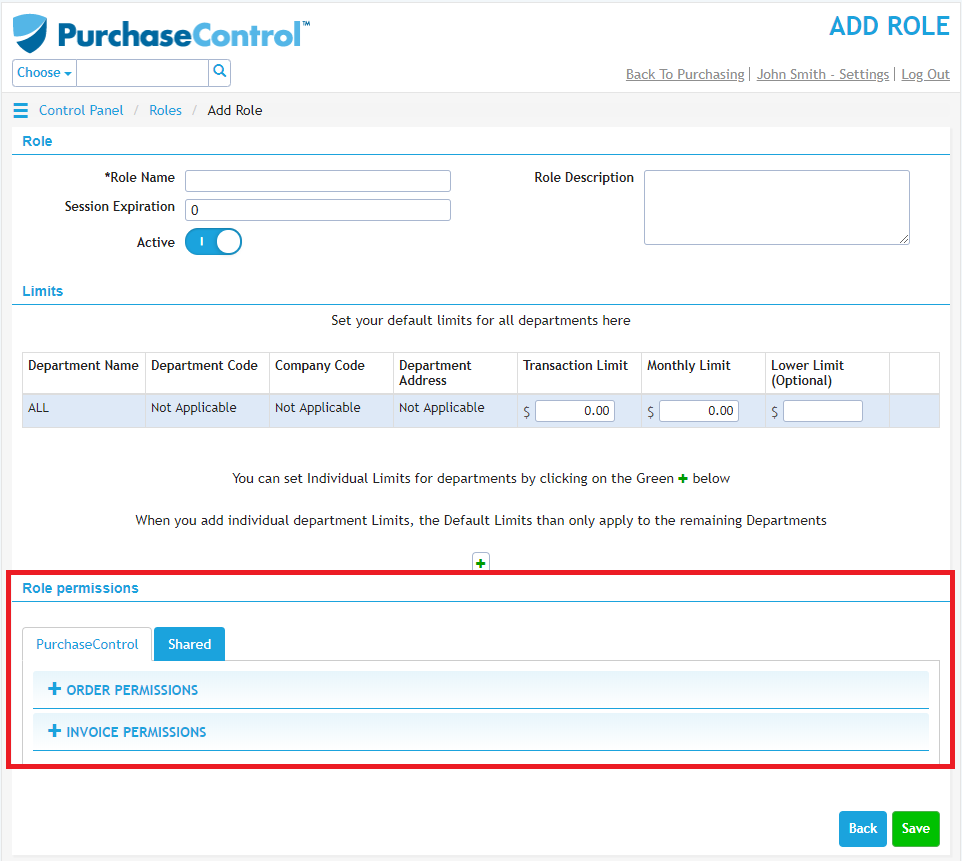
When you have the details filled as required if you click the green Save button at the bottom right of the page the role will be added to the system.
Editing a Role
To edit a role you need to go to the Roles section of the Control Panel. Click on the role you want to edit in the list of roles.
This will take you to the Edit Role page for that role.
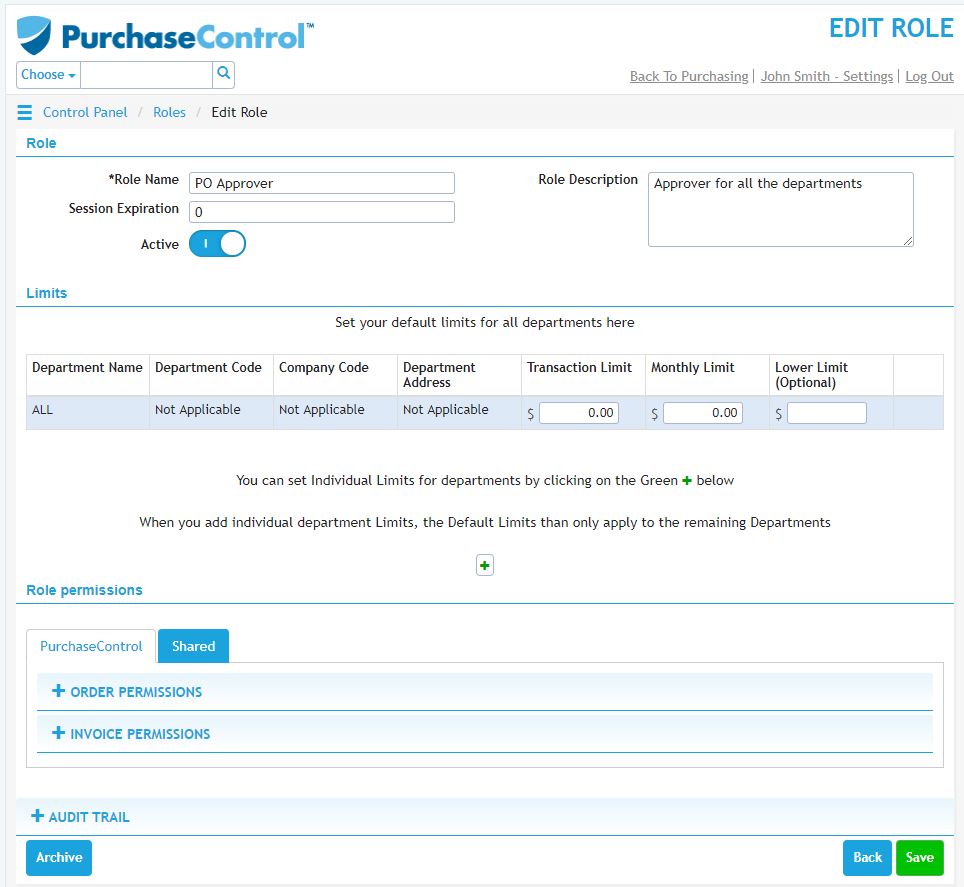
You can edit any details as required and then click the green Save button at the bottom right of the page to save the changes you have made.