Admin Quick Start Guide – 01 – Step 1 – Setting up currency
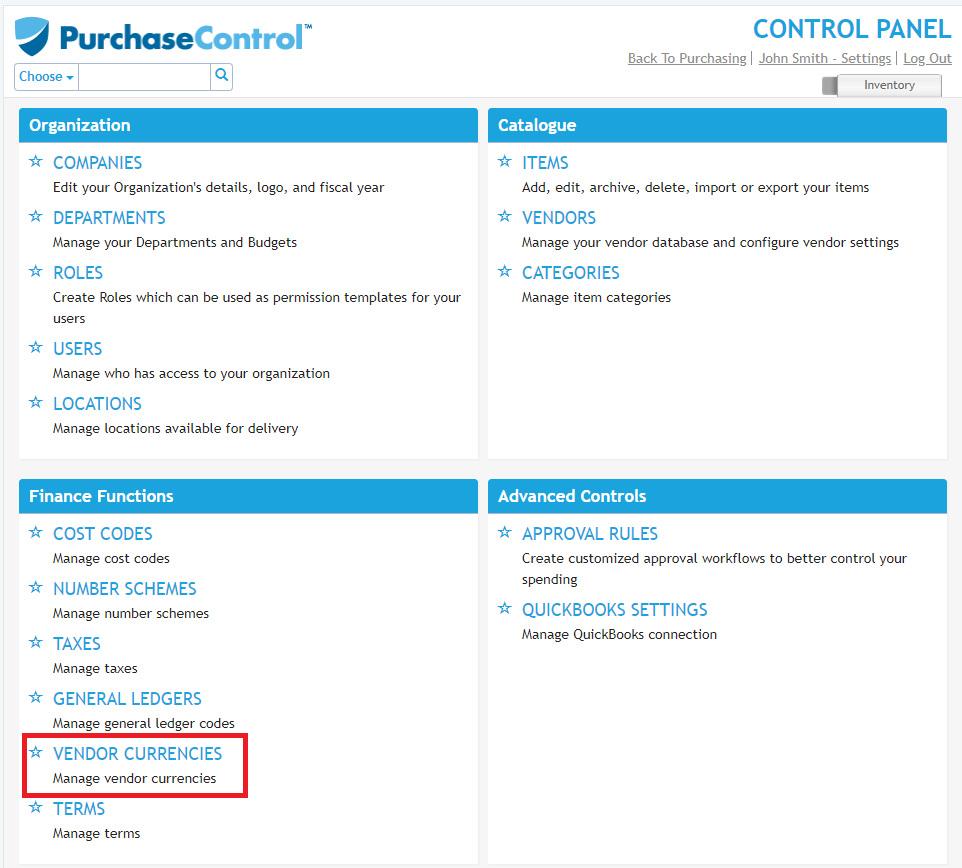
As part of the initial set up of PLANERGY the base currency will be set. You can make changes and add additional currencies to the system from the Finance Functions section of the Control Panel.
Adding a New Currency
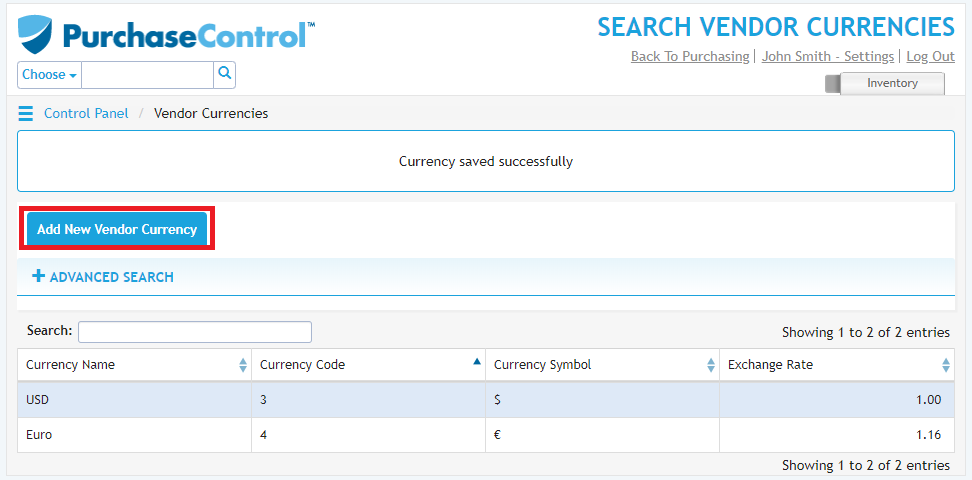
To add a new currency into the system you need to go to the Supplier Currencies option of the Finance Functions section of the Control Panel. Click the blue New button on the right of the Supplier Currencies option.
A popup screen will appear where you can add the details for the new currency. First you need to select the currency you want to add to the system from the list available in the system.
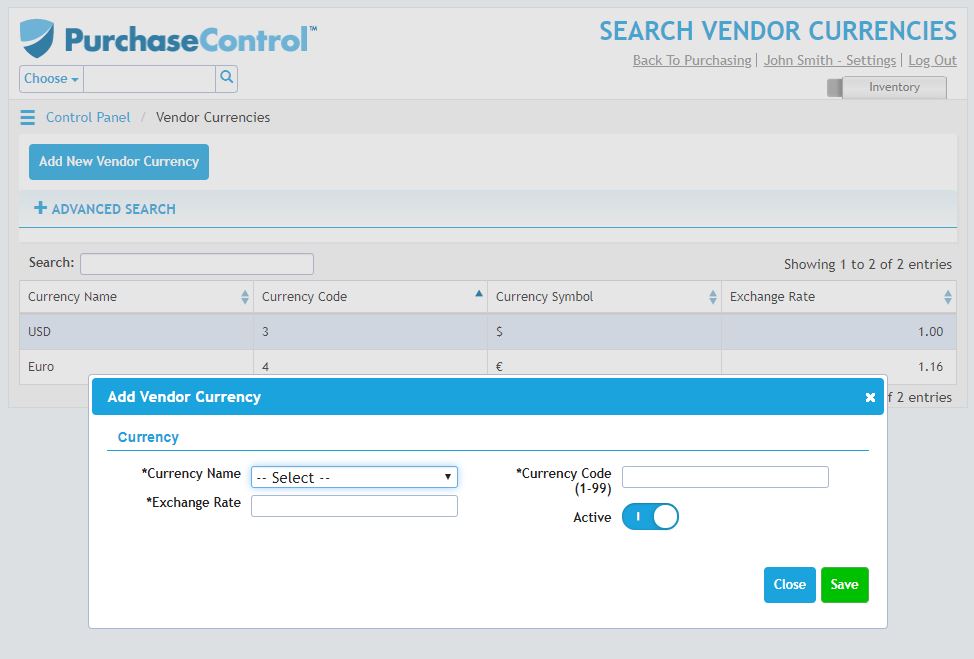
You will also need to set the exchange rate for the currency, the code for the currency and if the currency is active.
The exchange rate is calculated relative to the base currency for the system and is used to calculate the order value of orders created in a different currency so they can be checked correctly against the budgets. Budgets are always set in the base currency.
The currency code is used to link with your financial software. The code set here should match what you are using in your financial software package.
The Active switch should be switched on if you want the currency available to use in the system. Only set a currency as inactive if you no longer want it to be available.
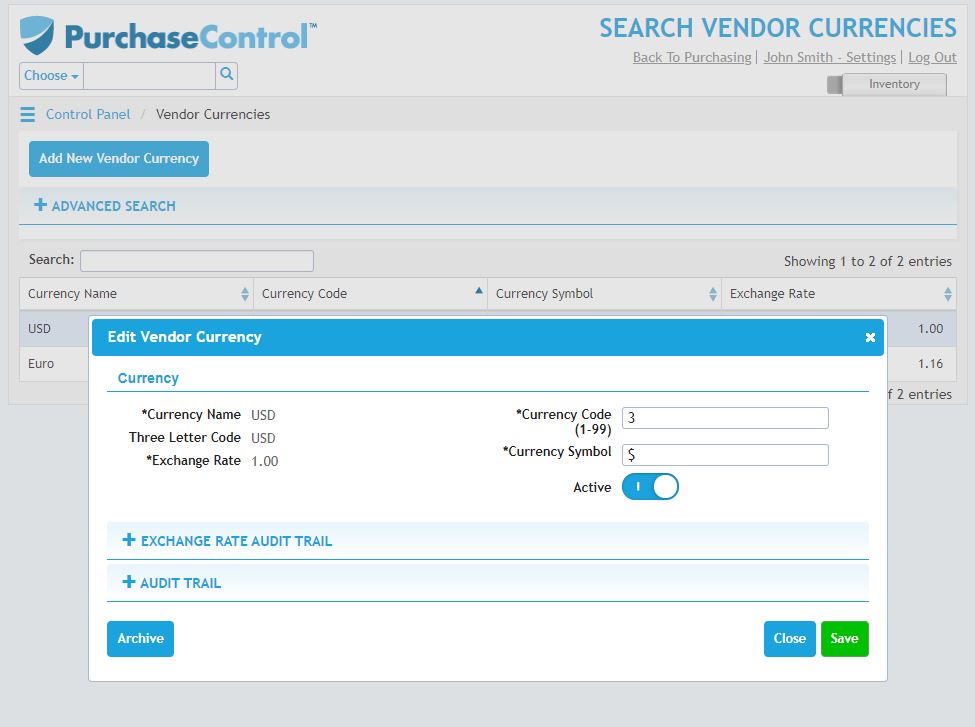
Editing a Currency
To edit a currency in the system you need to go to the Supplier Currencies option of the Finance Functions section of the Control Panel. Click on the currency you want to edit in the list of currencies.

A popup screen will appear where you can edit the details for the currency. When you have made the required changes you can click the green Save button and the currency will be updated in the system.