Admin Quick Start Guide – 09 – Step 9 – Setting up GL codes
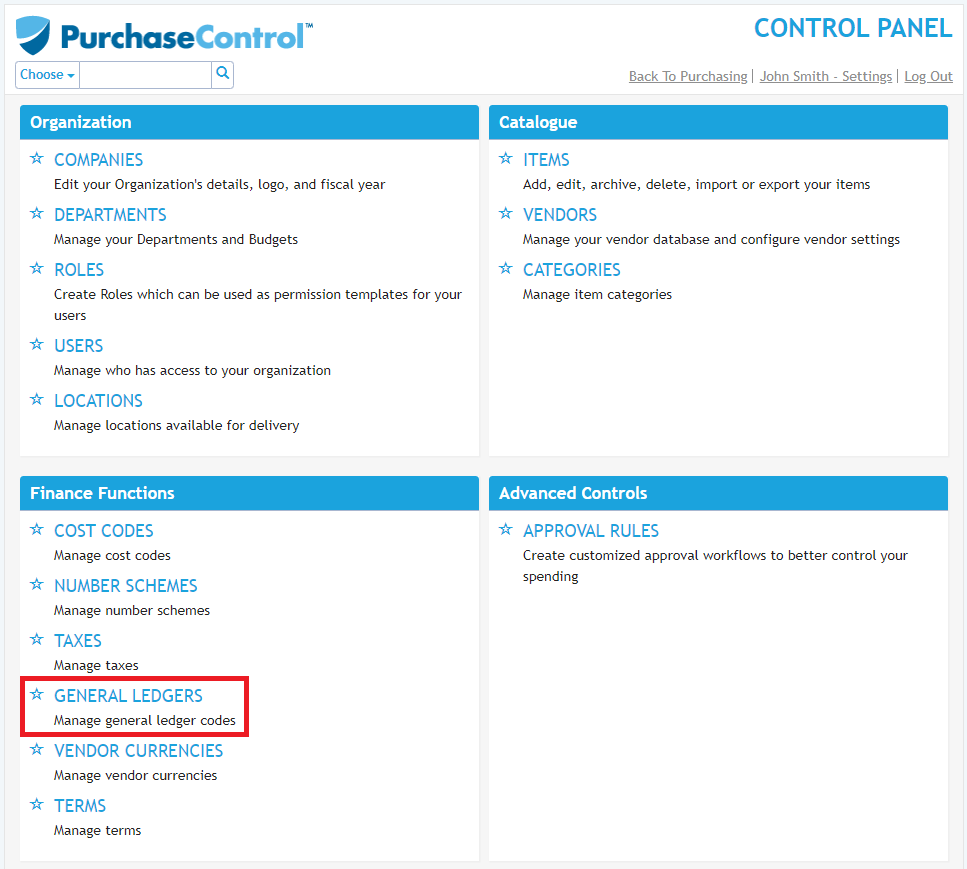
As part of the initial set up of PLANERGY no GL Codes will be set up, you will need to add at least one before you match an invoice to a PO in the system. You can make changes to the GL Codes and add additional GL Codes to the system from the Finance Functions section of the Control Panel using the GL Codes option.
General ledger (GL) or nominal ledger (NL) codes are assigned when matching the invoice to the original PO and should match the codes you are using in your financial package.
Adding a New GL Code
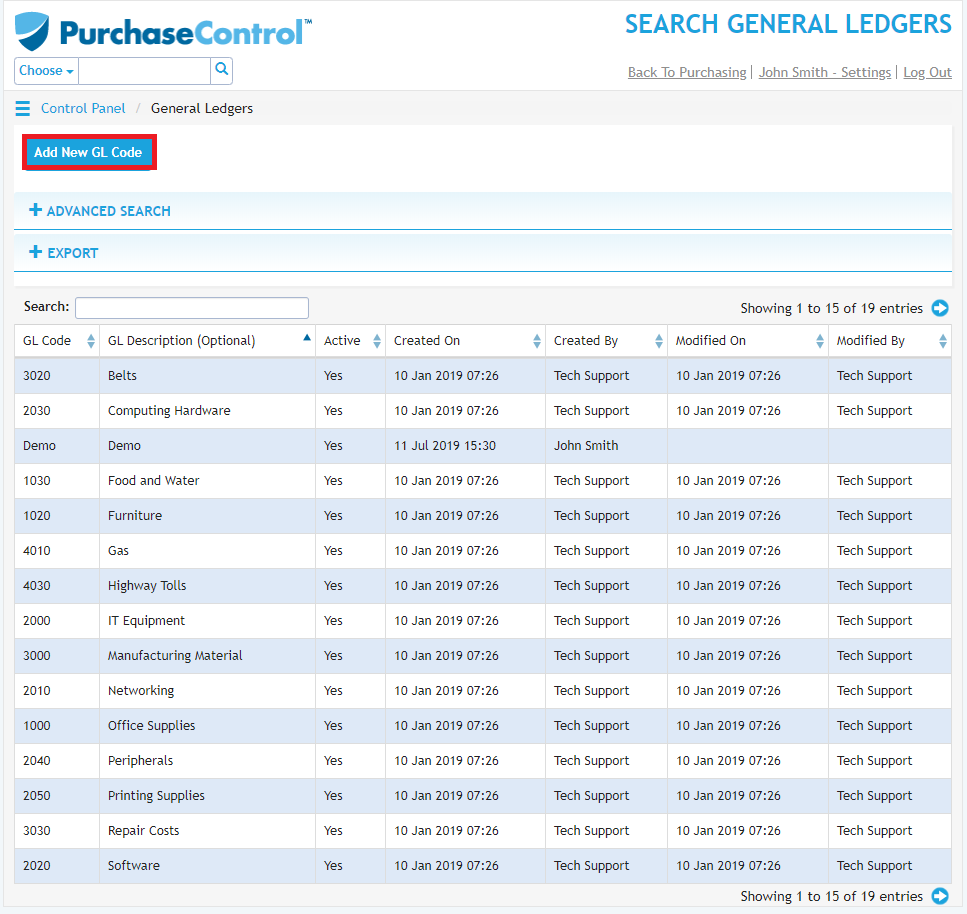
To add a new GL code you need to go to the Finance Functions section of the Control Panel and open the GL Codes option. Click the blue New button on the right of the GL Codes option.
This will bring up the Add New GL Code popup screen where you will need to fill the GL Code’s details – code is the only required fields. The other fields for the GL Code are optional.
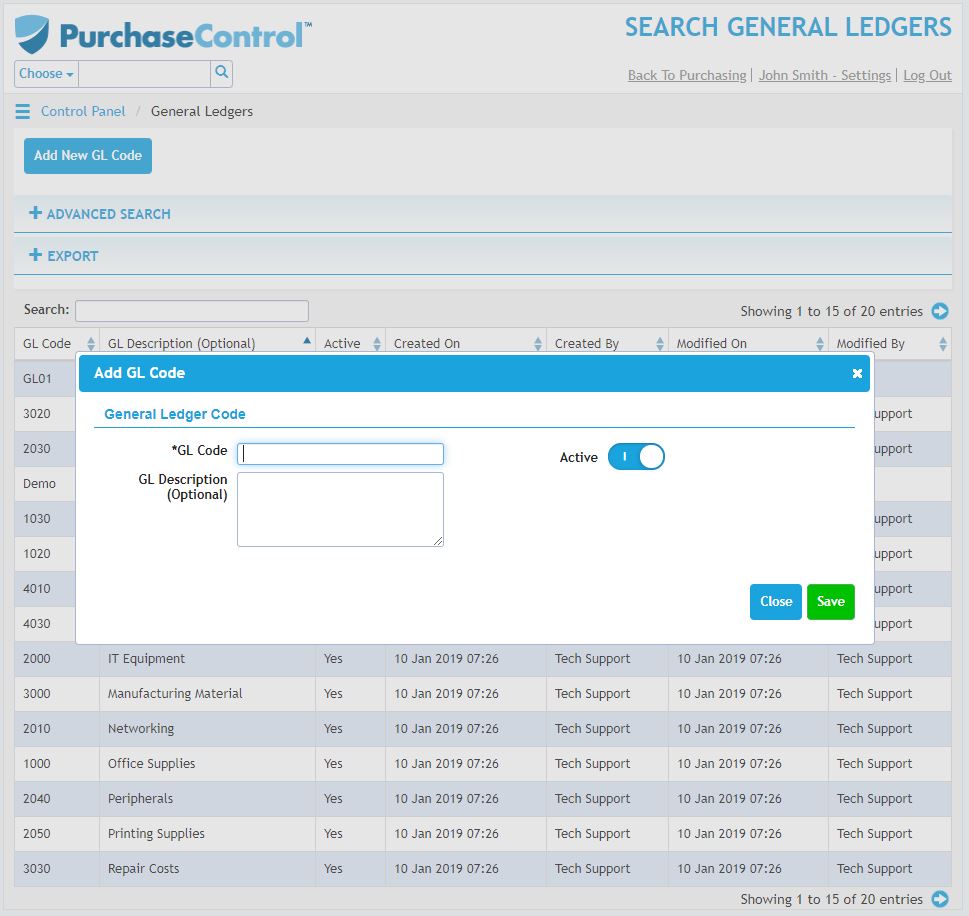
The company field for the GL Code can restrict the code to be only available for orders from a specific company. If you select a company for the GL Code it will not be available to be assigned on invoices related to other companies in the system. This is only available for multi-company setups.
When you have the details filled as required if you click the green Save button at the bottom right of the popup the GL Code will be added to the system.
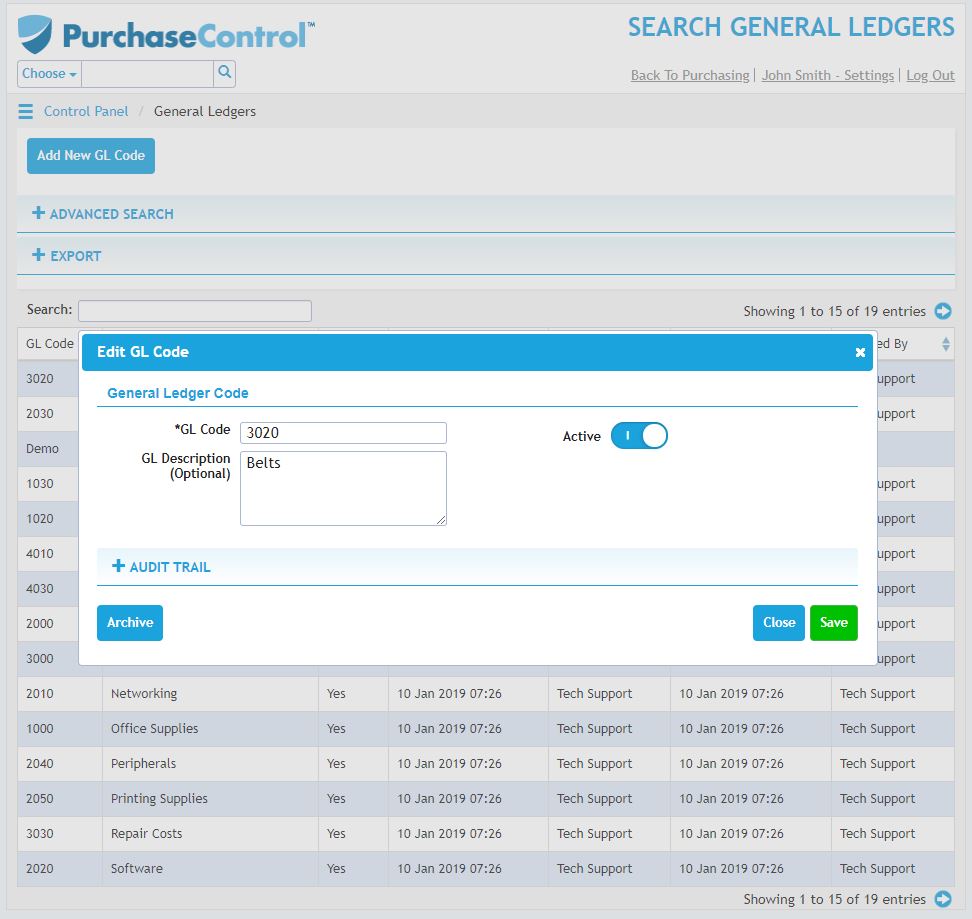
Editing a GL Code
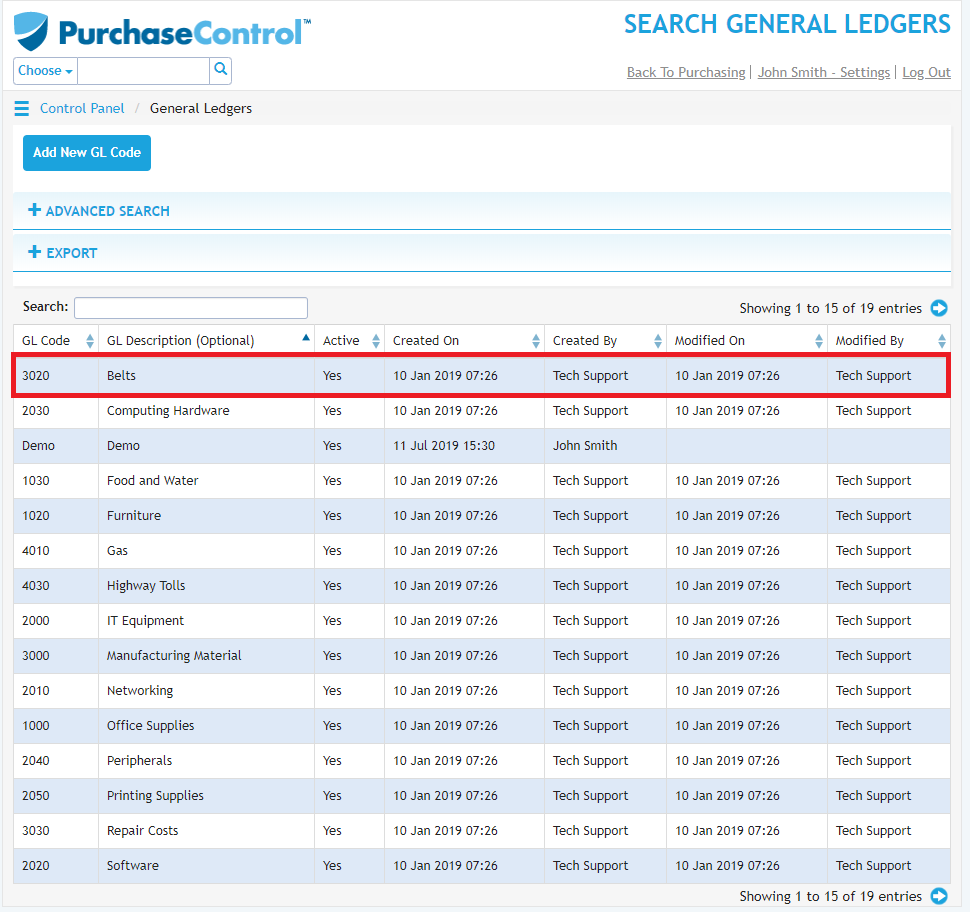
To edit a GL Code you need to go to the Finance Functions section of the Control Panel and open the GL Codes option. Click on the GL code you want to edit in the list of GL codes.
This will bring up the Add New GL Code popup screen where you can edit any details as required and then click the green Save button at the bottom right of the popup to save the changes you have made.