Companies
Companies
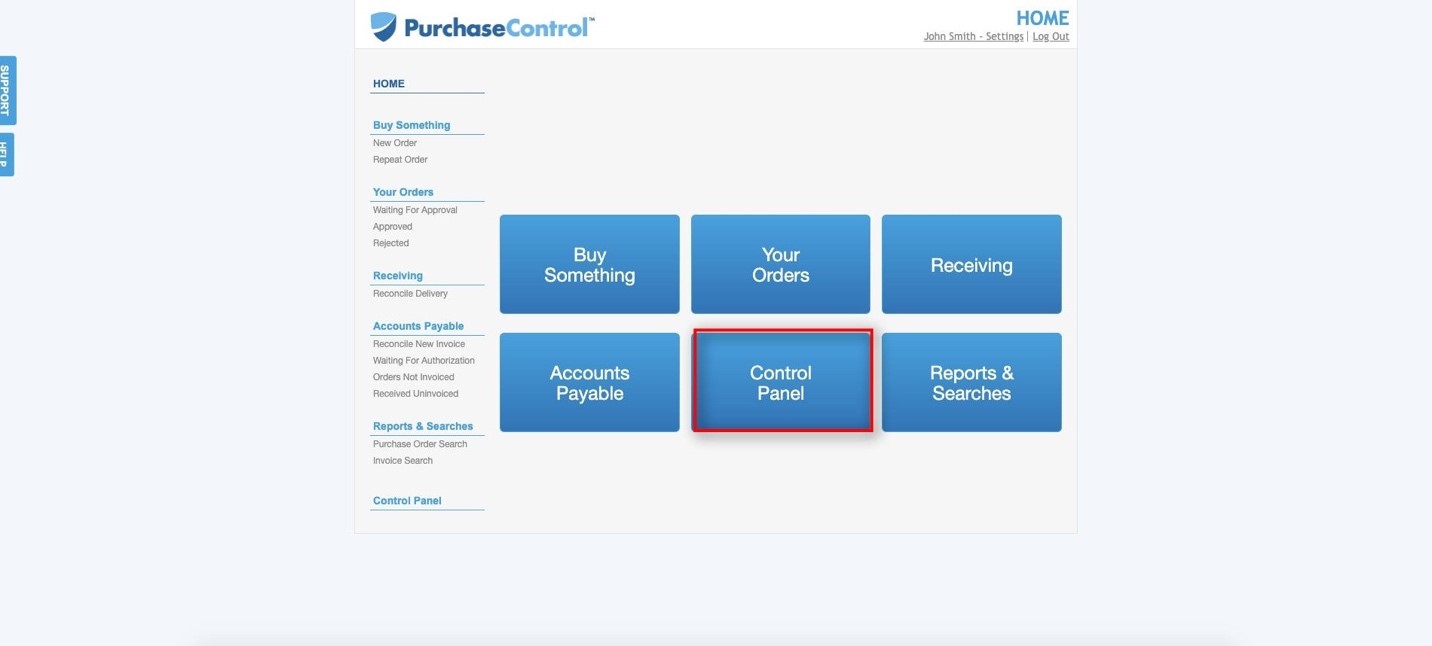
Press the Control Panel button to access the Control Panel. This is where you will setup everything to use PLANERGY in your organization. If you do not see the Control Panel menu option, you do not have the correct user permissions to access the Control Panel.
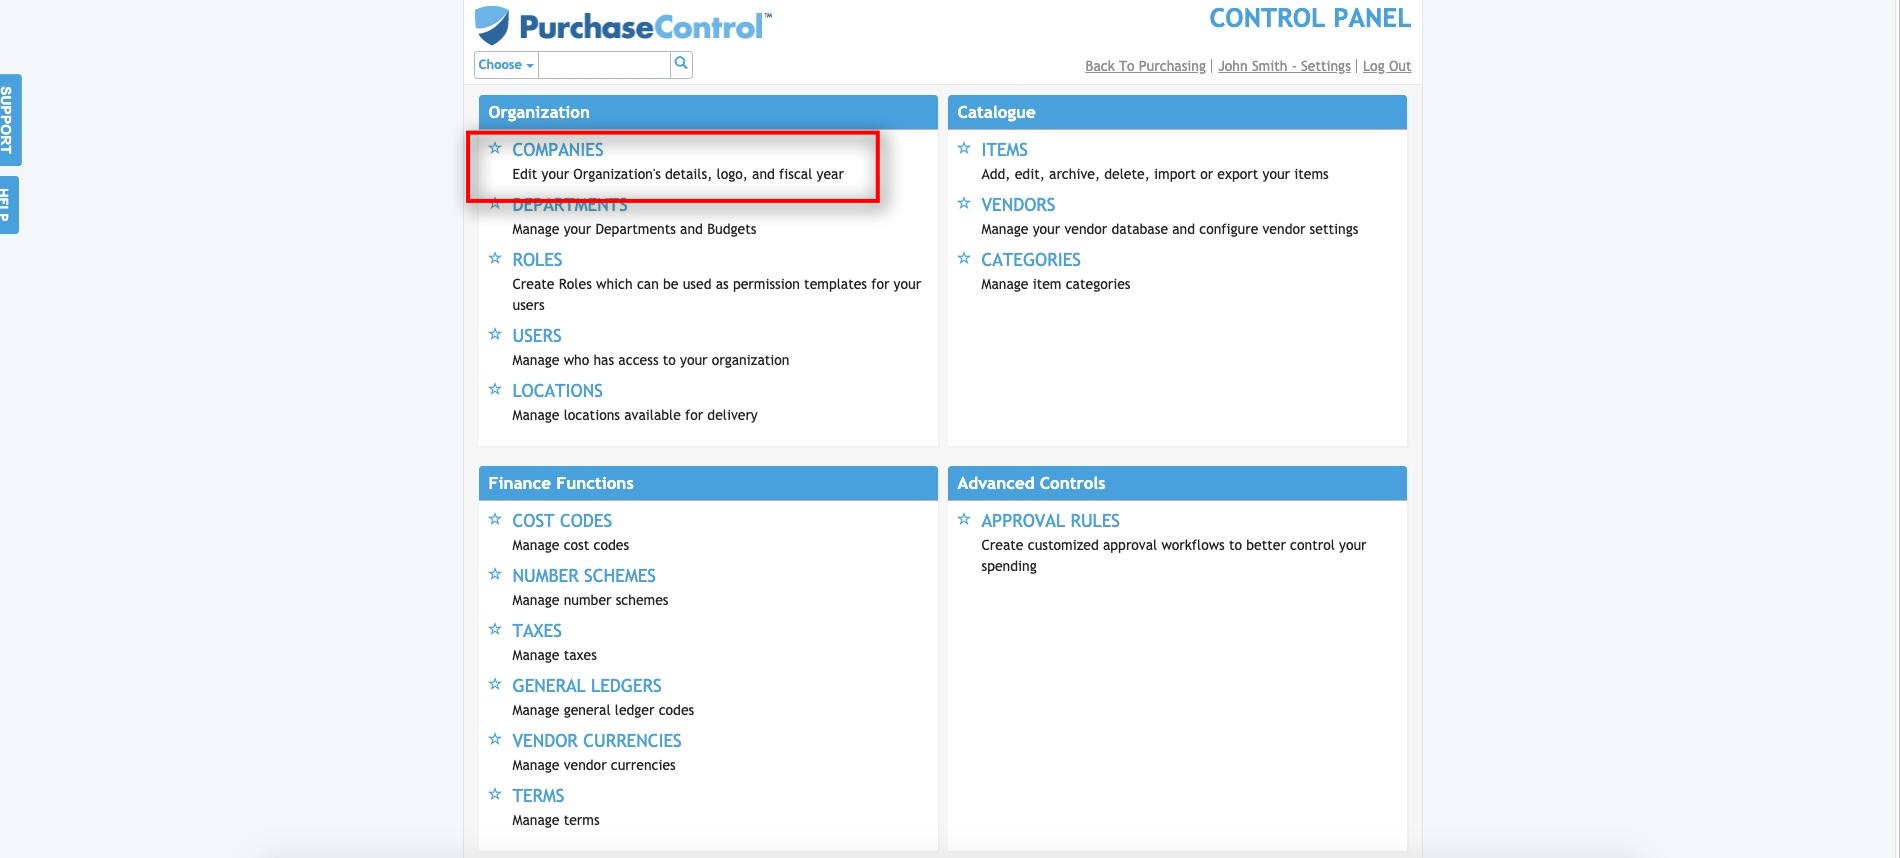
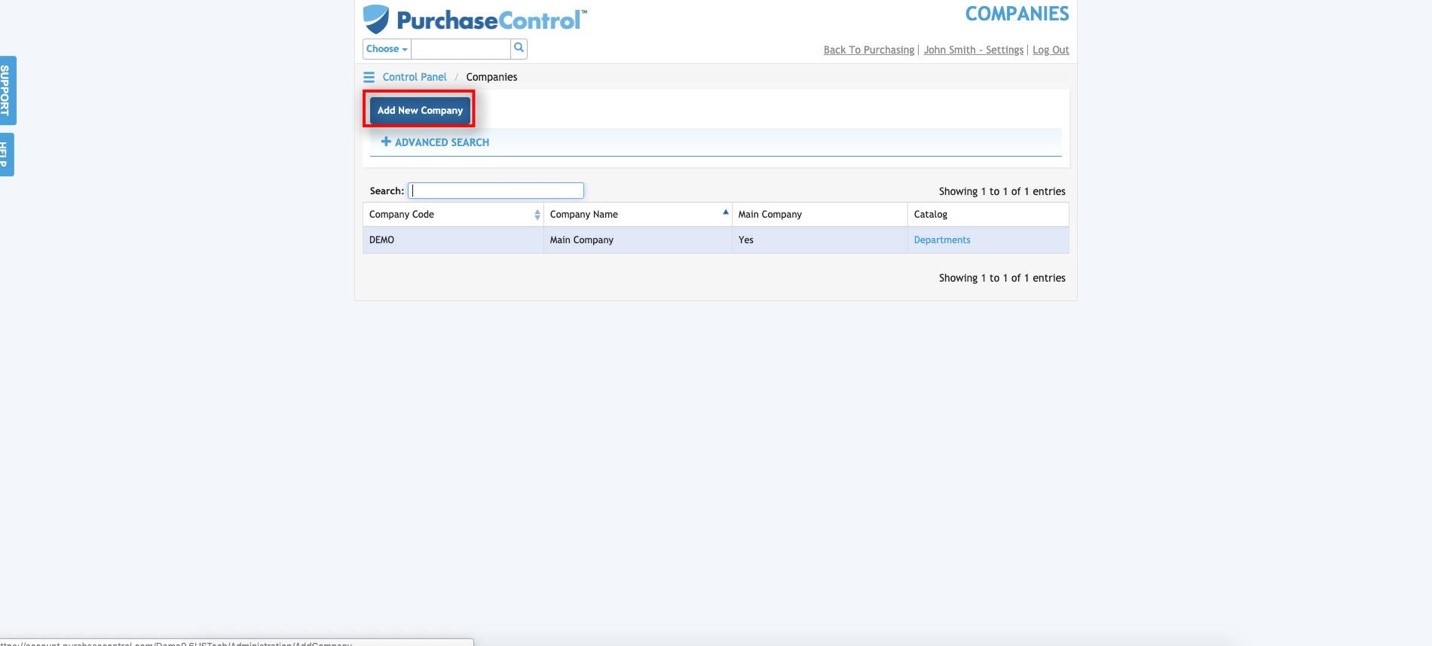
Press the Companies button. The Companies section will appear with a list of companies in the PLANERGY system and enable you to create new companies.
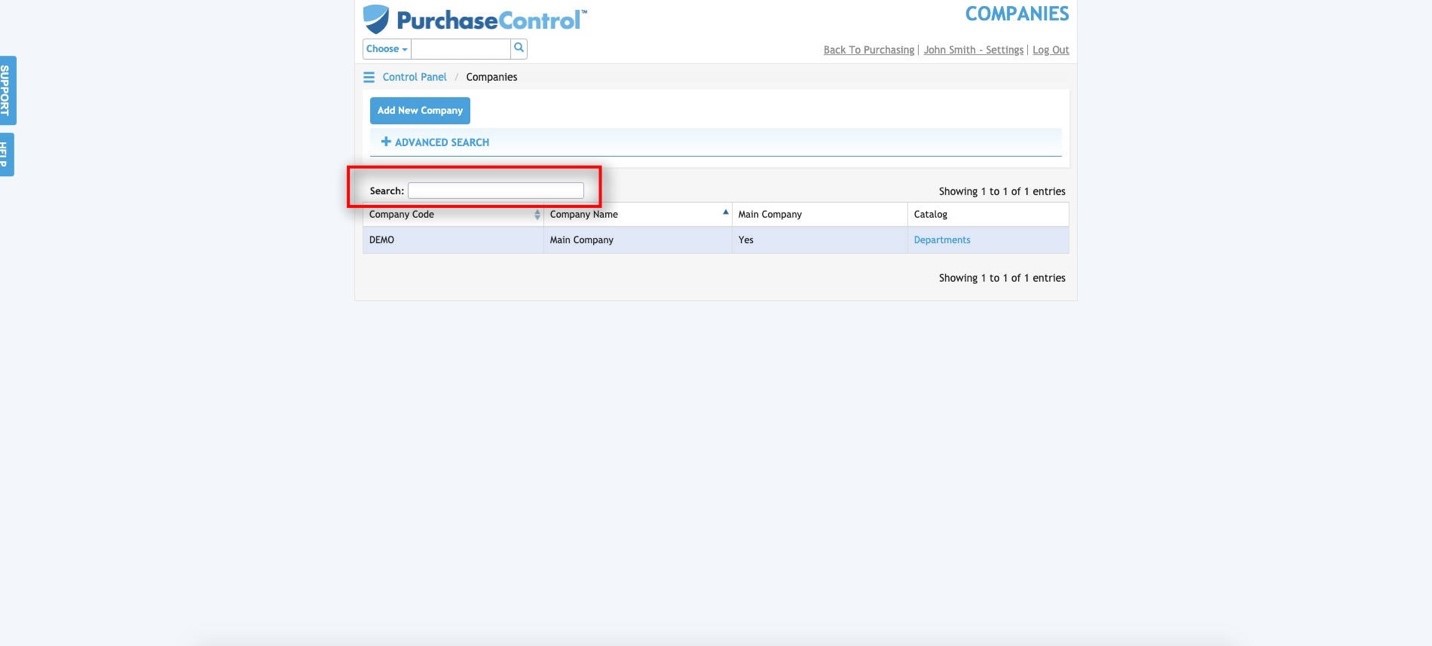
Press the Advanced Search button. A search box will appear. You can search by company code, company name, address, phone, active status, and choose whether or not to include any companies that have been archived.

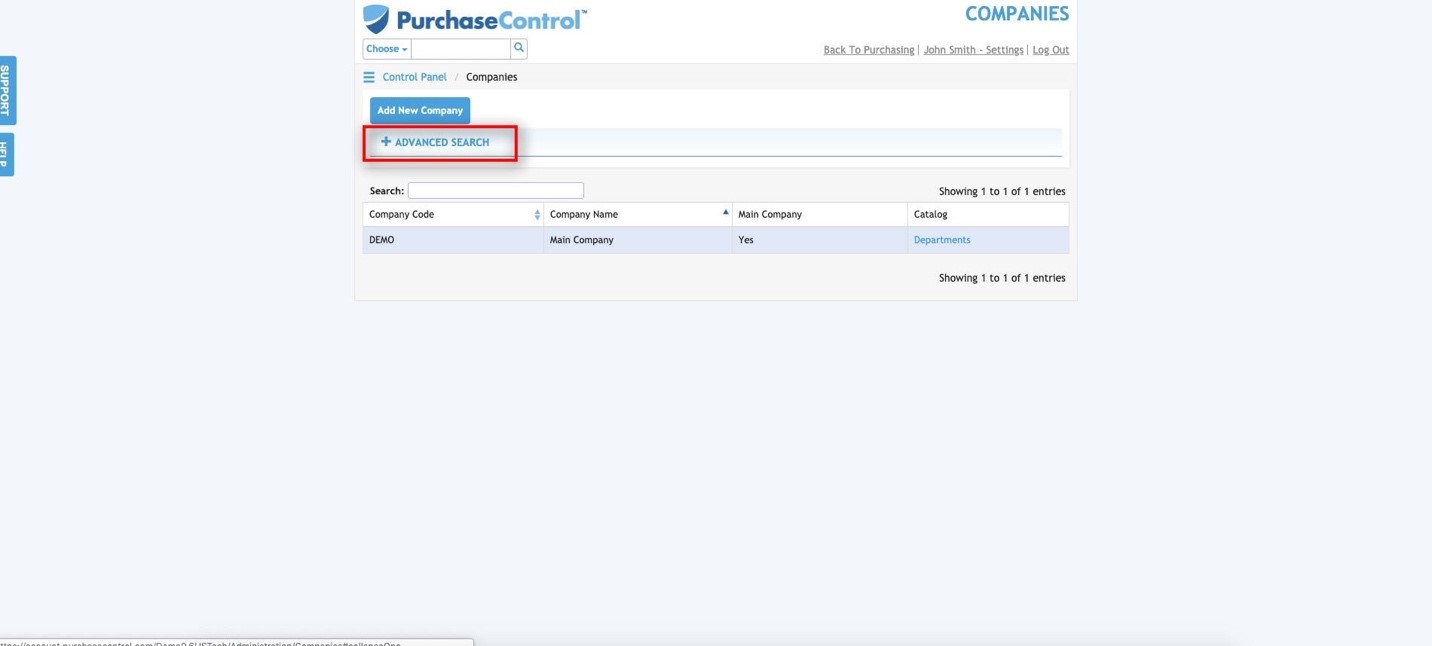
Use the Quick Search box to quickly search through the list of companies.
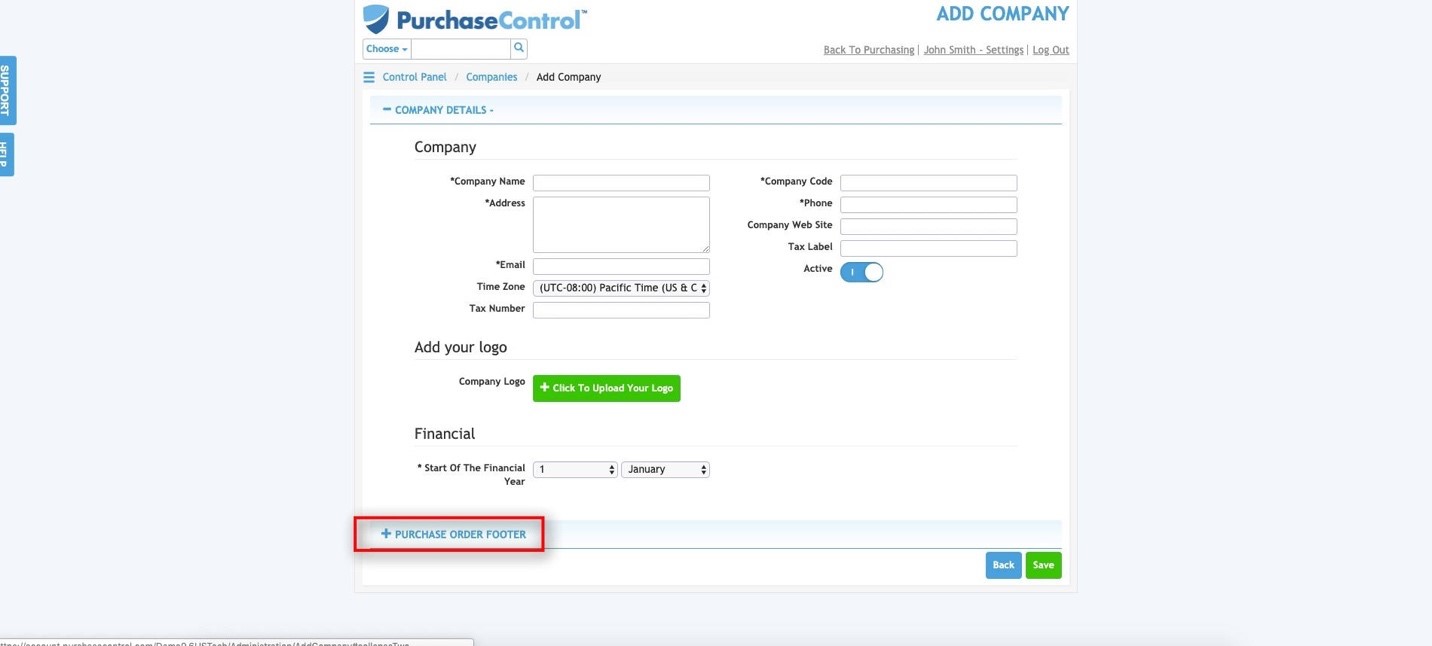
Press the Add New Company button to create a new company.
Enter the Company information. Everything in this section will show at the top of your purchase orders.
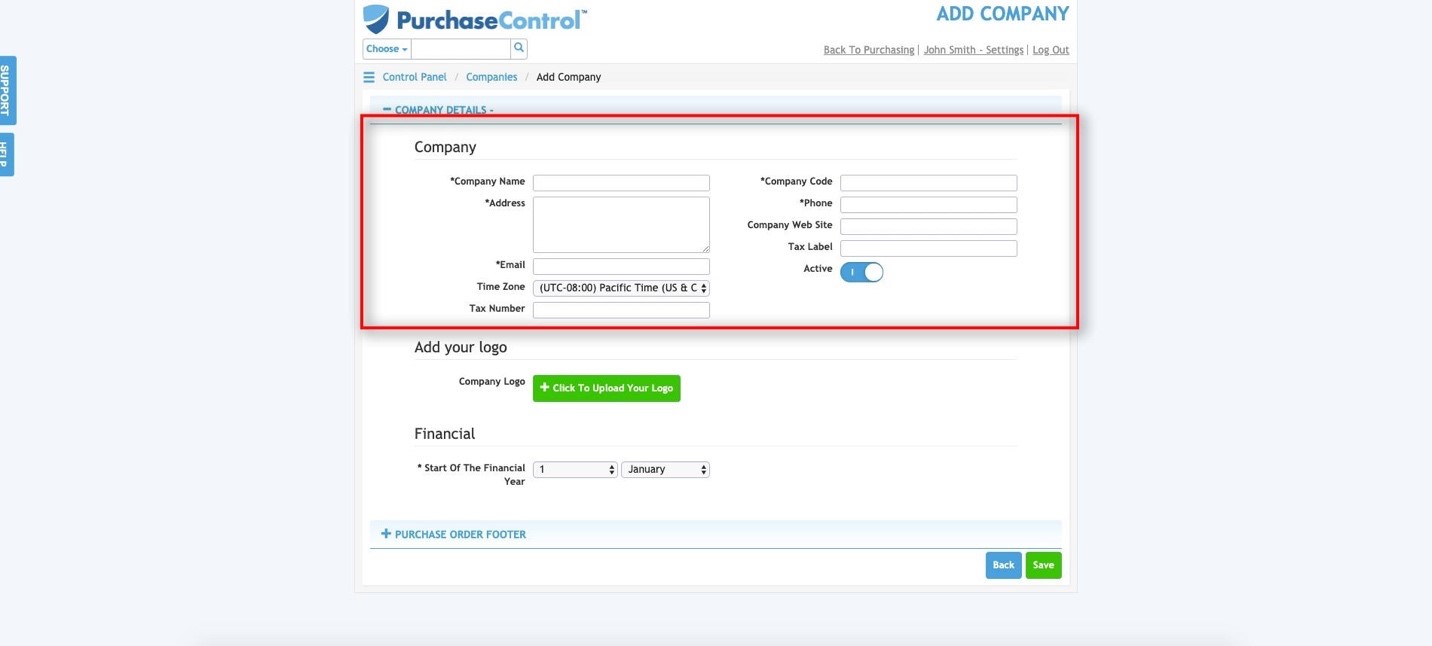
Enter your company name, address, email, phone number, website, tax label, and tax number.
The company code is something you choose, so that if you have a multiple company set up, you can tell the difference between the companies in the system.
If you have multiple companies and you need different logos, company information, and so on, you can set this up so that depending on which department you use and the relationship to the company, PLANERGY will choose the company setup with the logo and information based on that.
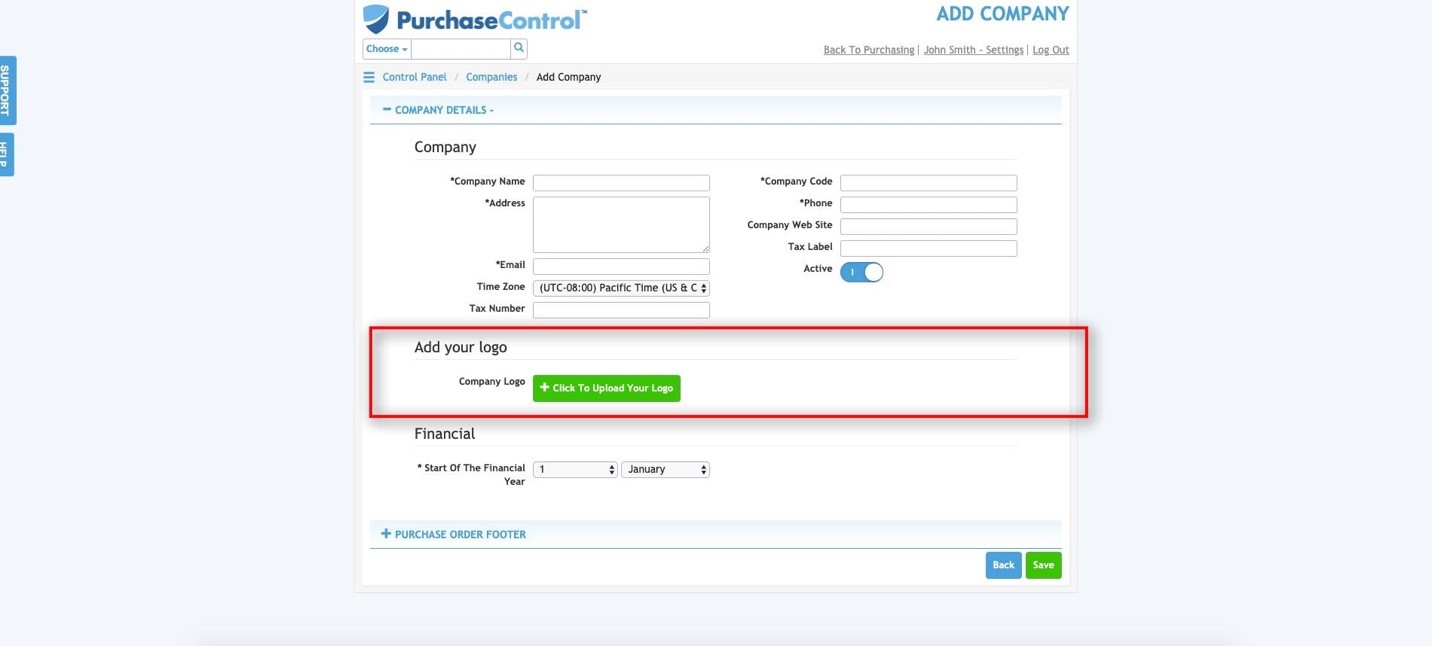
Add your logo. Press “Click to Upload Your Logo” to upload your company logo. You can also drag and drop the file to upload it.
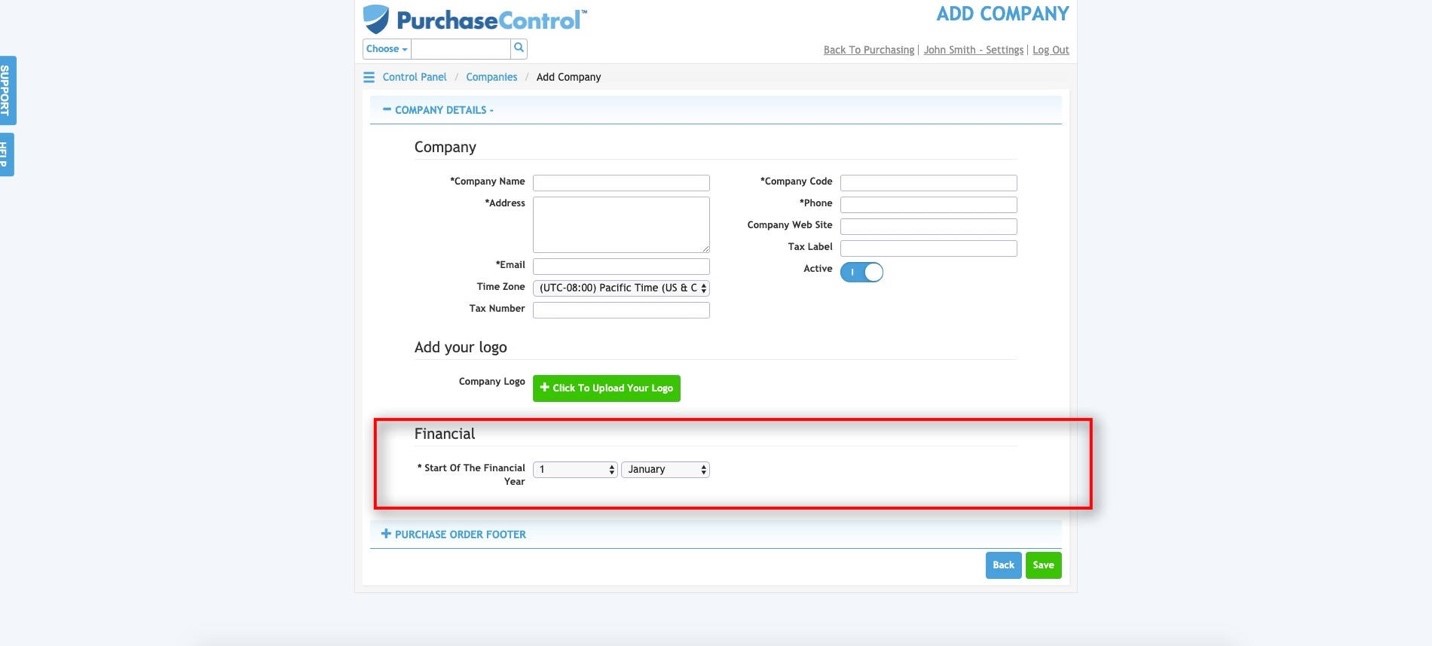
Set up the Financials. Choose the start date of your fiscal year.
Press the Purchase Order Footer button. A text box will appear.
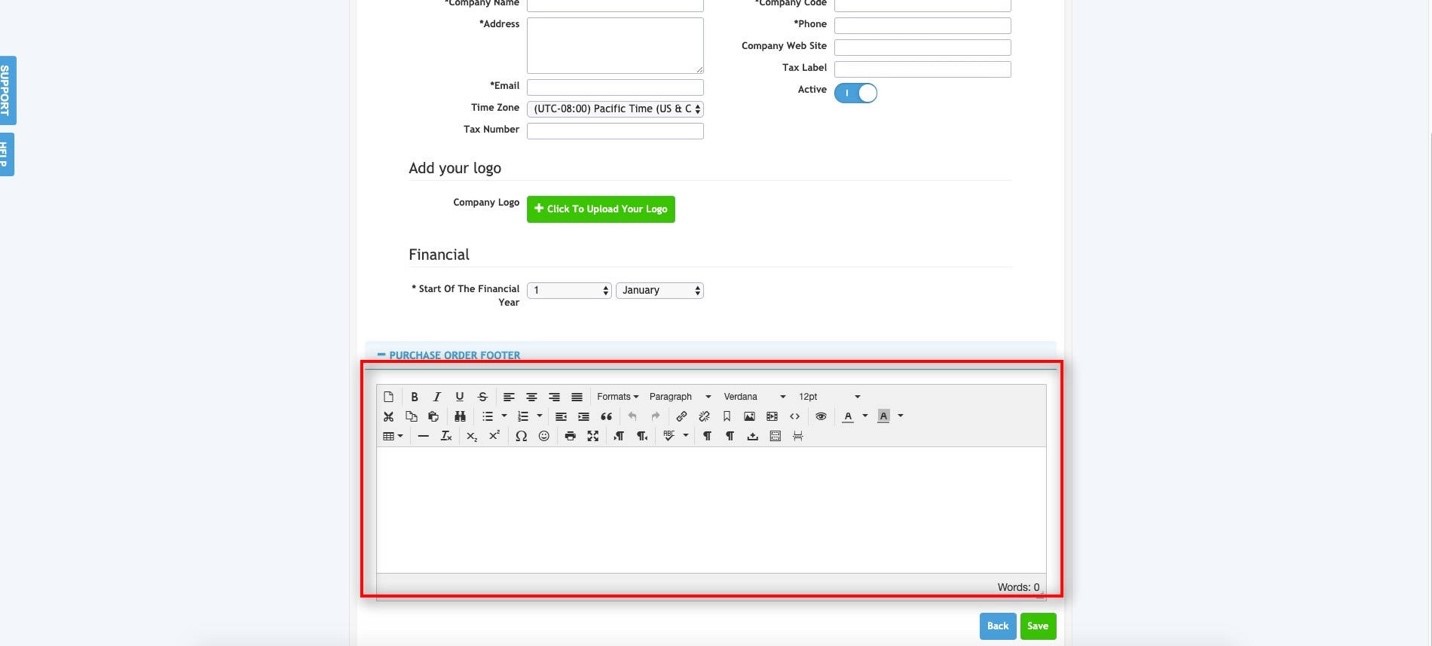
Anything in this box is attached to the footer of all purchase orders from your company.
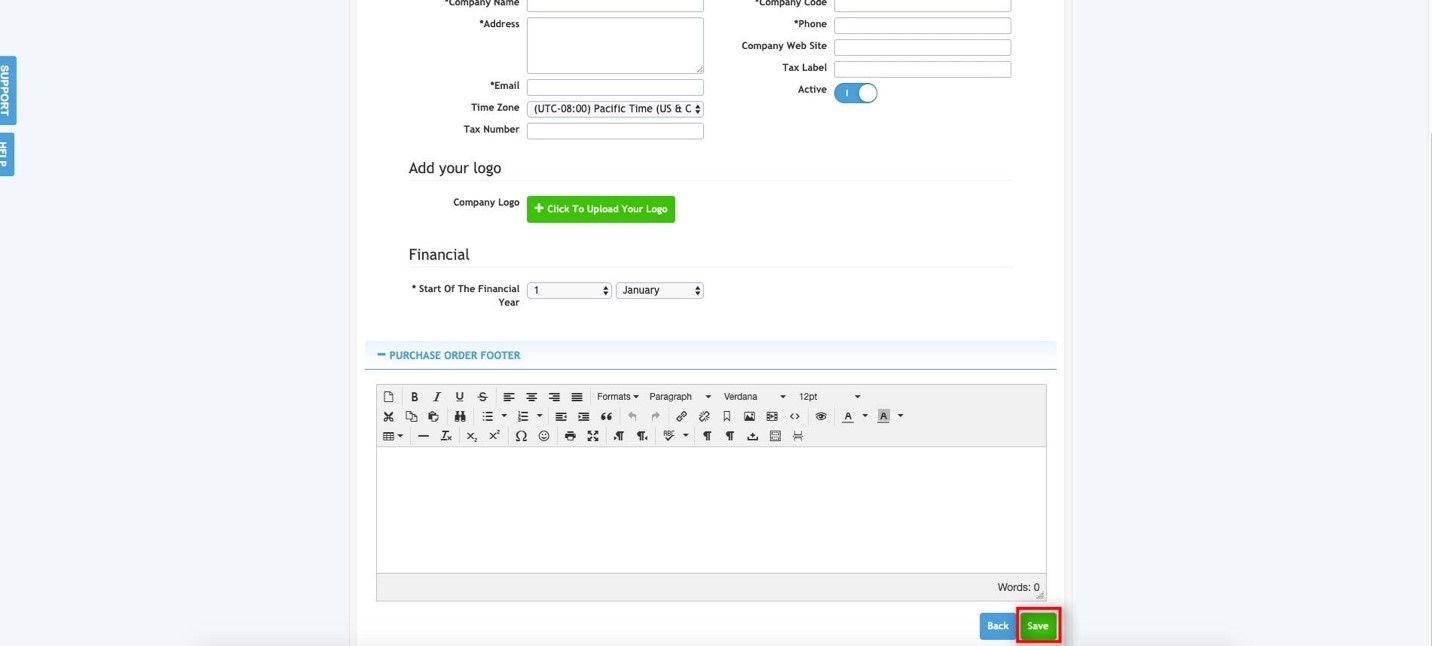
Press the green Save button to save the new company.