What Are The User Permissions?
User permissions are divided into two sections: Purchase and Shared. Within Purchase, there are two more sections: Order Permissions and Invoice Permissions.
Either add a new user or select a user to edit. Scroll down until you reach the User Permissions
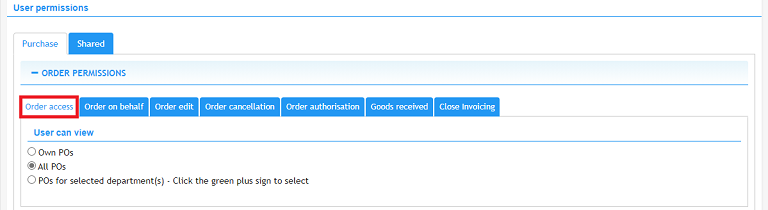
Press the [Order Permissions] expander to open the order permissions options. Order permissions determine whether users can view purchase orders, place orders, edit orders, cancel orders, authorize orders, receive goods, or close invoices.

Press the [Order Access] tab to select whether the user can view only their own POs, all POs, or POs within selected departments. Press the Green Plus sign to add the selected departments. For no permissions, do not select any option.
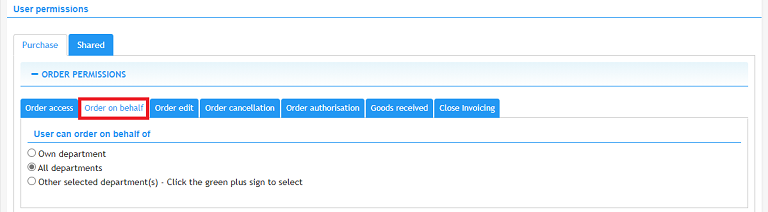
Press the [Order On Behalf] tab to select how the user can order on behalf of Own Department/All Departments/Other Selected Departments. Press the Green Plus sign to add the selected departments. For no permissions, do not select any option.
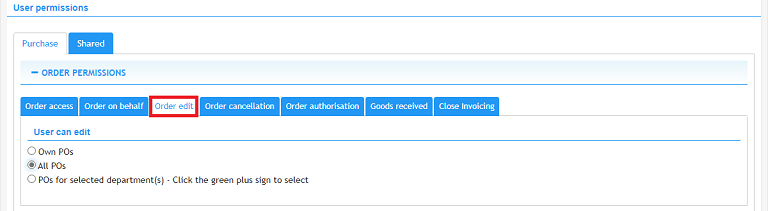
Press the [Order Edit] tab to select which POs the user can edit: Own POs/All POs/POs for Selected Departments. Press the Green Plus sign to add the selected departments. For no permissions, do not select any option.
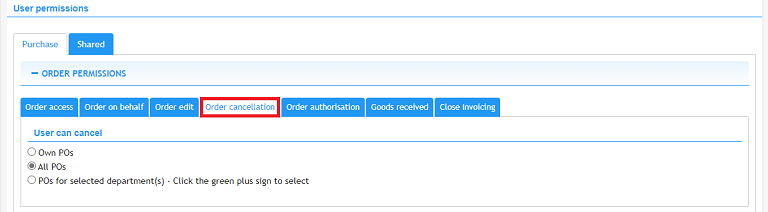
Press the [Order Cancellation] tab to select which POs the user can cancel: Own POs/All POs/POs for Selected Departments. Press the Green Plus sign to add the selected departments. For no permissions, do not select any option.
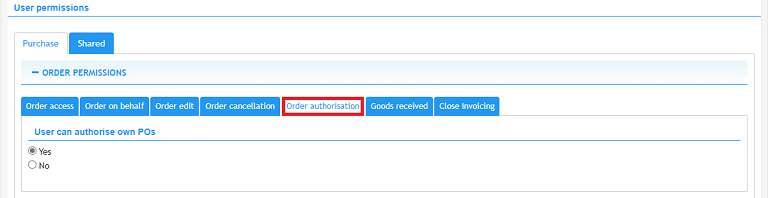
Press the [Order Authorization] tab and select Yes to allow the user to authorize their own POs. Select No to prevent the user from authorizing their own POs.
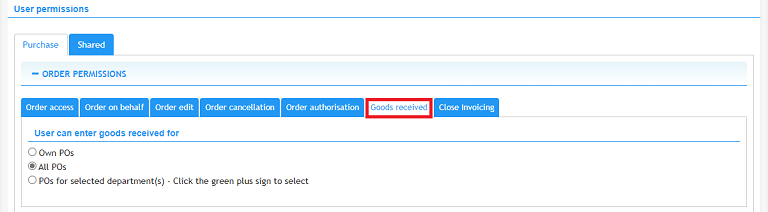
Press the [Goods Received] tab to select whether the user can enter goods received for their own POs/All POs/POs for Selected Departments. Press the Green Plus sign to add the selected departments. For no permissions, do not select any option.
Press the [Close Invoicing] tab to select whether the user can close invoices for their own POs/All POs/POs for Selected Departments. Press the Green Plus sign to add the selected departments. For no permissions, do not select any option.

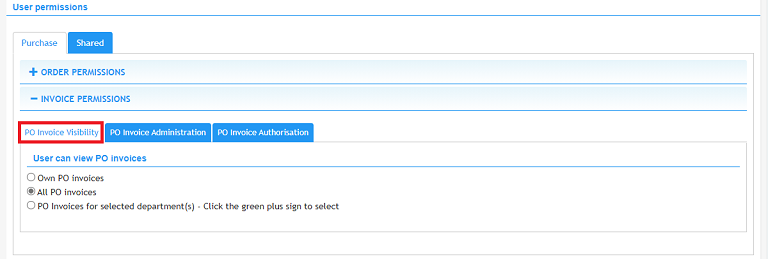
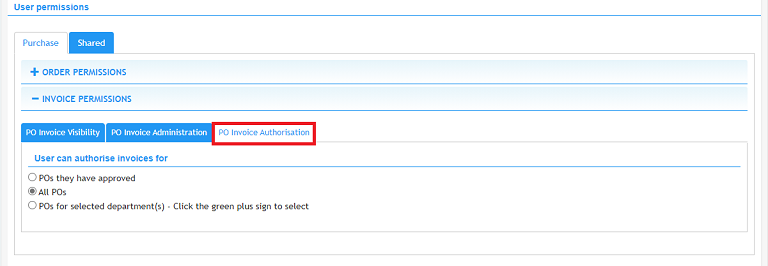
Press the [Invoice Permissions] expander to open the invoicing permissions options.

Press the [Invoice Visibility] tab to select whether the user can view only their own invoices, all invoices, or invoices within selected departments. Press the Green Plus sign to add the selected departments. For no permissions, do not select any option.
Press the [Invoice Administration] tab to select whether the user can administrate invoices for only POs they have approved, all POs, or POs within selected departments. Press the Green Plus sign to add the selected departments. For no permissions, do not select any option.

Press the [Invoice Authorization] tab to select whether the user can administrate invoices for only POs they have approved, all POs, or POs within selected departments. Press the Green Plus sign to add the selected departments. For no permissions, do not select any option.
To set shared permissions for the user, press the [Shared] tab next to the [Purchase] tab.

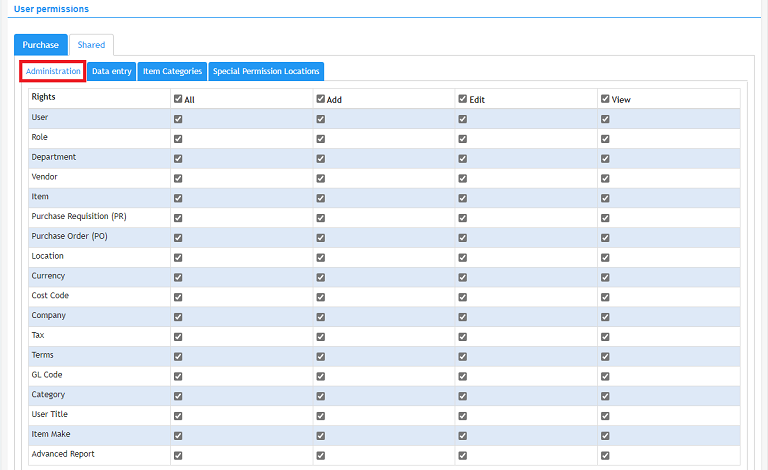
Press the [Administration] tab to set user rights. Rights are given as follows: Add, Edit, View or All. These can be applied to Users, Roles, Departments, Vendors, Items, Purchase Requisitions, Purchase Orders, Location, Currency, Cost Code, Company, Tax, Terms, GL Code, Category, User Title, Item Make, and Advanced Reports.
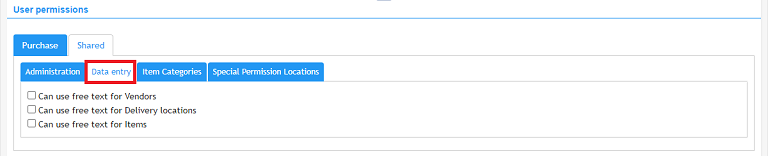
Press the [Data Entry] tab to control whether or not the user can use free text features for vendors, delivery locations, or items. Select one or more options as needed. Make no selection for users who do not need access to free text options.
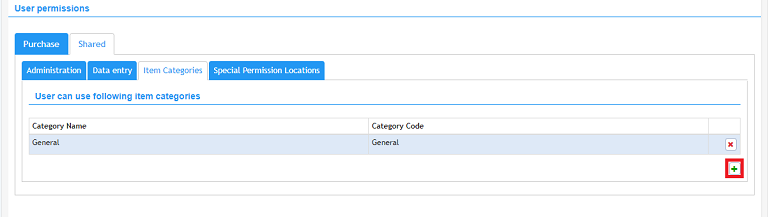
Press the [Item Categories] tab to select the item categories the user can use.
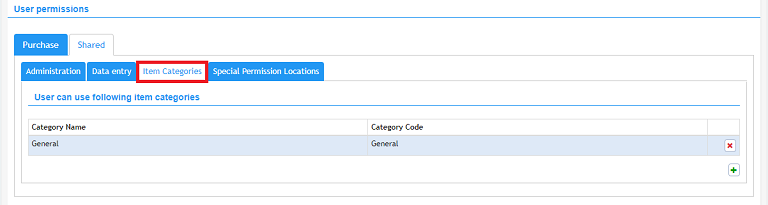
Press the Green Plus sign to add additional item categories to their access list.
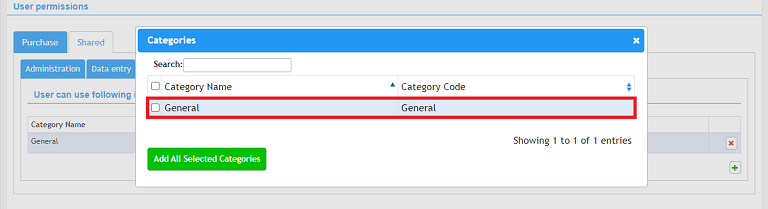
In the window that appears, select the category to add to the list.
Press the [Add All Selected Categories] button to add categories to the list.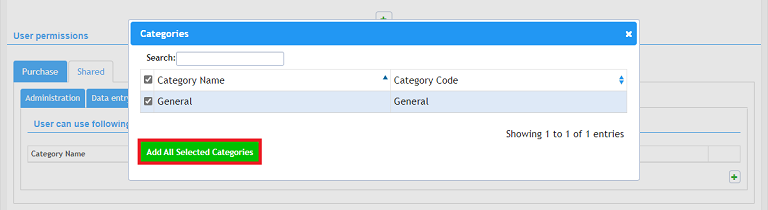
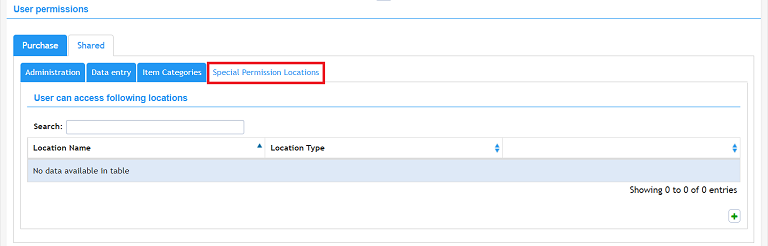
Press the [Special Permissions Locations] tab to select any special locations the user should have access to.