How to use the Users section
Users
Anyone who uses PLANERGY will need a user account. You control the number of users you can add with user licenses. Your base account includes X licenses, and additional licenses can be purchased on an as needed basis.
In this section, you’ll be able to create new users and edit existing users. You’ll need their email address because this serves as their username, along with their first and last name. You must assign a user role and department. Optional fields include things like phone number, title, supervisor, regional settings, and time zone.
The Users section is also where you’ll choose to enable the use of single sign on, set transaction limits and monthly spending limits, set up alerts to notify other users about relevant PO changes, and so on. If a user will be out of the office, you can also set up proxy users who handle their tasks while they are gone.
If you want to adjust the user permissions to deviate a bit from the assigned role, you can do so on a user-by-user basis here as well.
You’ll also be able to search through users based on a variety of parameters and export a report of all the users in the system.
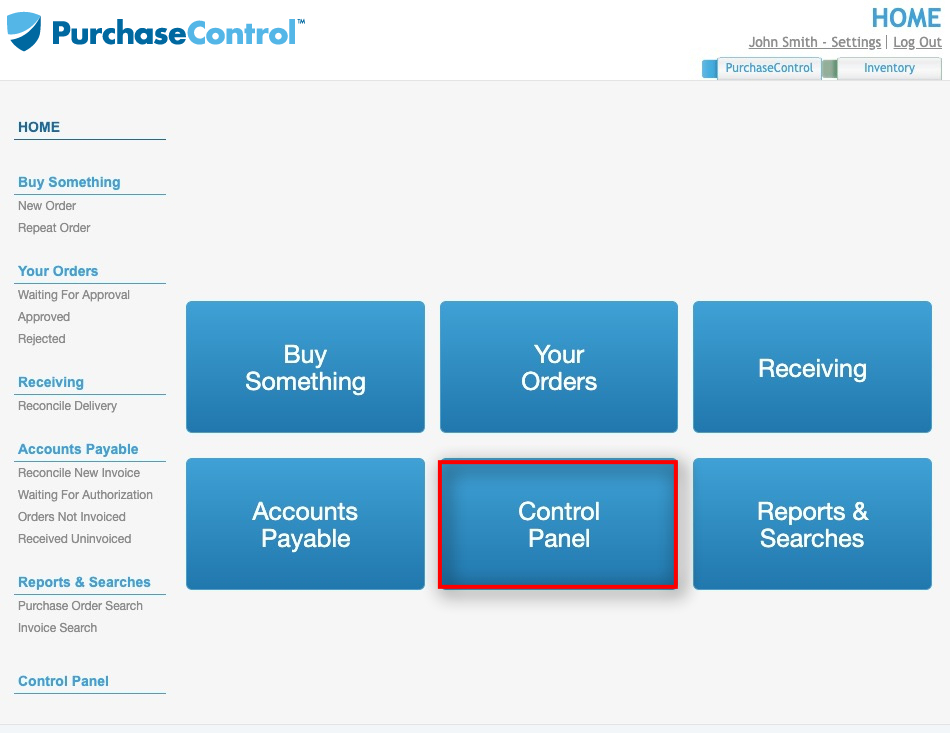
Press the Control Panel button.
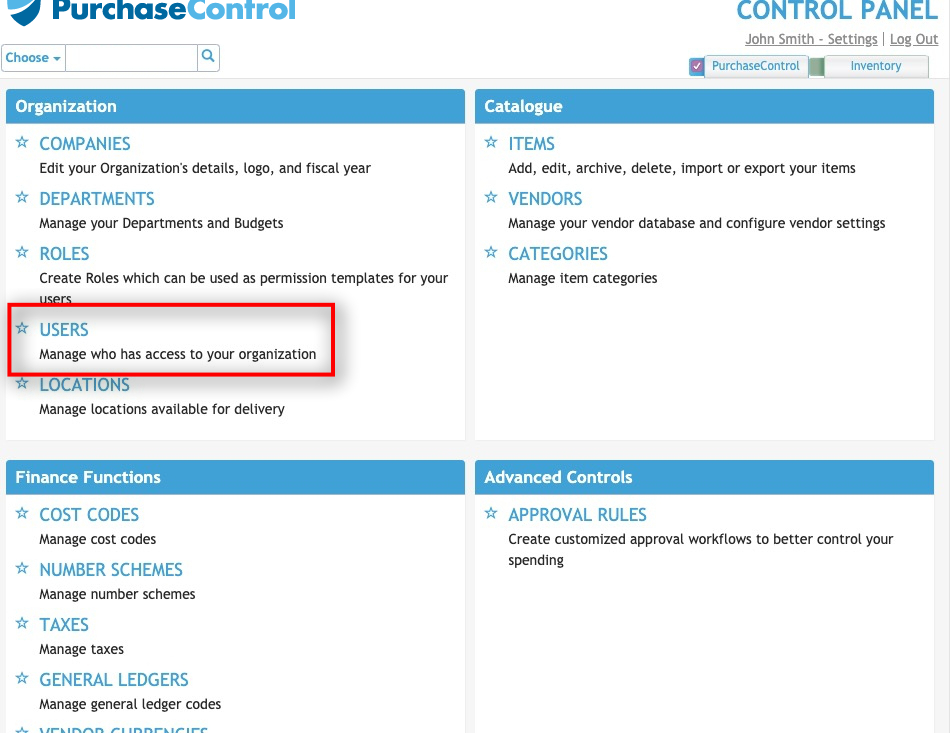
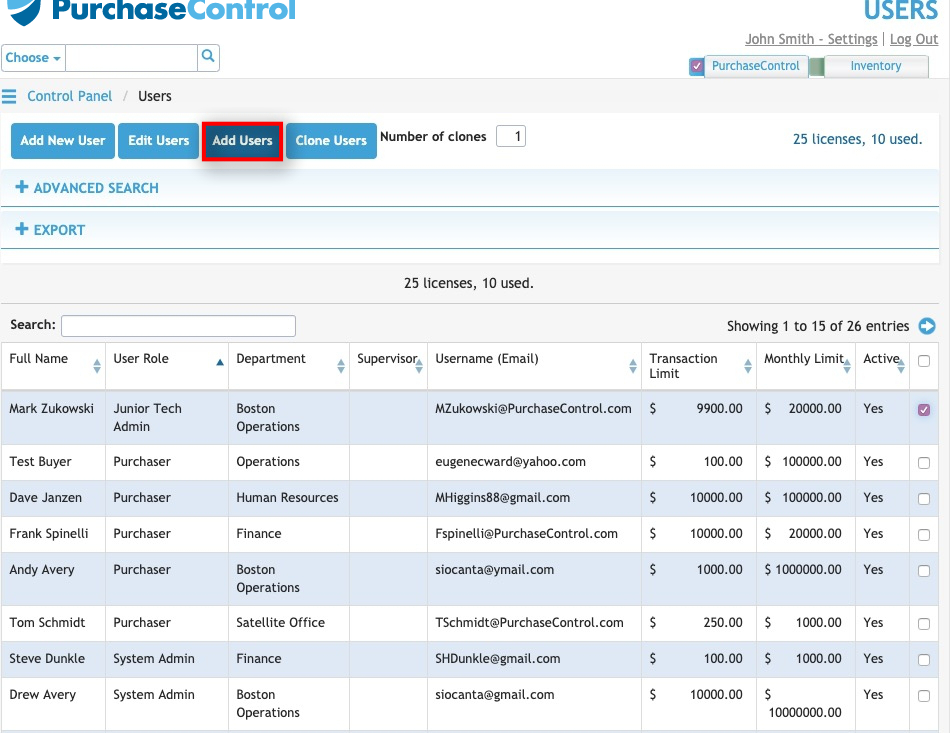
Press the Users button.
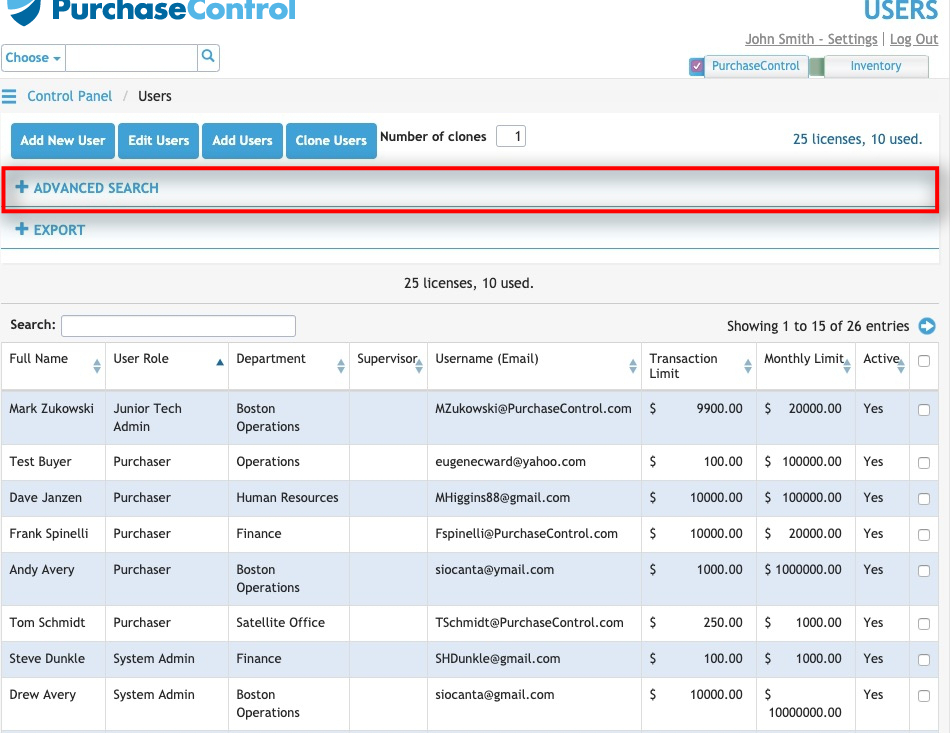
On the right, you will also see the number of licenses you have available and how many you have used. Active users take up a license. Archived users do not.
Press the Advanced Search button and advanced search options will appear. Search by username (email), First Name, Middle Name, Last Name, Out of Office status, User Role, Department, Active status, or who their supervisor is. Choose options by pressing on the dropdown menus. Choose whether or not to include archived users in your search.
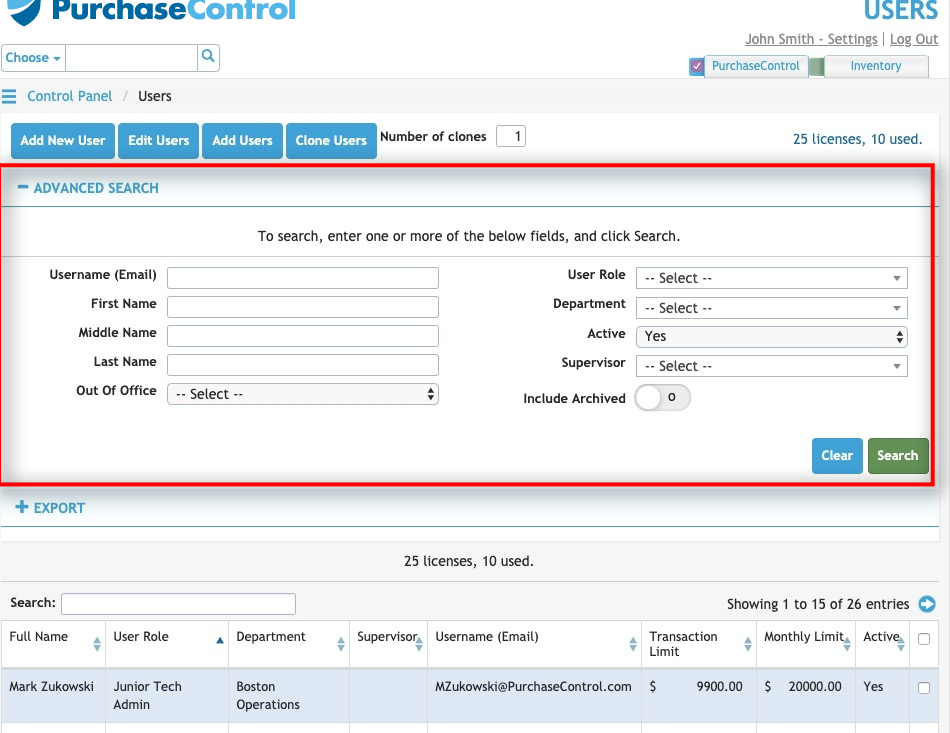
Press the green search button to return search results based on your chosen parameters. The table will update showing only data that meets your parameters.
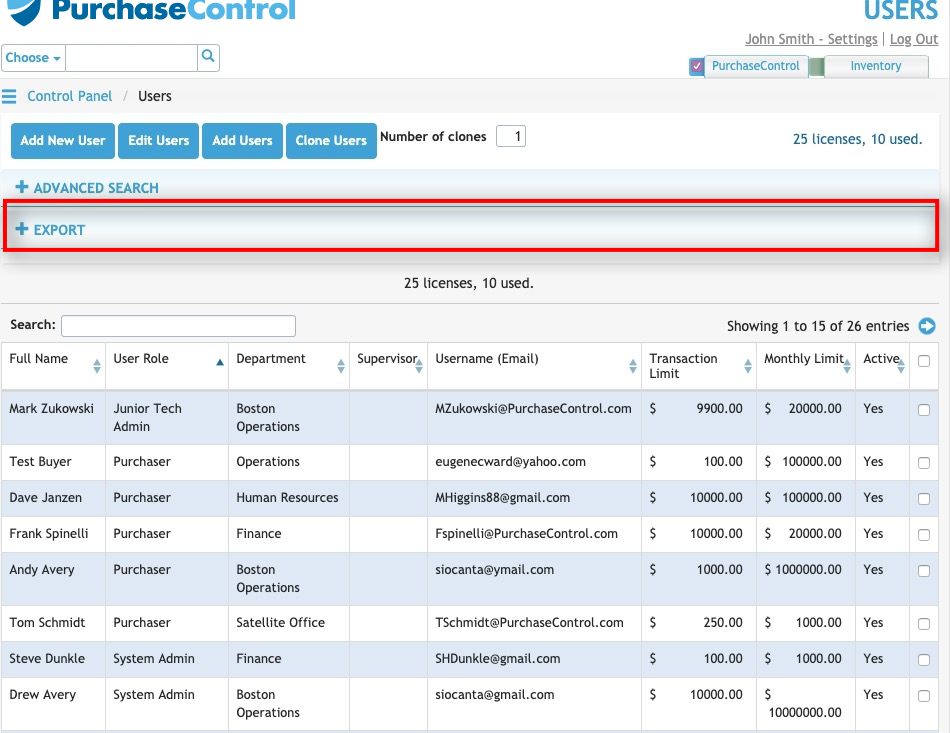
Press the Export button to create a spreadsheet of your search results.
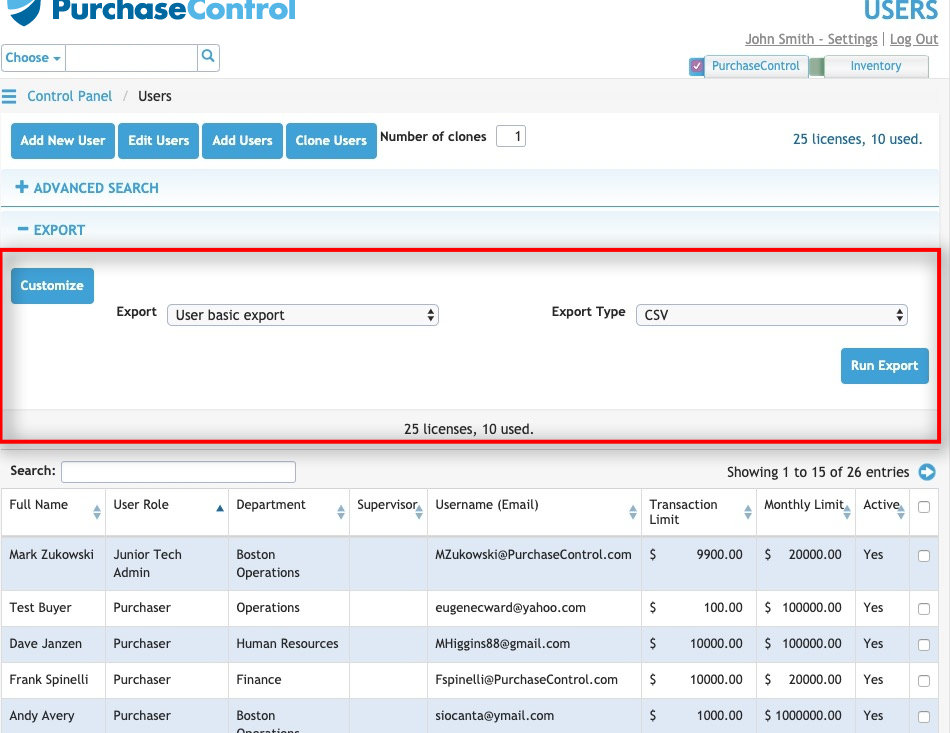
Choose between a User Basic Export, or a User PO and Invoice Permissions Export from the Export dropdown menu. Then select the file format from the Export Type dropdown menu.
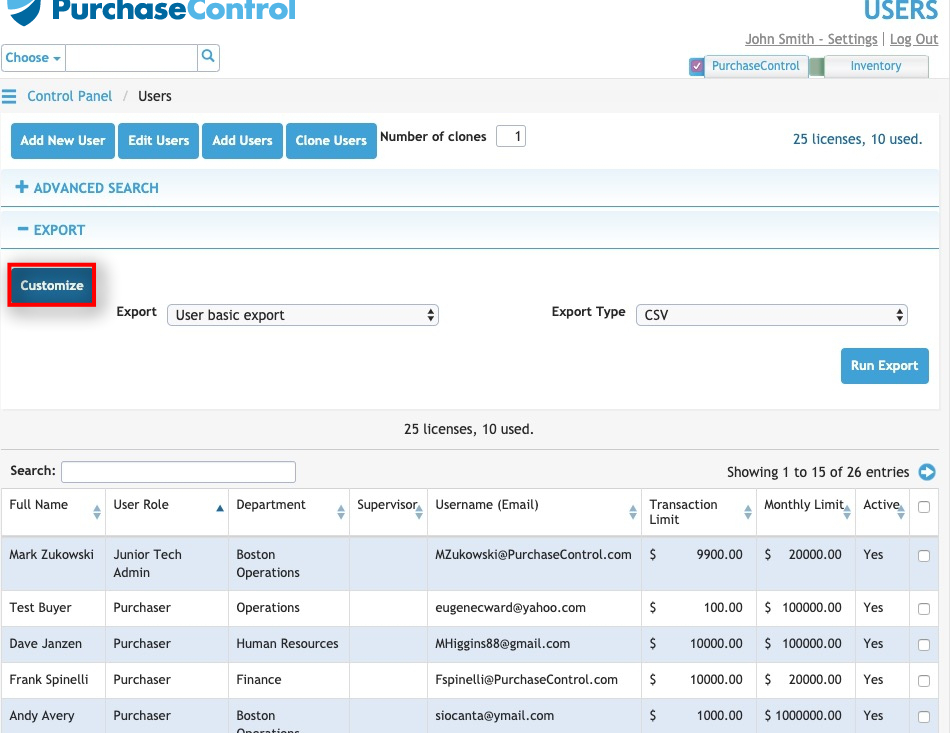
To customize your report data, press the Customize button.
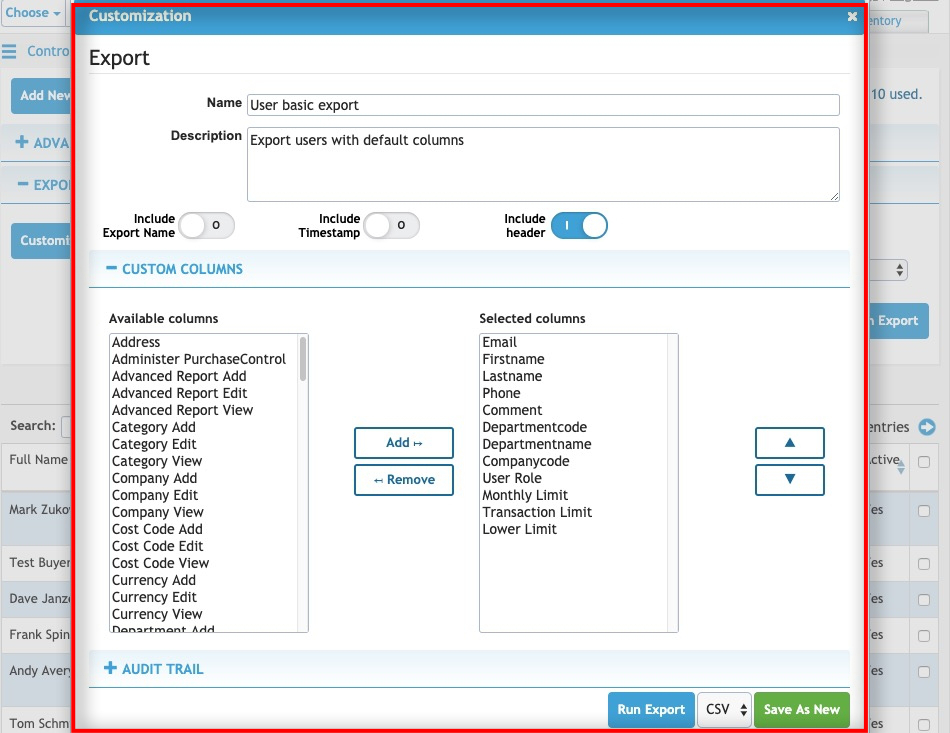
A pop-up window appears to allow you to customize the fields in your report. You can save it as a template for future reports by pressing the green button or run the report by pressing the blue button. You can choose the file format with the dropdown menu located between the blue and green buttons.
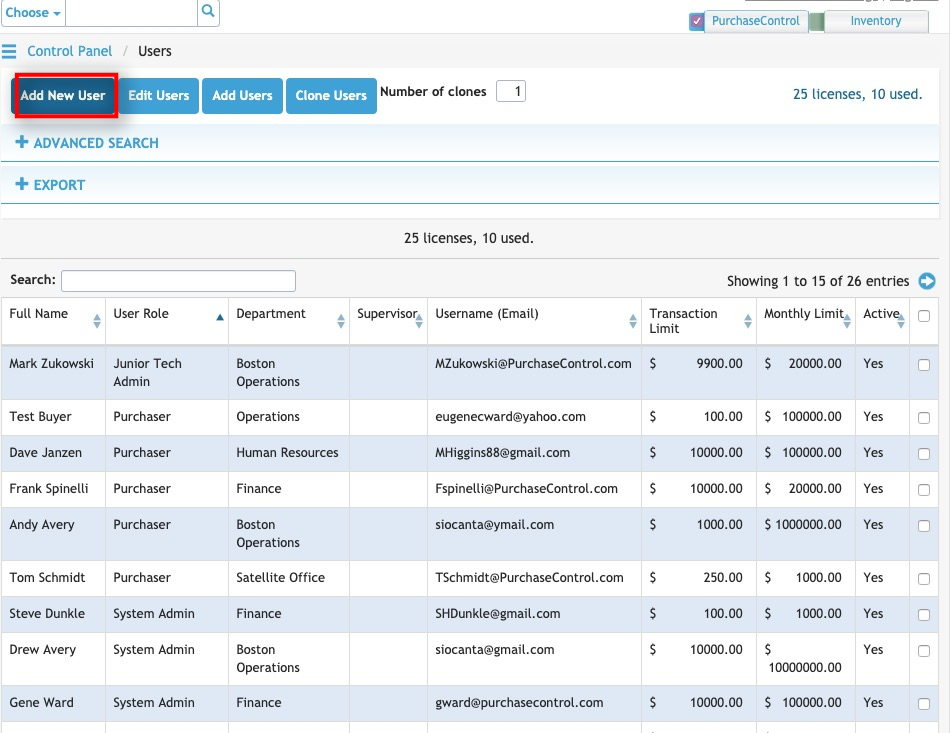
To add a new user, press the Add New User button.
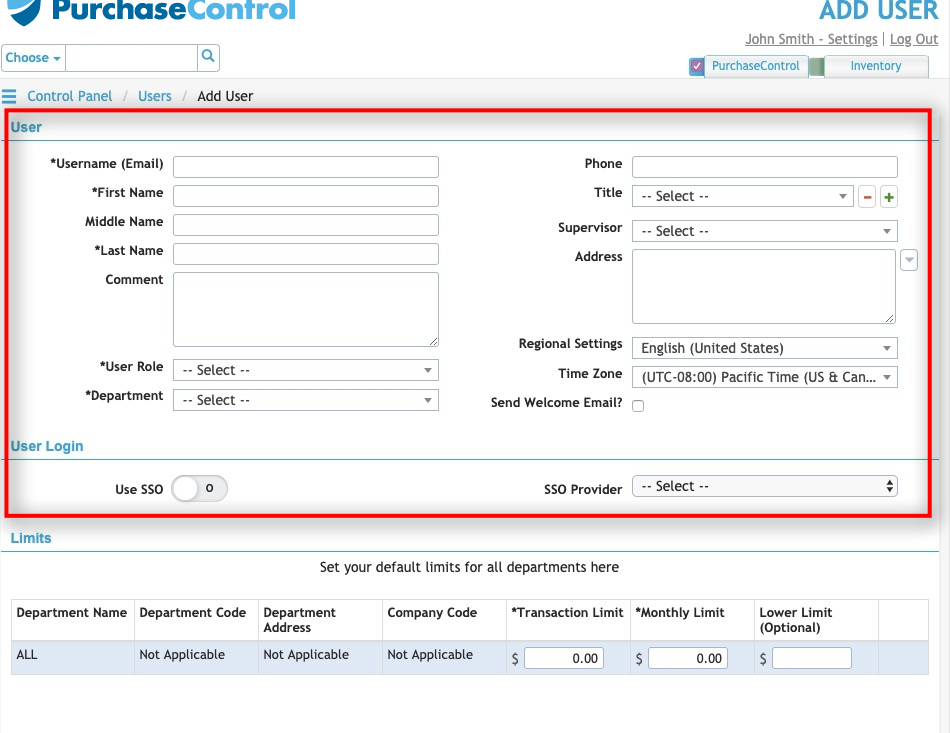
Enter the user’s email address, which is what they will use as their login name when they log in to the PLANERGY system. Enter their first and last name.
If desired, enter the optional fields, such as middle name, phone number, title, supervisor, regional settings, address, and time zone.
You must select a user role and assign the user to a department. The assigned department should be the one you consider them part of, not necessarily the department or departments they are allowed to create purchase orders for.
The user role provides a cookie cutter start to the user permissions. These can be customized regardless of the user role.
If desired, enter a comment in the user profile.
When a user is marked Active, they can log into the system and place orders as their user permissions allow. If the user is not active, they cannot log into the system for any reason. This is an option for users who will be on maternity leave, or any other kind of extended break.
If a user has too many unsuccessful login attempts, they will be locked out of the system. When this happens, the Is Locked checkbox will be checked. A system administrator will have to login and uncheck the box so the user can try to login again.
If your company uses a single sign on system, you can toggle the switch and choose the one you use from the dropdown list.
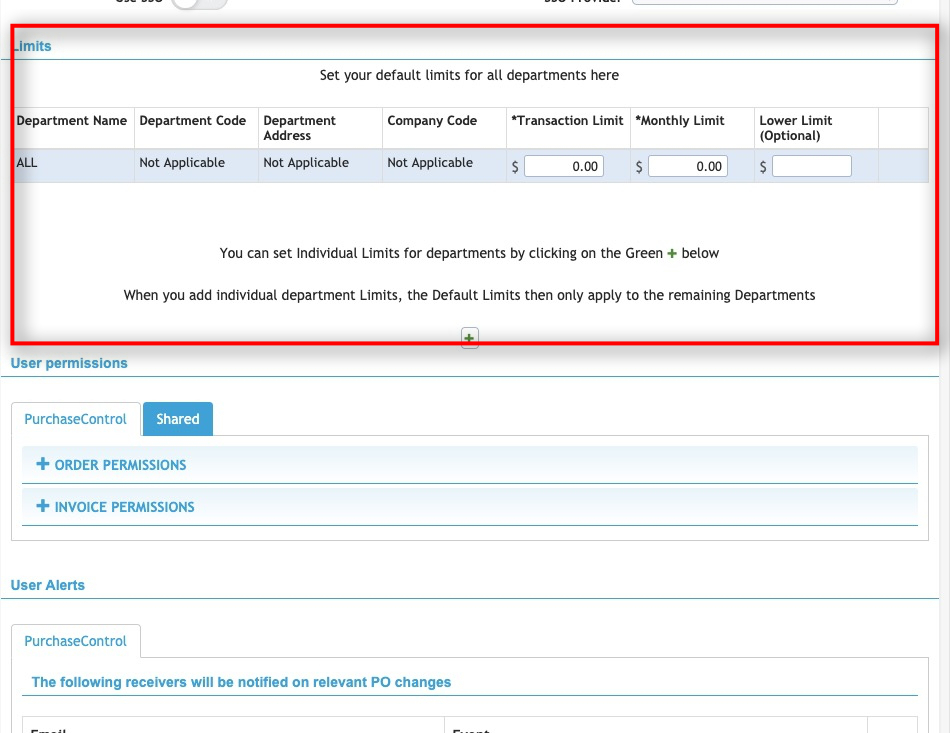
You can choose the limits for the transactions the user can approve, and the monthly cap on the amount the user can approve.
Lower limits are optional, but orders in these amounts bypass the user as an approver, if there is a rule that allows the user to approve POs.
Limits are set on a departmental basis, so if your user can order for multiple departments, limits must be in place for each of those departments.
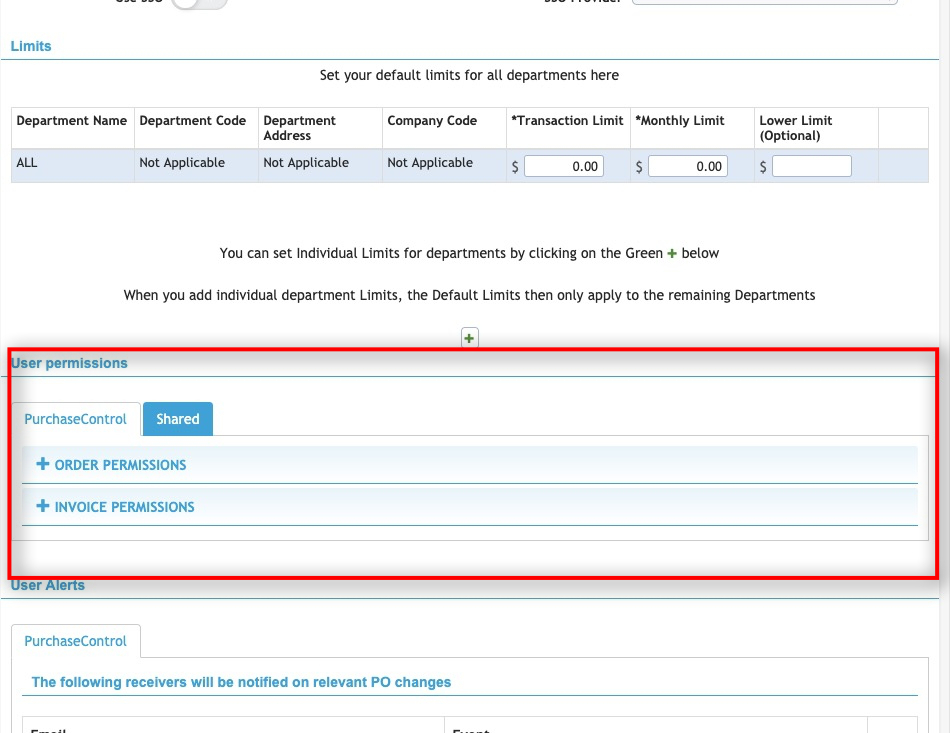
Make any adjustments to the User permissions as desired. User Permissions are divided into two sections: PLANERGY, and Shared. Permissions are covered in the Roles section above.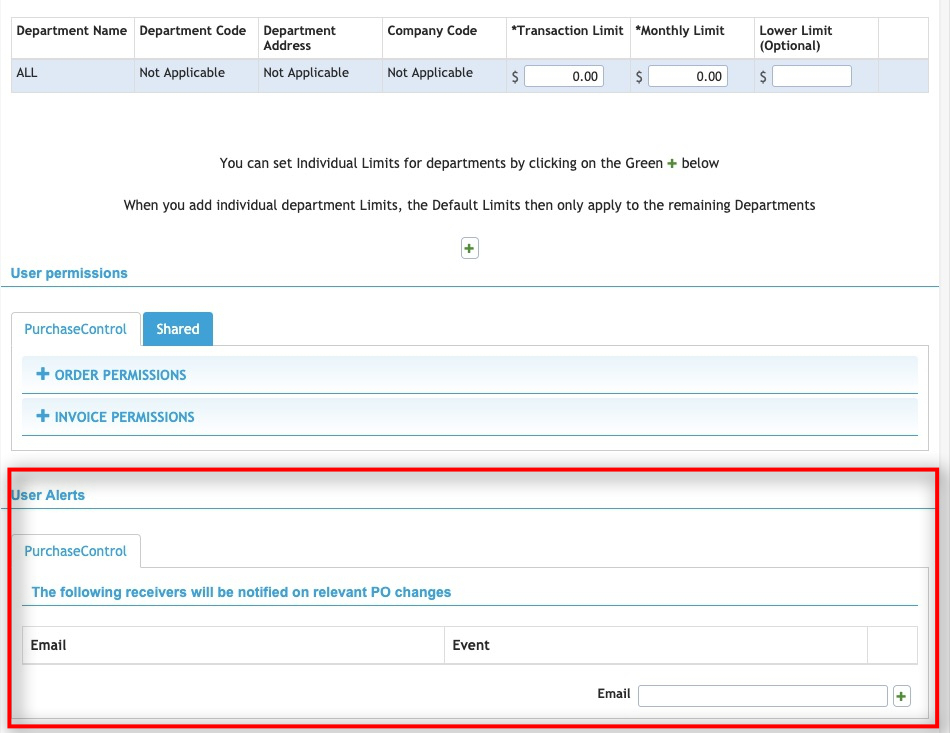
In the User Alerts section, you can select other users who will be notified by email when the user makes relevant PO changes. Press the green plus sign to add users.
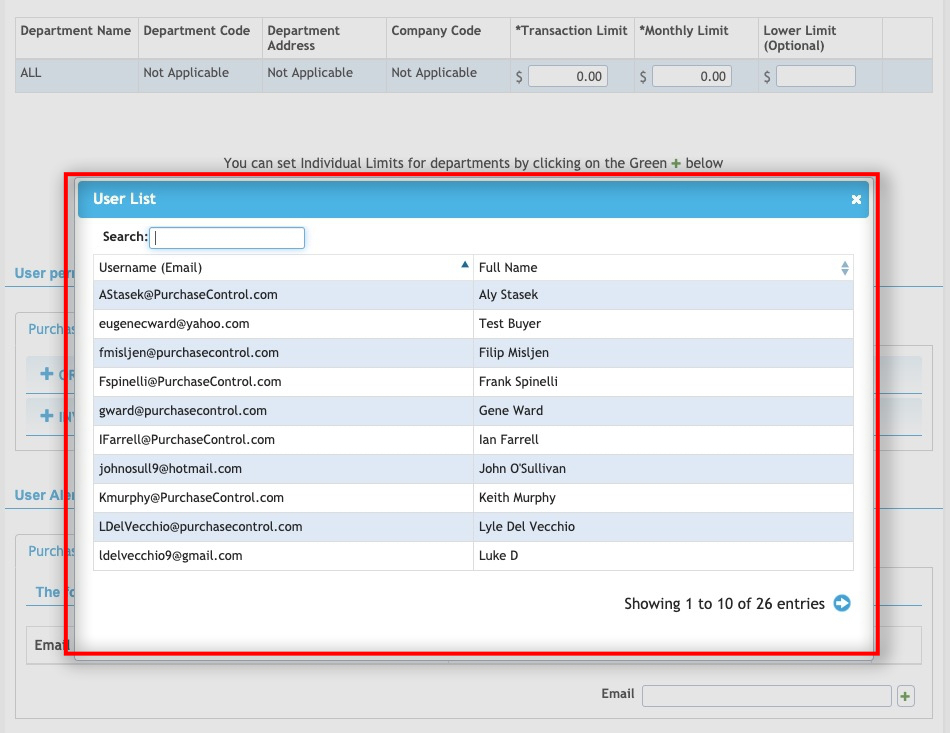
A pop-up window appears with a list of other users in the system. Press the user’s name to add them to the list.
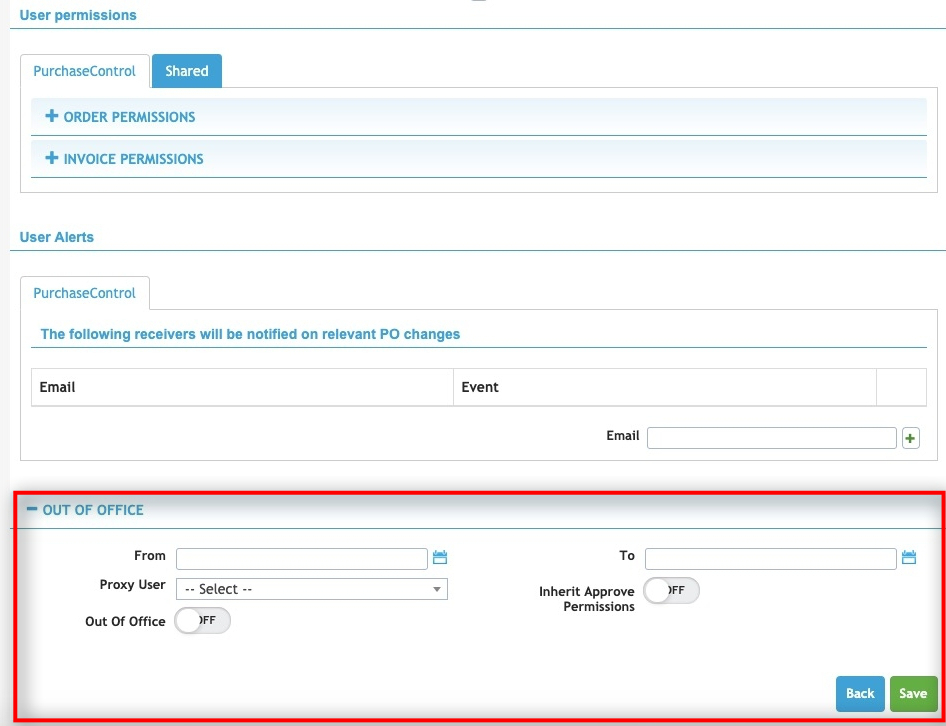
In the Out of the Office section, you can set dates that a user will be out of the office and set a user to take care of the tasks while the person is away. The proxy user is the person who will be taking care of tasks during the absence. If the proxy user lacks the necessary permissions, you can toggle the Inherit Approve Permissions to assign the necessary permissions to the proxy user.
When the Out of Office switch is turned off upon the user’s return to work, the proxy user’s permissions will return to normal.
To edit a user, double-press the user from the list. Enter the necessary data changes. Press the green Save button.
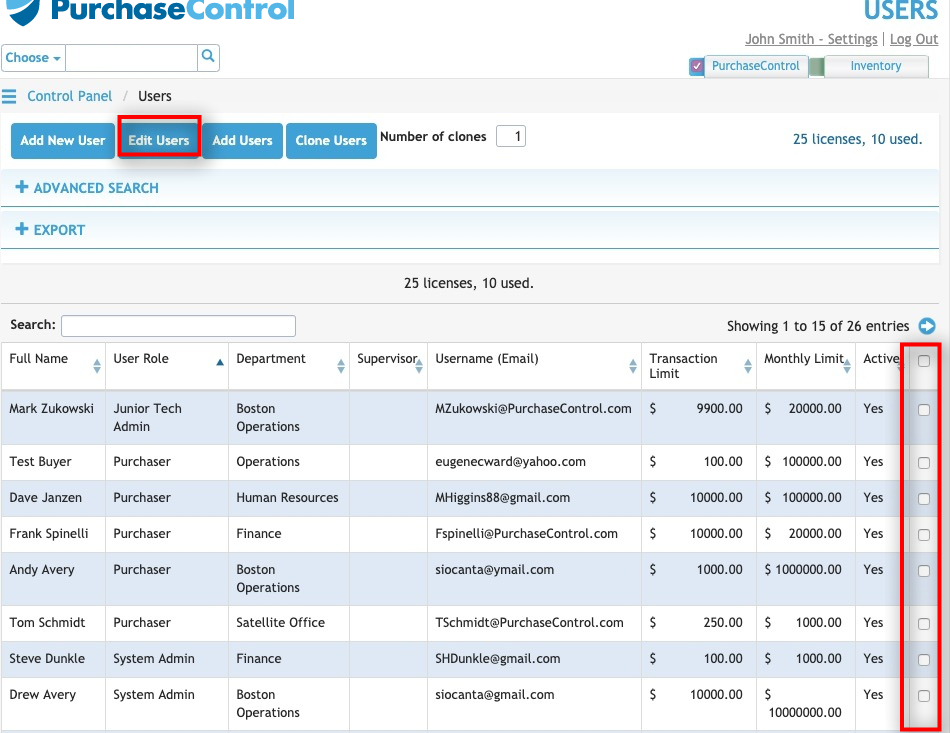
Alternatively, to edit one or multiple users, press the checkbox at the end of their record in the table. Press the Edit Users button.
A pop-up window will appear. Enter your edits. Press the green Save button.
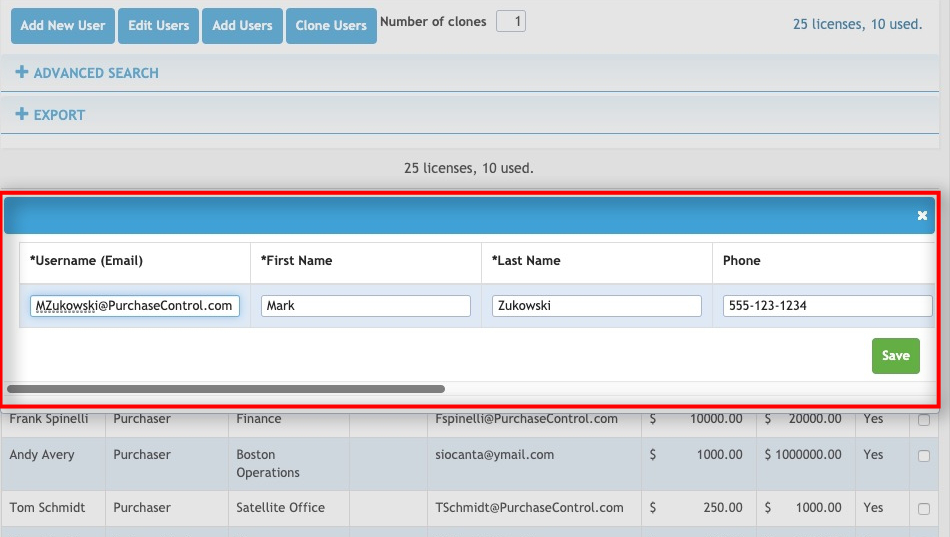
You can also add users to the system with this method. Press the “Add Users” button.

A pop-up window will appear. Enter the user’s information. Press the green Save button.
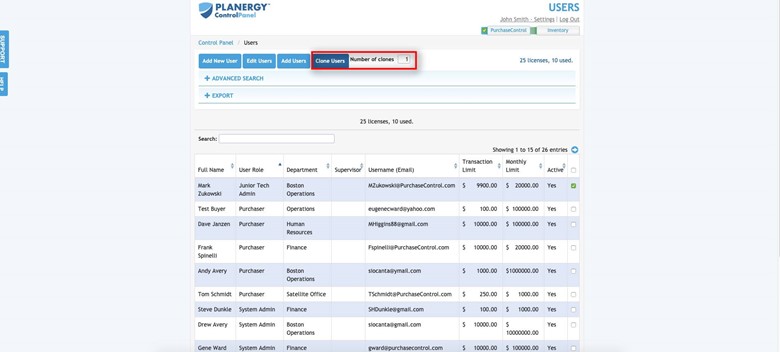
To create several new users at once with the same limits and permissions as another user in the system, enter the number of clones in the box at the right. Press the checkbox for the user you wish to clone. Then, press the Clone Users button.
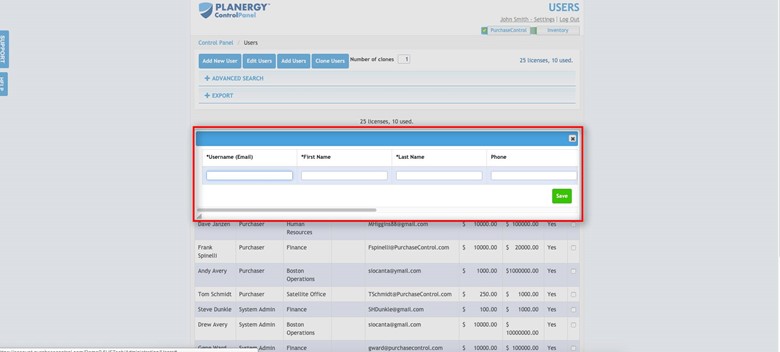
A pop-up window appears. Enter the user information. Press the green Save button.