How to use the Terms section
Terms
In the Terms section, you’re adding the various payment term options available that you can assign to vendors. For instance, if you must pay the vendor within 30 days, you can create a term name “30 days” and place 30 in the credit days box, along with a description of the payment terms. The term name, description, and credit days are all free text so you can customize it however you need.
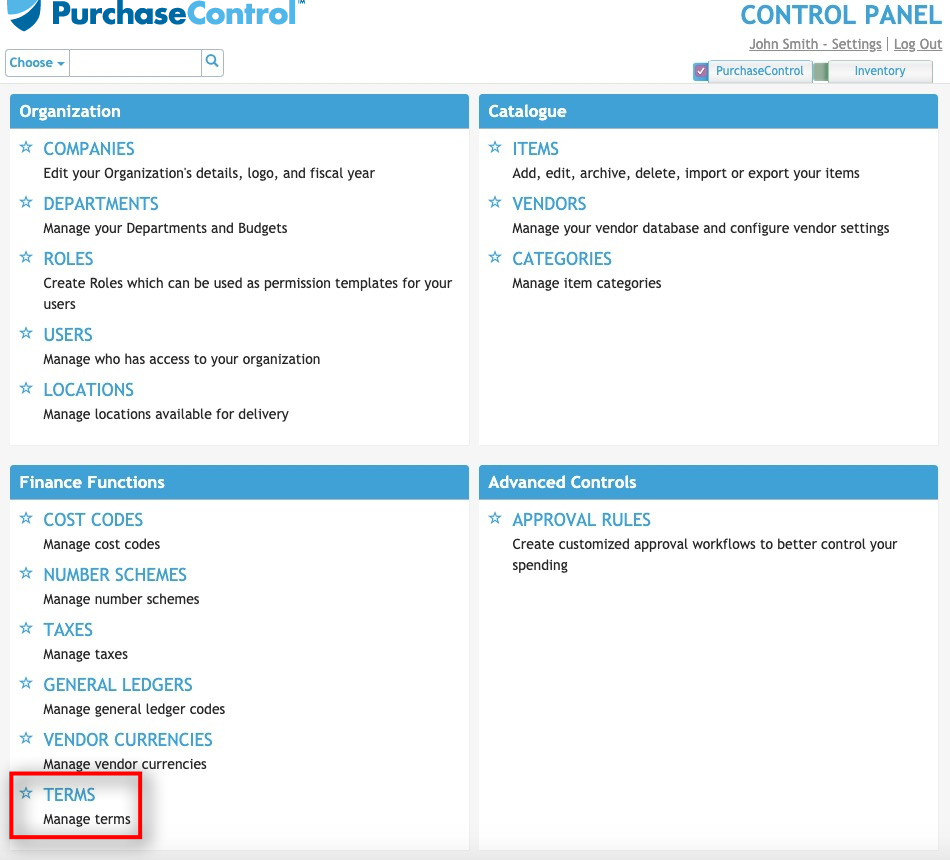
Press the Terms button.
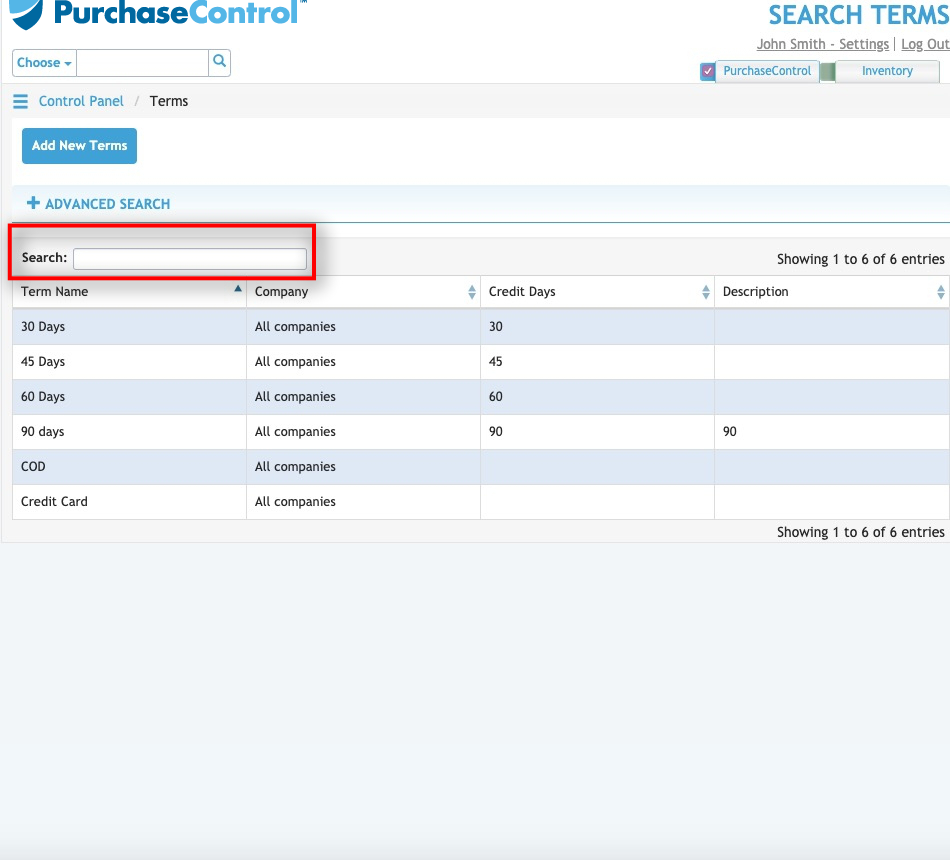
Use the Quick Search box to quickly narrow down your list of terms.
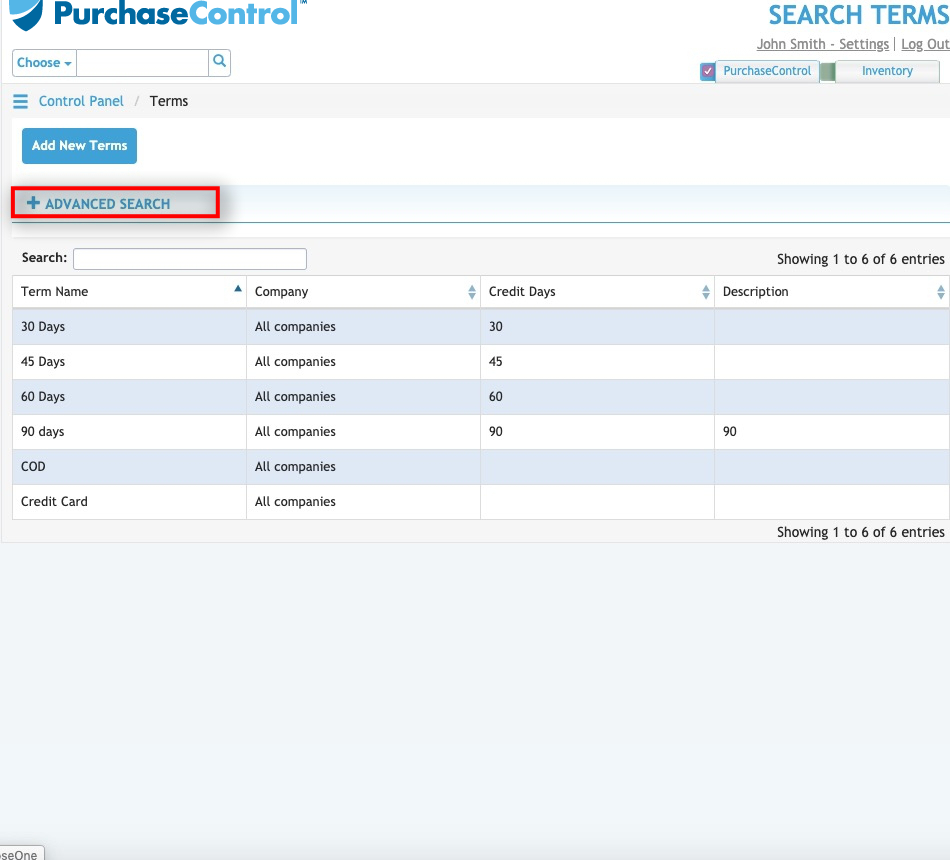
Press the Advanced Search button to open a search box.
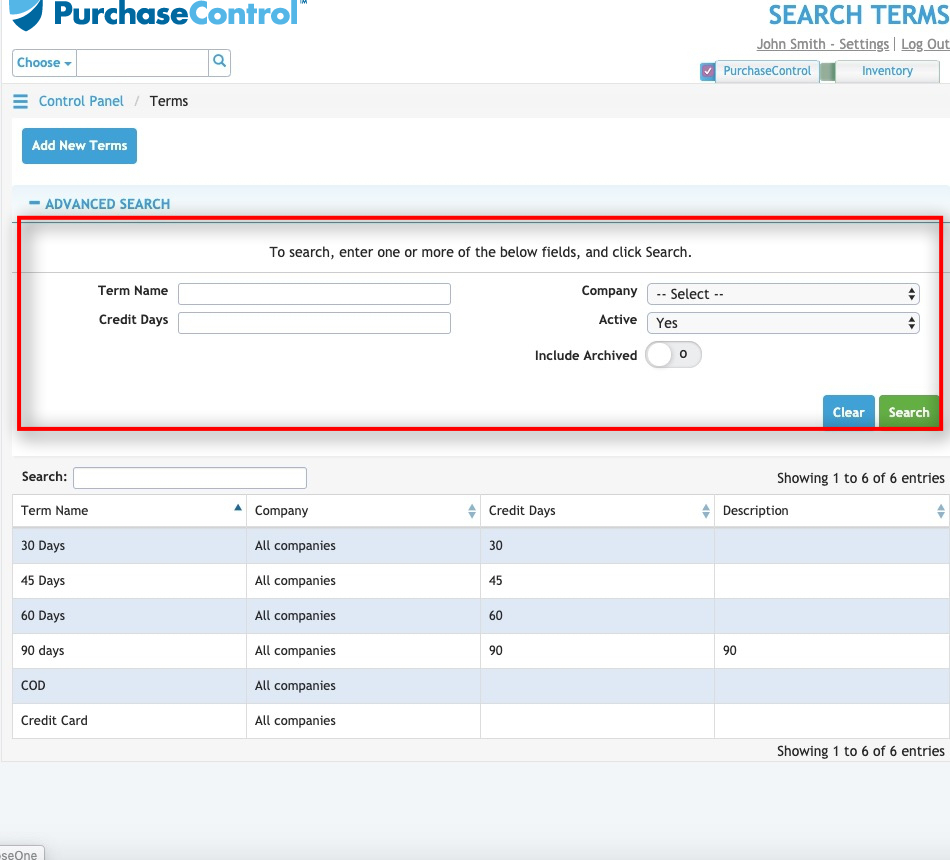
Search based on Term Name, Credit Days, the company the terms are associated with (in multiple company set ups), and active status. You can also choose whether or not to include archived terms in your search results.
Press the green Search button to execute your search. You can click on any terms in the search results to edit existing terms if you have permissions to do so.
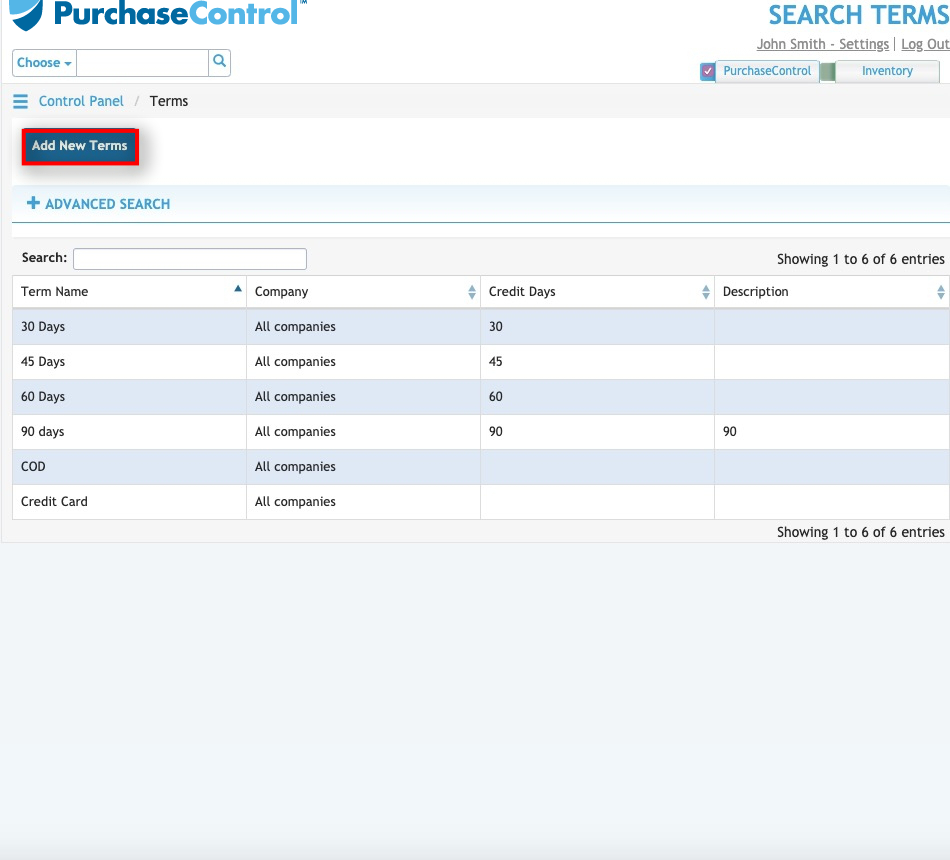
To add new terms to the system, press the Add New Terms button.
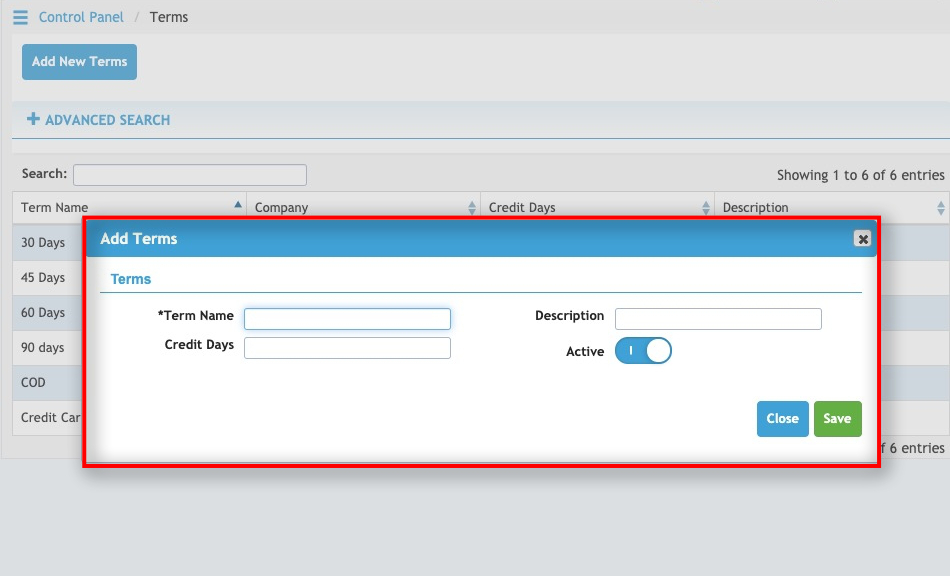
Enter the Term Name, description, and Credit Days. Toggle the Active Switch on or off as needed. The Active Switch must be on for the terms to be used in the system.
Press the green Save button to add the new terms to the system.