How to use the Departments section
Departments
In the Departments section, you’ll set up individual departments that match your company structure. You’ll give each department a name, assign the department’s location, and create a department code for each. If you operate with sub-departments, you can assign a master department as well. You’ll also have the option to assign a specific GL code to the department.
After you provide all that information, you’ll be able to choose the budget type – whether it is a project budget, an annual budget, or a multi-year budget. You can also choose a certain amount to allocate to sub departments, if you’re creating a master department.
If necessary, you can set monthly spending amounts for the department to help you account for seasonal variations in cash flow.
You’ll also be able to search through departments based on a variety of parameters, and export a report of all the departments in the system.
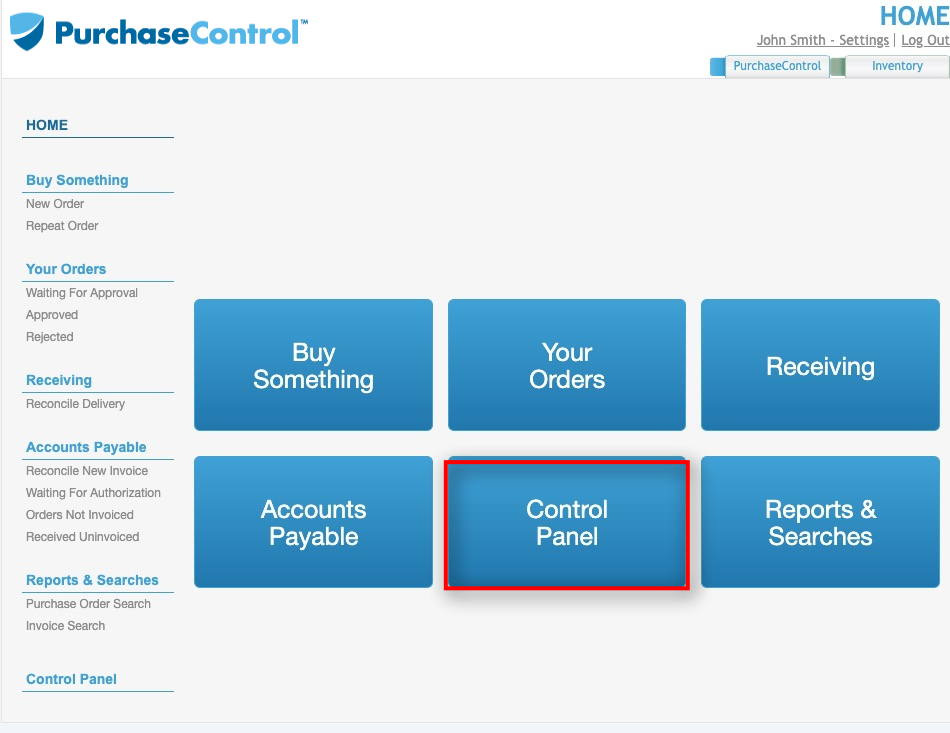
Press Control Panel to access Departments.
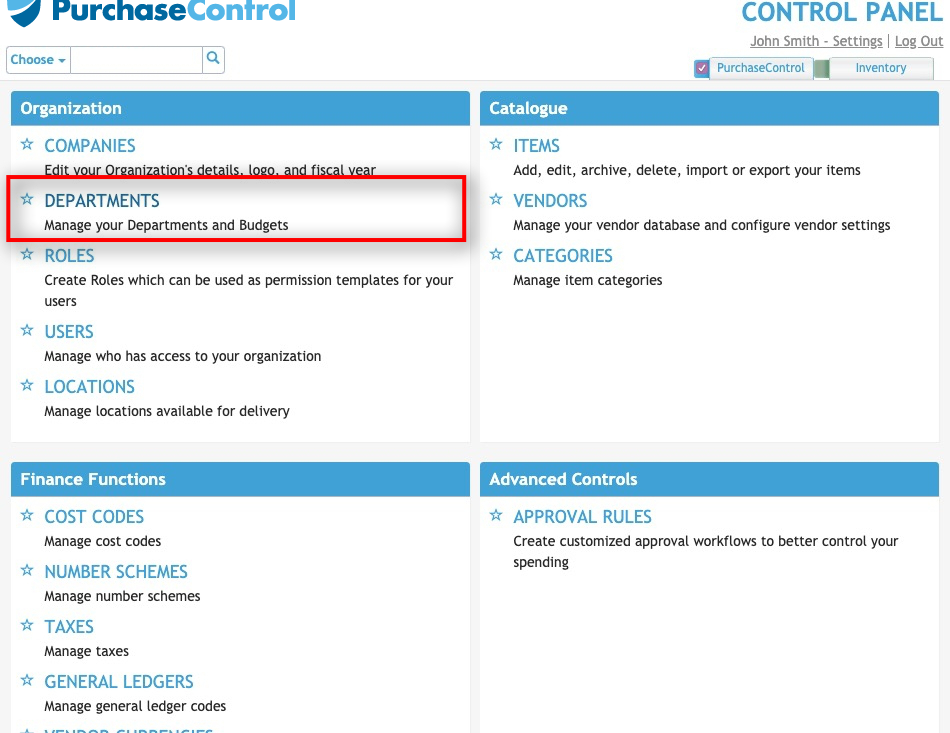
Press the Departments button to access the list of departments.

Use the Quick Search box to quickly locate departments.
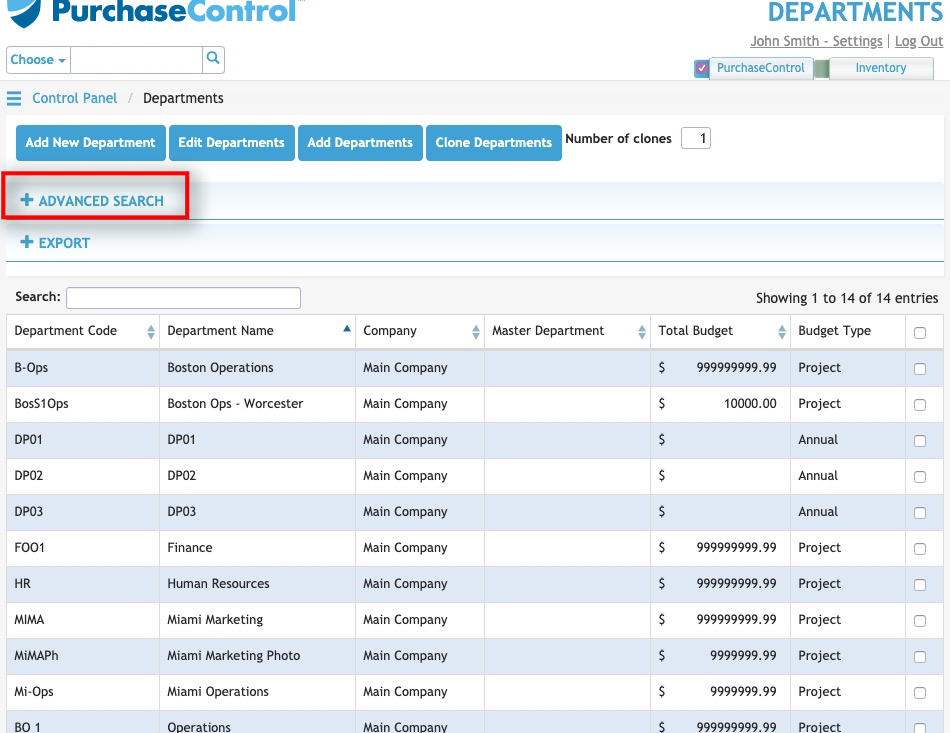
Press the Advanced Search button and advanced search options will appear. Search by Department Code, Department Name, Company the department is attached to, the Master department, the Department address, the Budget Range, whether or not the company is active, and whether or not you want to include archived departments.
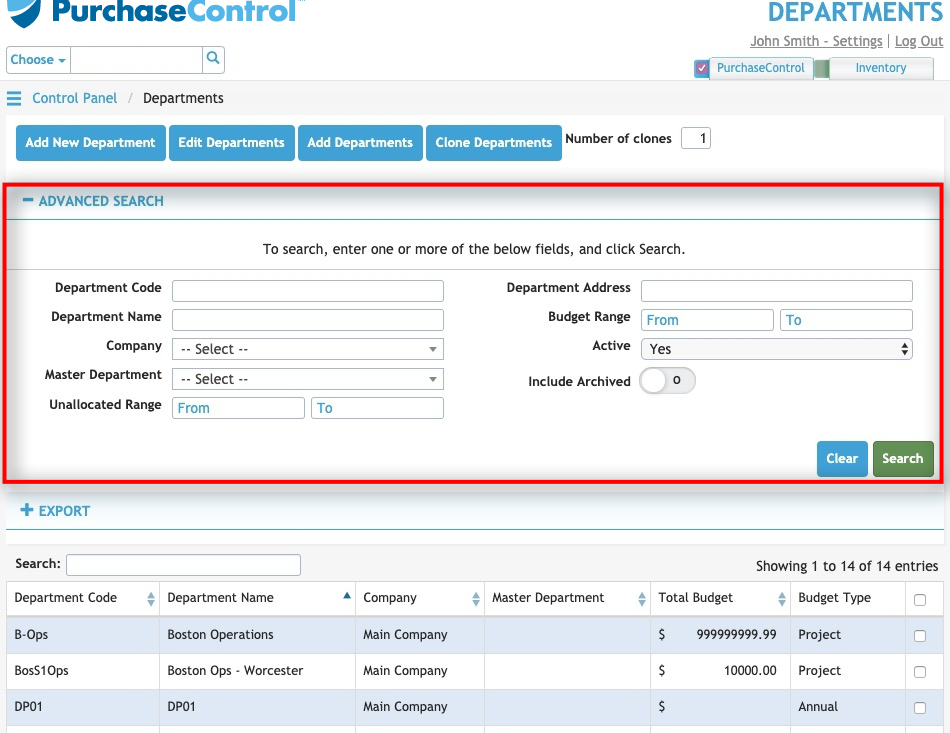
Press the green Search button to return search results based on your chosen parameters. The table will update showing only data that meets your parameters.
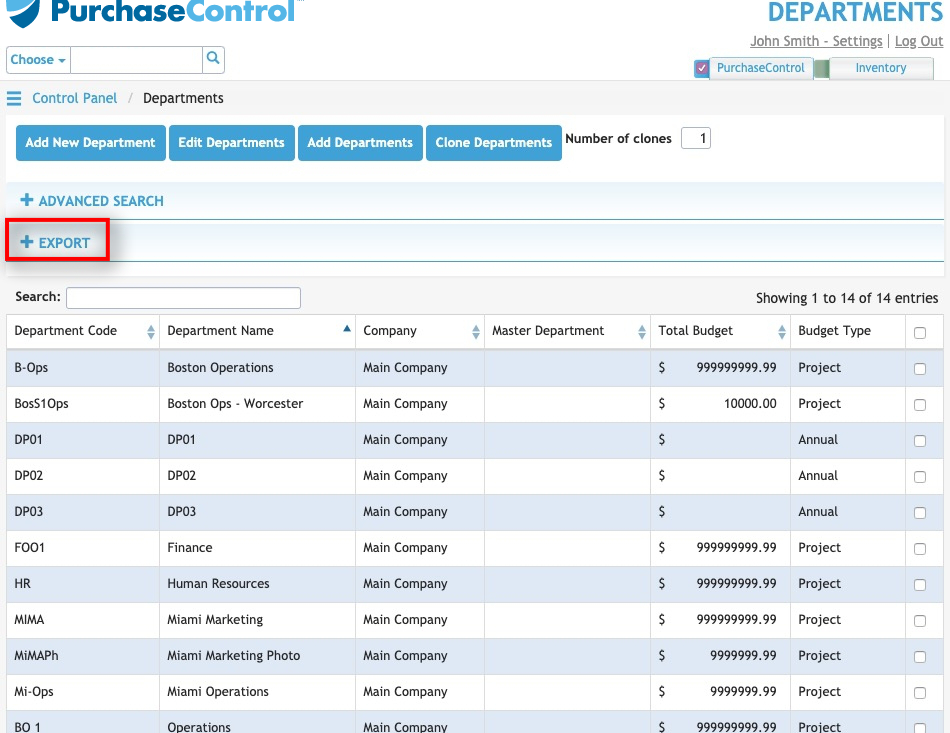
Press the Export button to create a spreadsheet of your search results.
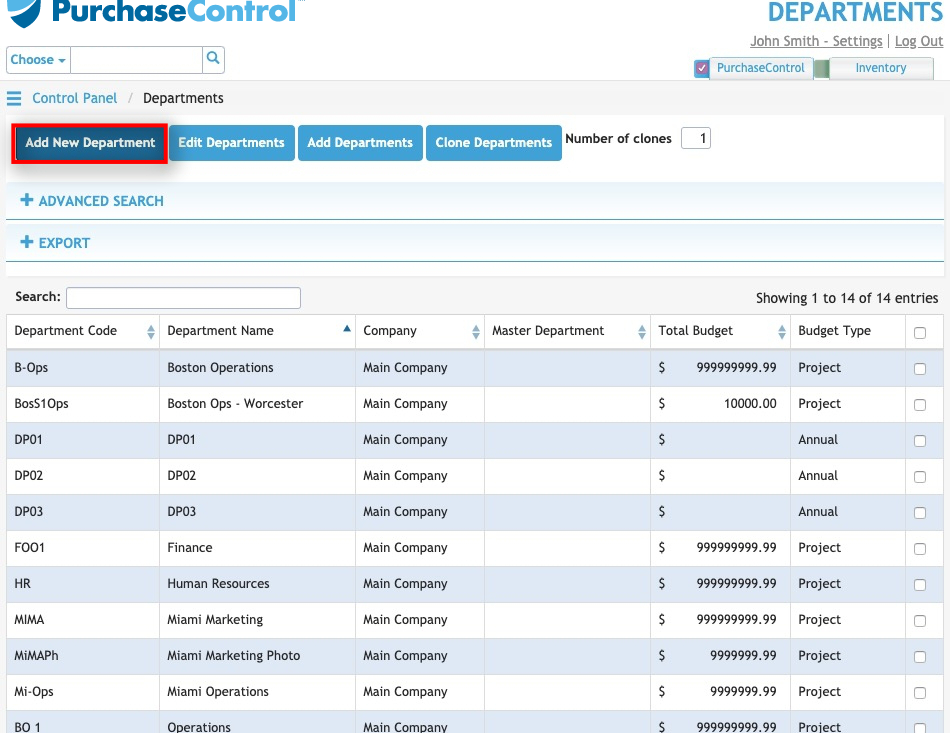
Press the Add New Department button to add a new department.
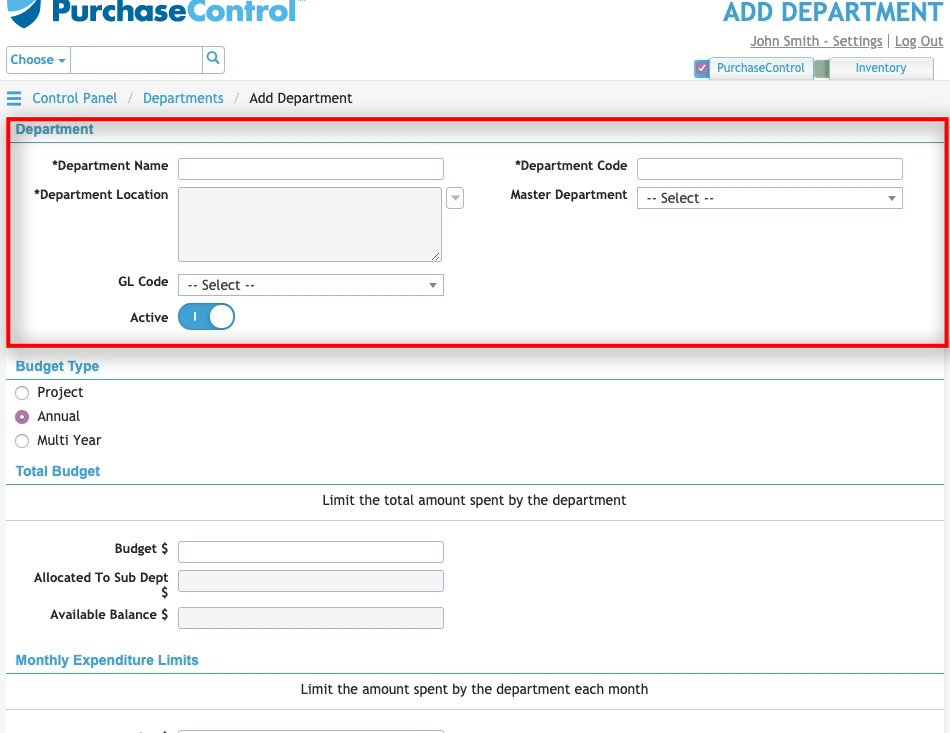
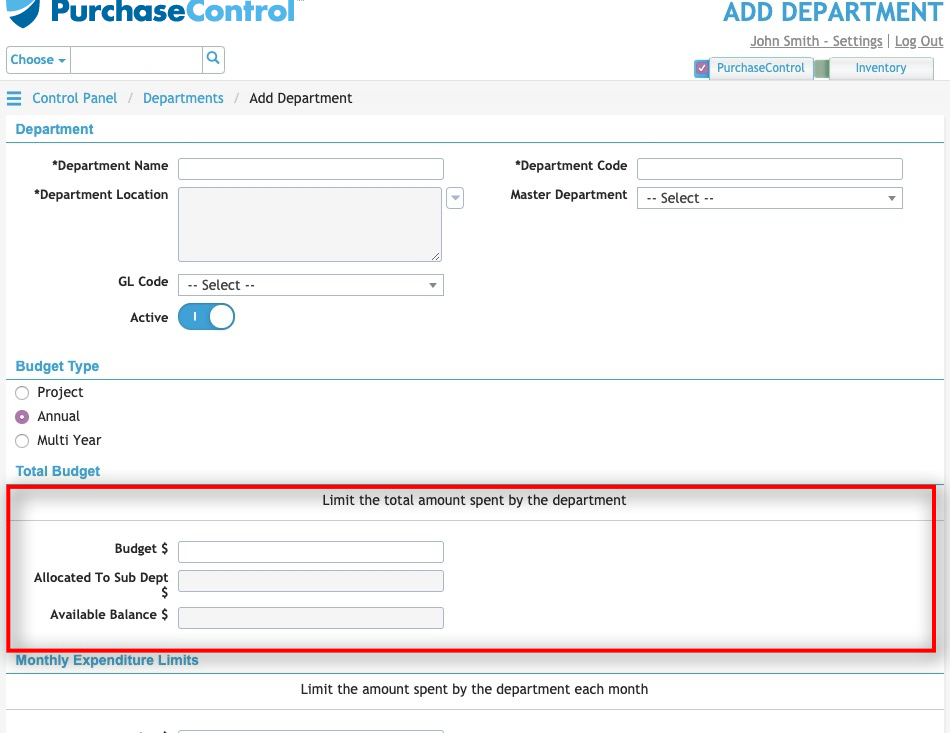
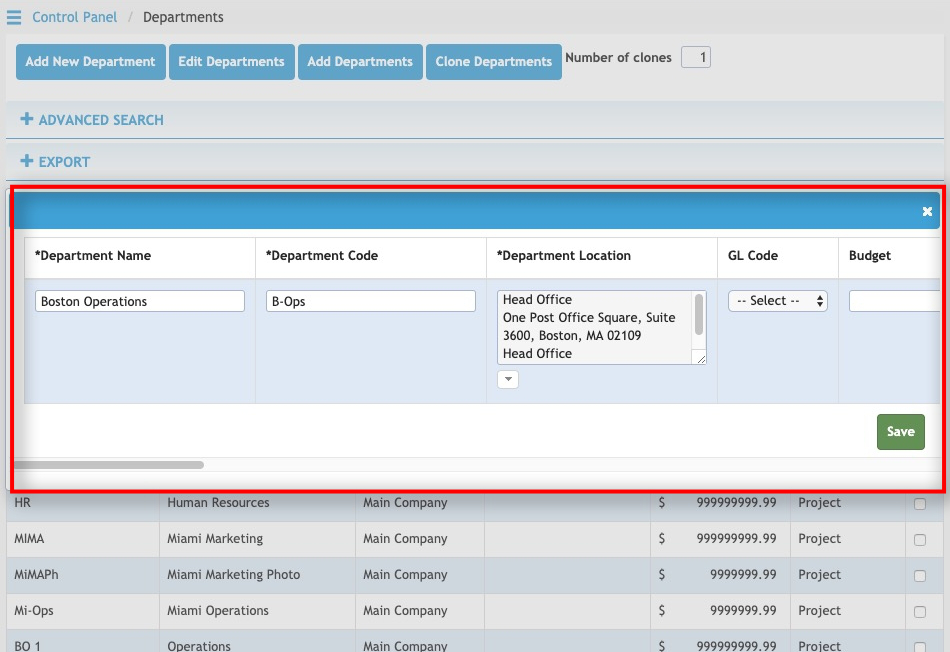
To add a new department, enter the department name, a department code, and the department address. If there is a master department, you can select it from the dropdown menu. This is a switchable feature.
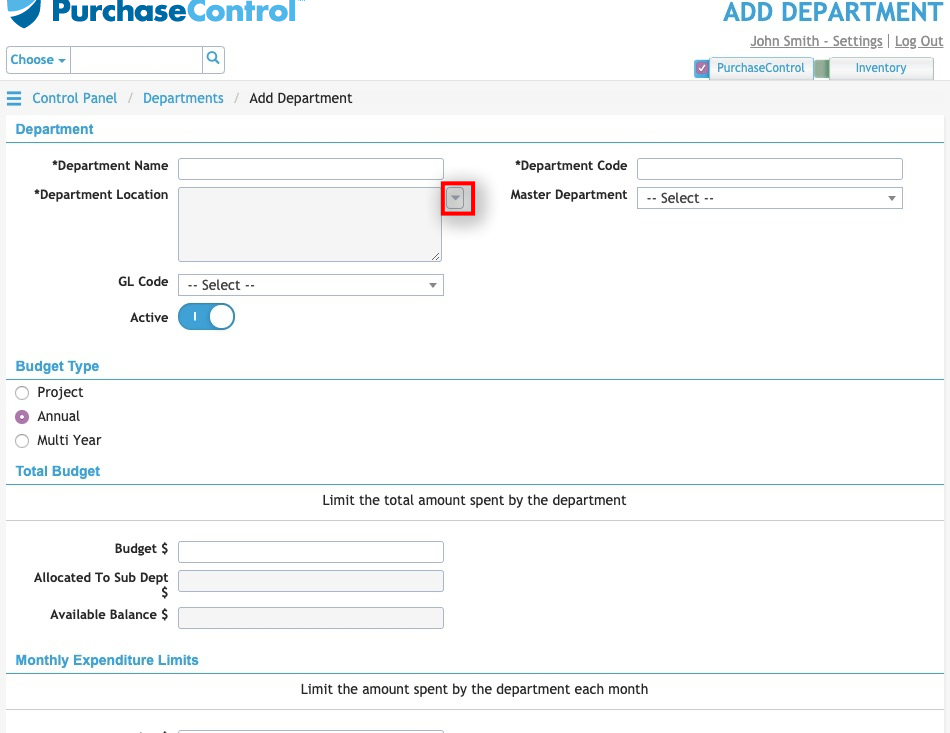
If Locations are already in the system (also covered in this guide) use the dropdown arrow at the locations box to see a list of the locations.
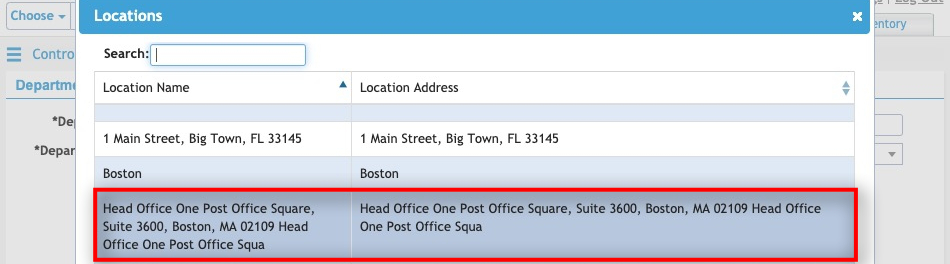
Press the location in the list to assign that location to the department.
All combined sub-department budgets cannot exceed the master department budget.
The department is a budget and drives the permissions for approval. It is both a financial approval for the budget and a permission driver for approval.
You can also tie a GL code to the department, if you wish.
The annual budget is setup in the company section, and rolls over every year.
The project budget will continue to add up, and will not roll over annually, which is ideal for multi-year projects.
Total budgets are ceilings, more than budgets. Totals do not have to add up to the actual budget.
If you have a total budget, the sub-department budgets cannot exceed the total budget amount for the master department.
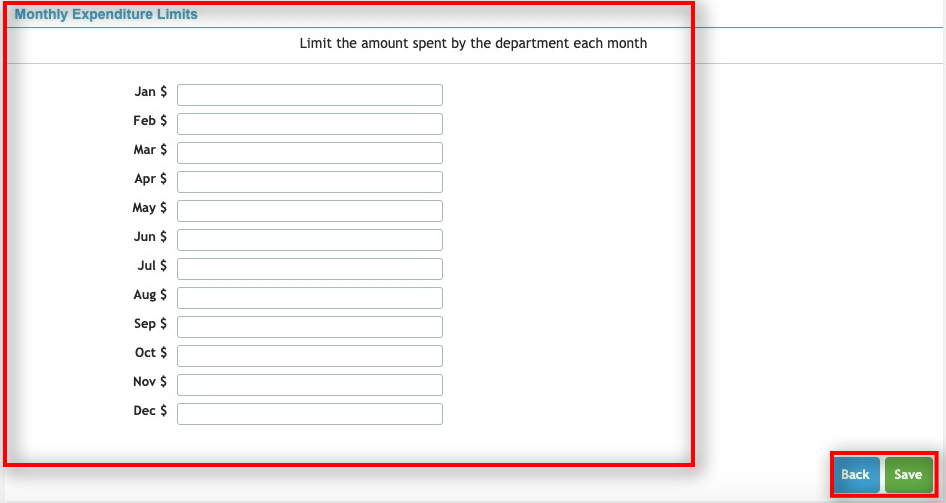
Enter monthly expenditure limits to control the amount of money department can spend during any given month.
Press the green Save button to add your new department to the PLANERGY system.
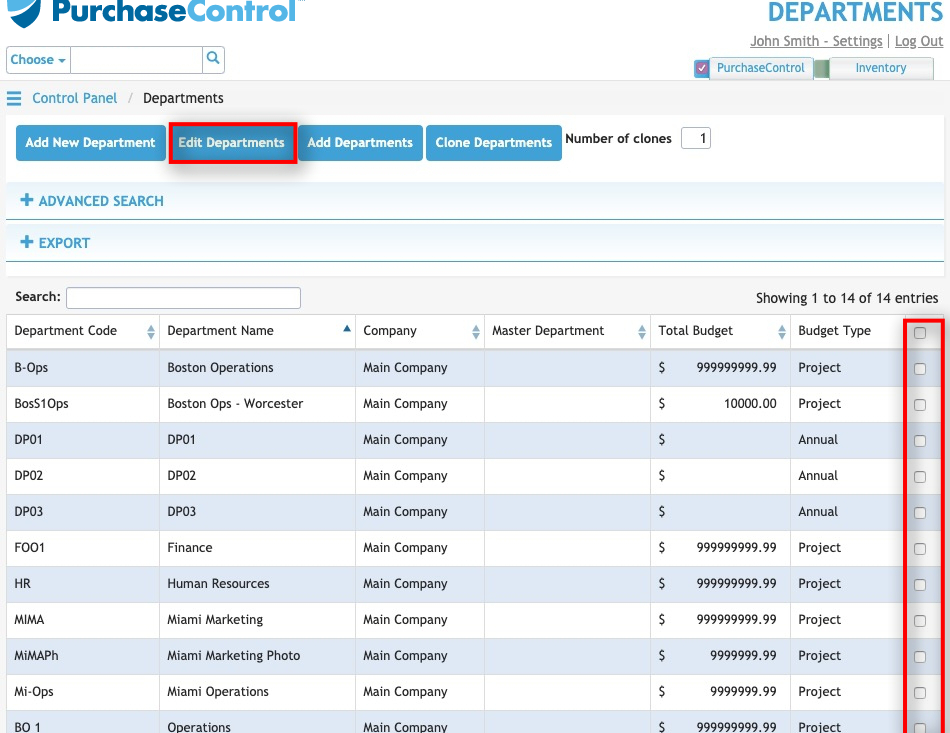
To edit a department, press the checkbox on the right side of the screen for the chosen department. Then press the Edit Department button. Alternatively, double-press the department name.
Enter new data as necessary. Press the green Save button to save your changes.
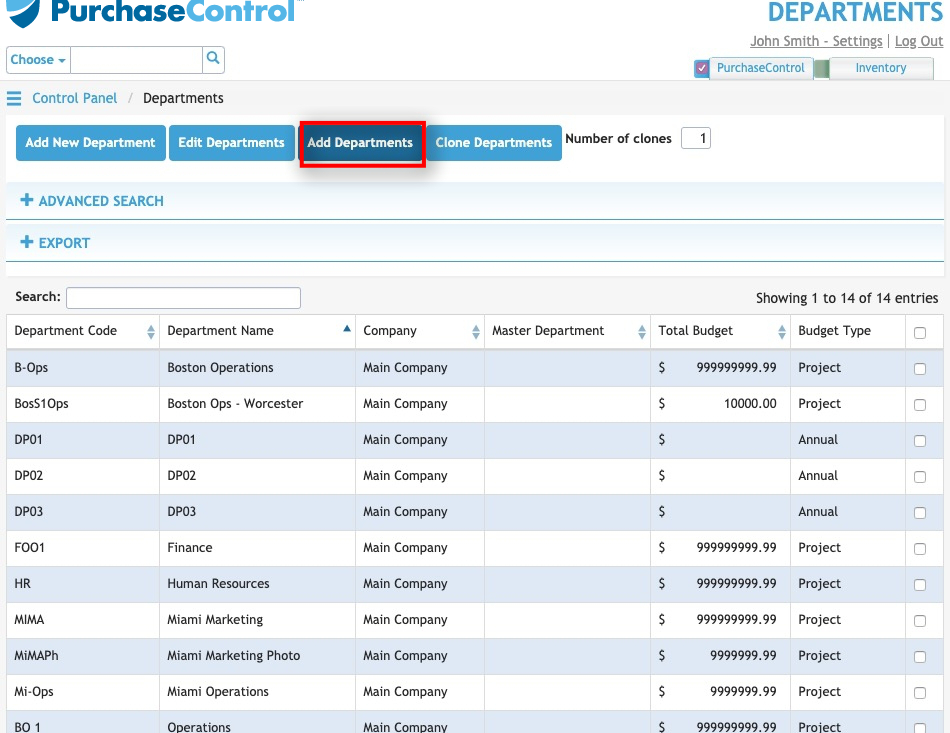
Press the Add Department button to add a department another way.
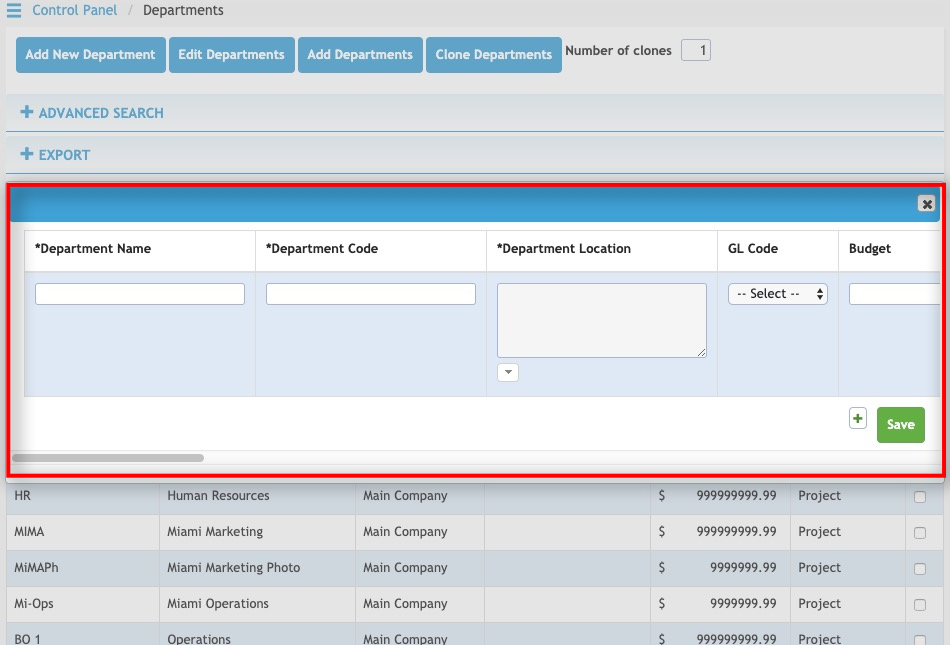
A popup window will appear to allow you to enter information for the new department, as shown in the previous section on adding a new department.
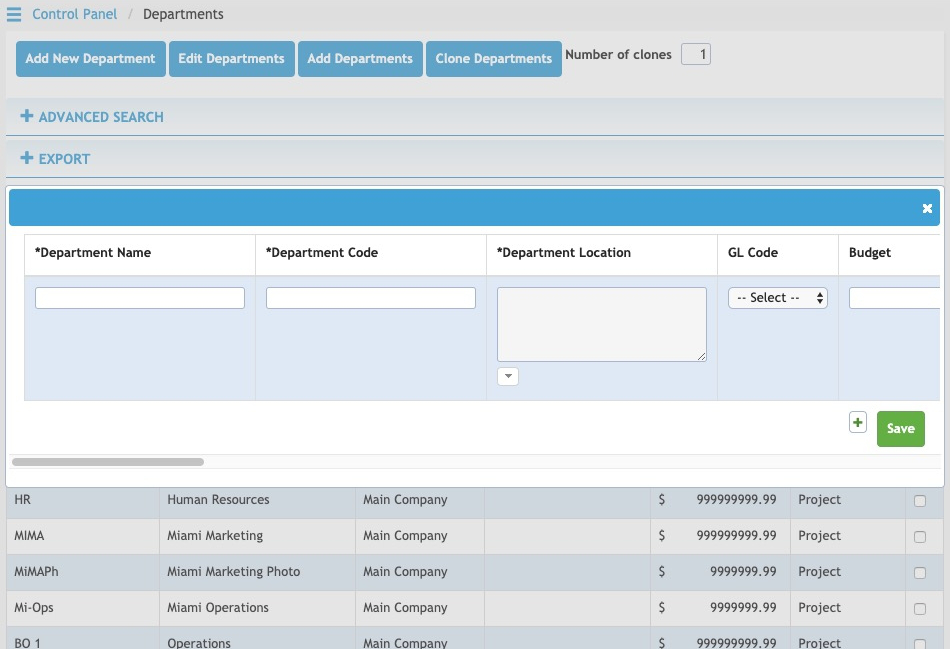
Press the green Plus button to add more than one department at a time on this screen.
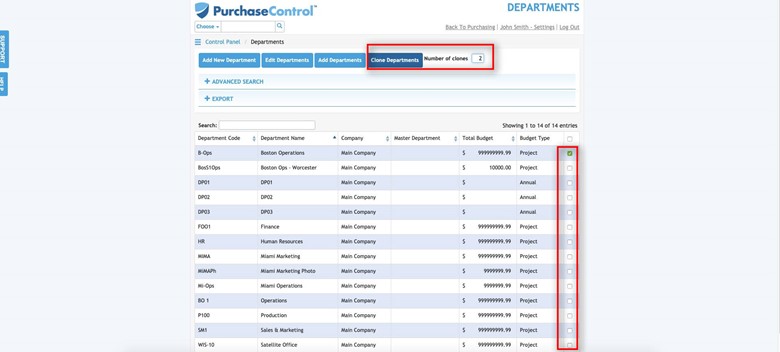
If you’ve already set up the basic department information and want to make creating additional departments move a bit faster, select the department you wish to clone from the list. Enter the number of departments you wish to create in the Number of Clones Box. Then, press the Clone Departments button.
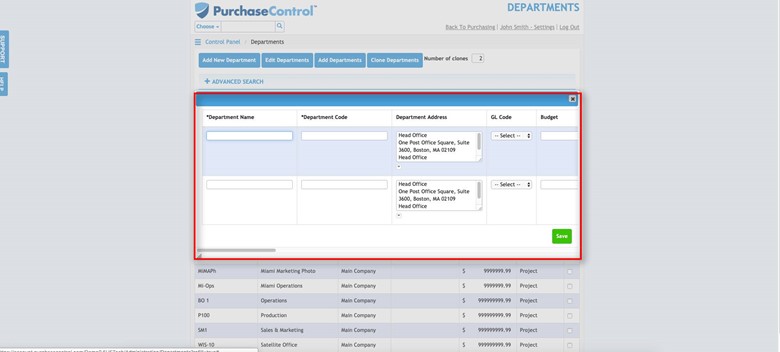
Enter information as needed to finish completing the additional departments. Press the green Save button to add the new departments.