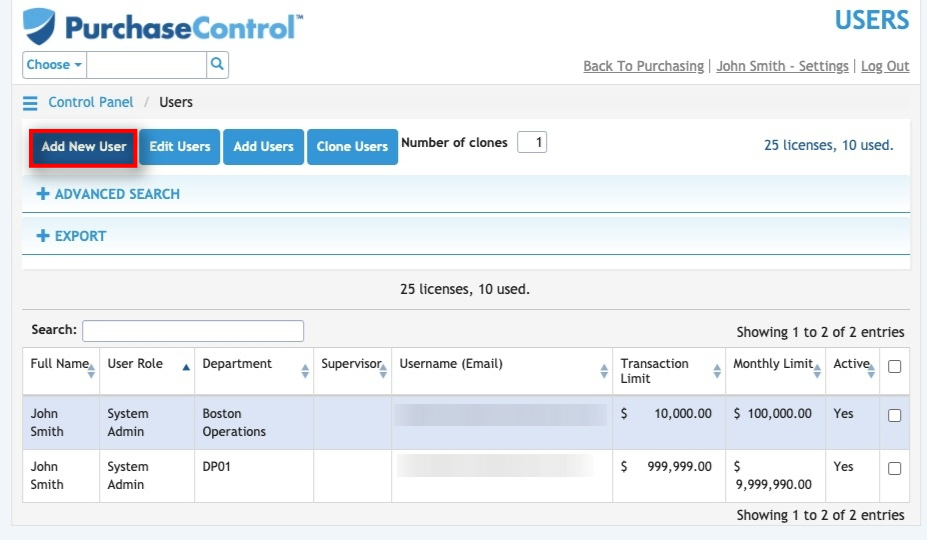
- Press the [Add New User] button.
- Fill in the information for the new user.
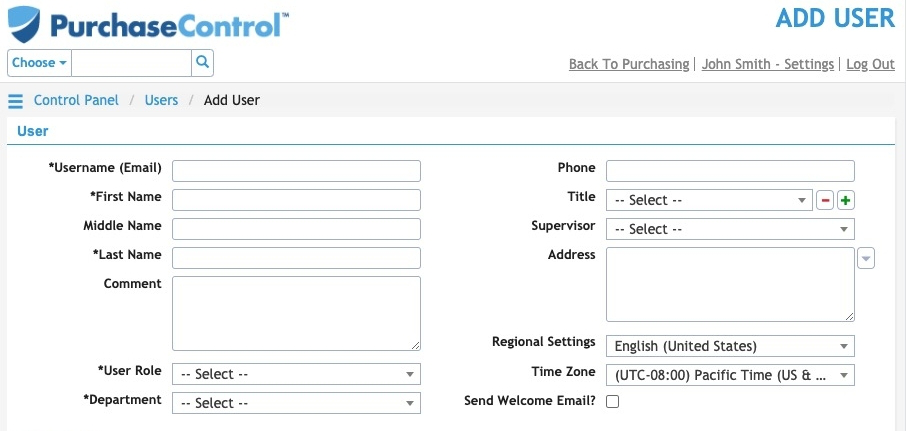
- In the username box, enter the user’s email address.
- Enter the user’s first name.
- Enter the user’s middle name, if desired.
- Enter the user’s last name.
- Use the comment section to leave notes about the user, if desired.
- Assign a user role. Here is a link to a help article explaining user roles in more detail.
- Assign the user to the department they are part of.
- Enter a phone number, if desired.
- Select the user’s title, if desired.
- Press the green plus sign to add a new title to the dropdown list.
- Press the red minus sign to remove a title from the dropdown list.
- Select the user’s supervisor, if desired.
- Enter the user’s address, if desired.
- Select the regional settings, if desired. Regional settings allow to choose between UK and US English.
- Set the user’s time zone, if desired.
- Check the [Send Welcome Email] box to send the new user an email to notify them they now have access to PLANERGY.
- If your company uses single sign on (SSO), press the [Use SSO] button to enable the option.
- Select the SSO provider from the dropdown menu.

- Set the user’s departmental limits.
- By default, it’s possible to set a transaction limit and monthly limit for all departments.
- To add individual limits for departments, press the green plus button.
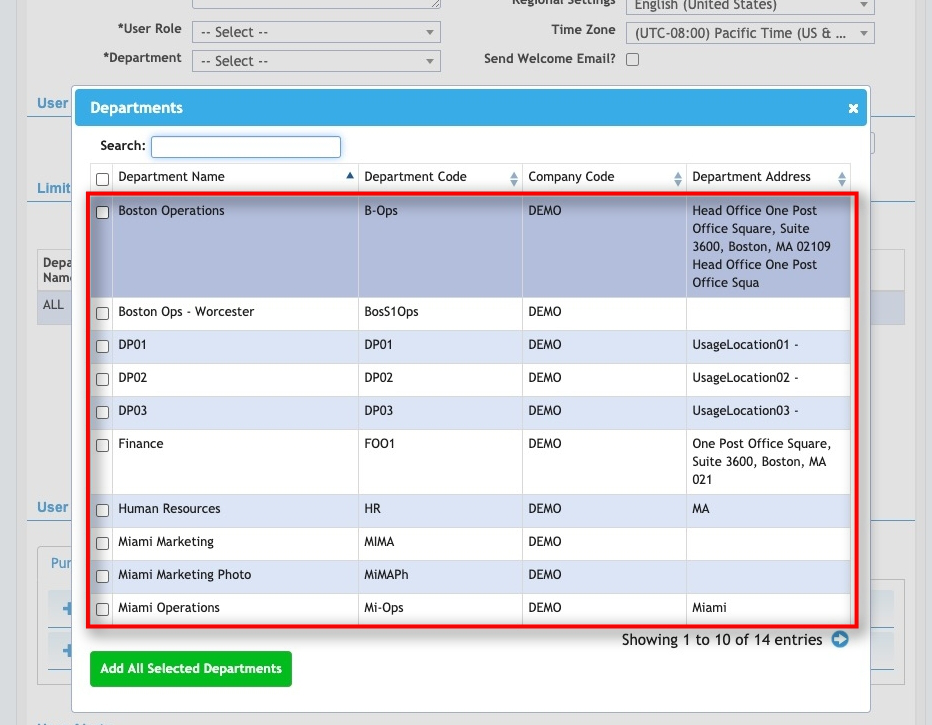
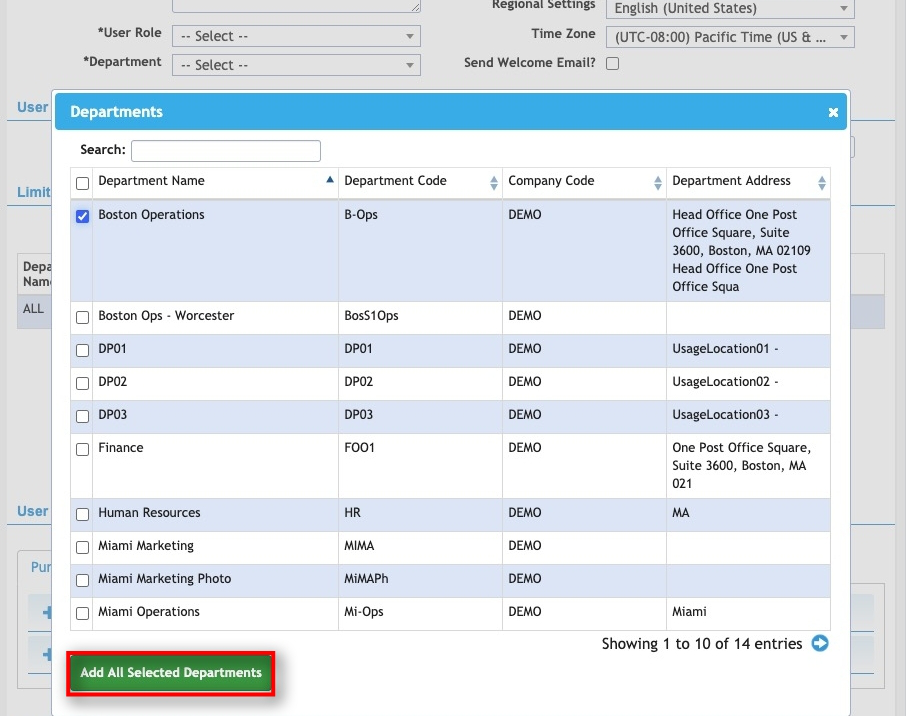
- In the window that appears, select the department(s) that you want to set limits for.
- Press the [Add All Selected Departments] button to add those departments to the list.
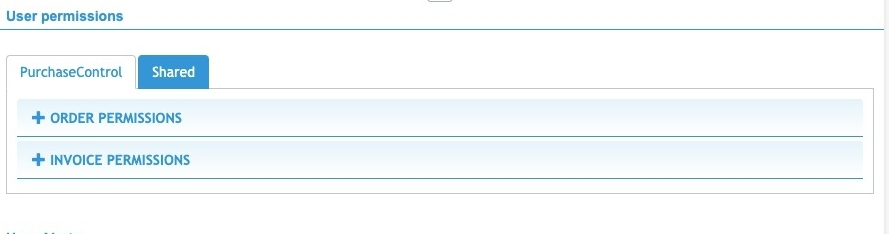
- Set the user permissions. Here is a link to a help article where user permissions are described in more detail.
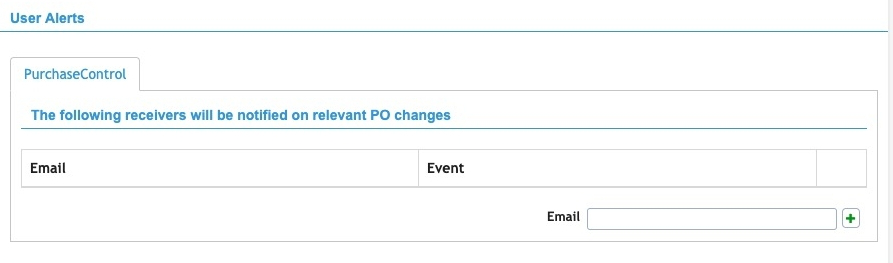
- Set the user alerts, if desired. To add an email to the user alerts, enter it in the [Email] field and press the green plus button. Repeat as needed for additional users.
- If necessary, press the Out of Office expander to set parameters for users who will be out of the office.
- Select the From and To Dates that the user will be out of the office.
- Assign a proxy user who will take care of the tasks while the current user is away. If that proxy user does not have the same user permissions, toggle the [Inherit Approve Permissions] on.
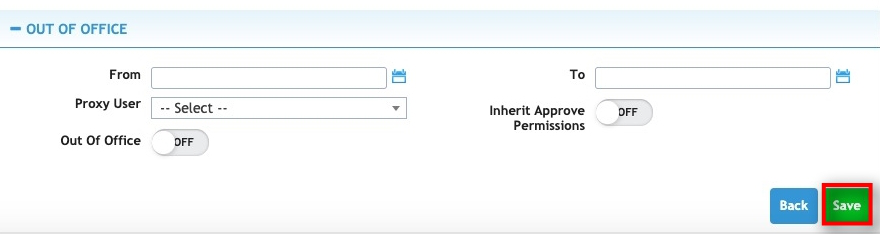
- Press the [Save] button to save the changes.