Vendors – 04 – Editing a Vendor
To edit a vendor you need to go to the Vendors section of the Control Panel. Click on the vendor you want to edit in the list of vendors. You can use the search functionality to find a specific vendor if needed or sort the list of vendors by any of the fields by clicking the table header.
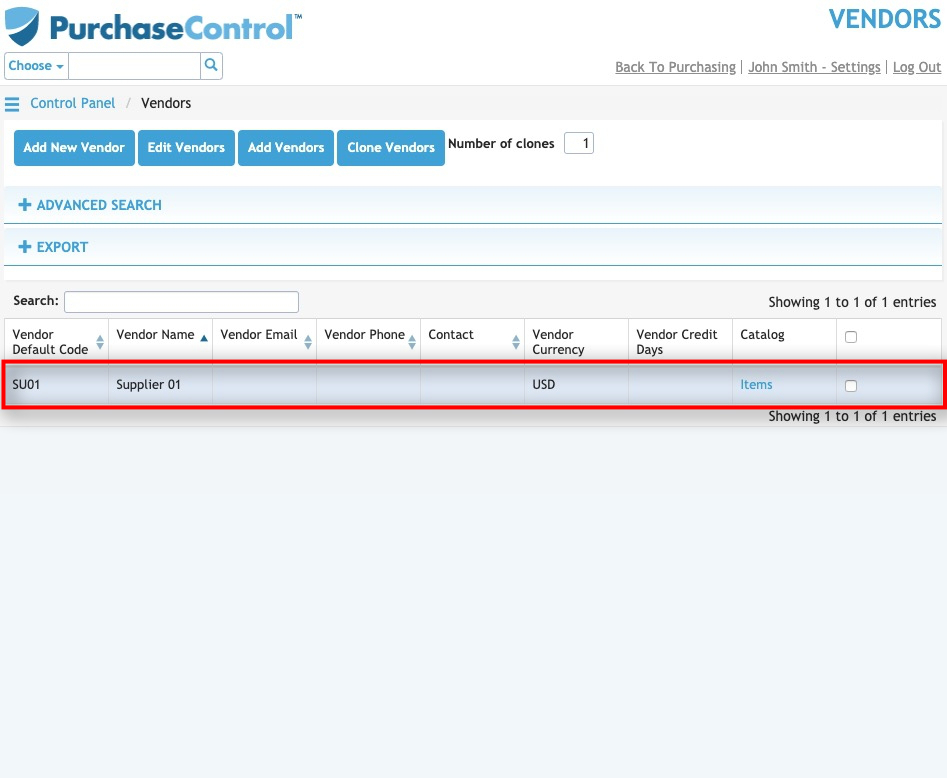
Figure 6: Vendors Page – Select Vendor
Selecting a vendor will take you to the Edit Vendor page for that vendor. The Edit Vendor page looks similar to the Add New Vendor page and you can edit any details as required and then click the green Save button at the bottom right of the page to save the changes you have made.
You can edit any details as required and then click the green Save button at the bottom right of the page to save the changes you have made.
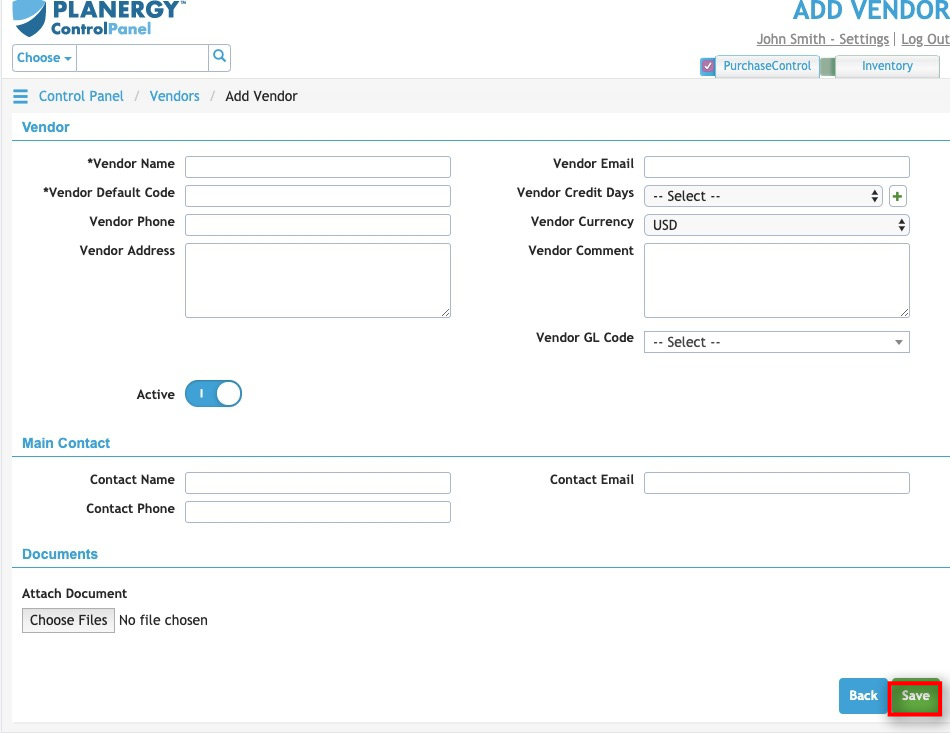
Figure 7: Edit Vendor Page – Save Button
Other options
From the Edit Vendor page there are a number of additional action buttons. These options appear at the bottom right of the page alongside the Save button.

Figure 8: Edit Vendor Page – action buttons
- Back
Clicking this button returns you to the Vendors page without making any changes to the vendor. - Archive
Clicking this button will permanently remove the vendor from the system. You can find details of any archived vendors by searching in the Vendor page with the checkbox ‘Include Archived?’ switch set to Yes. - Save
Clicking this button will save any changes you have made to the vendor details.