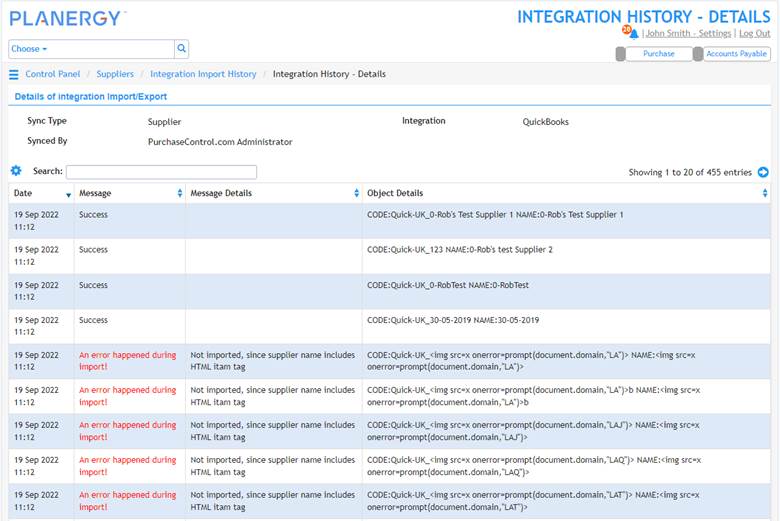
You can set up the Bill.com integration in your PLANERGY account in four steps.
- Enable Bill.com Integration
- Set Up Bill.com Integration
- Connect Bill.com with PLANERGY
- Import Data from Bill.com
Note
Enable Bill.com Integration
To enable the Bill.com integration for PLANERGY, follow the steps below.
- On the Home page, press Profile icon in the top right corner.
 The Profile menu is displayed.
 - Press Control Panel in the Profile menu.
 The Control Panel is displayed.
 - Press Integrations in the Advanced Controls section.

Note
Only Account Owner users can view this option.
The Integration Settings page is displayed. - Press the Setup button in the row of the Bill.com integration.
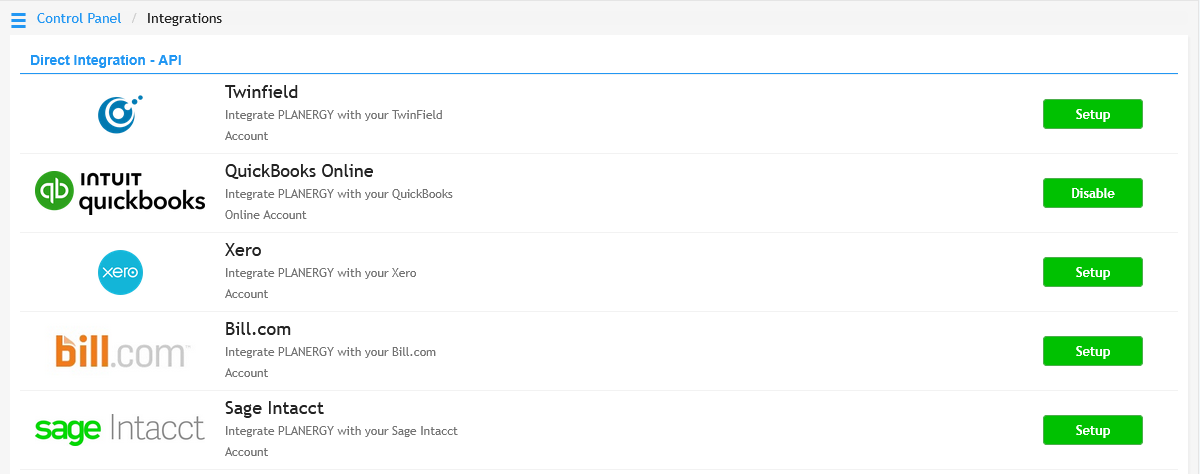
The integration is now enabled and the Bill.com Settings page is displayed.
Set Up Bill.com Integration
Before importing data from Bill.com you can set the field mapping for the optional fields in the integration. 
Note
- Select the PLANERGY field you would like Bill.com classes to import to by using the Import Classes As dropdown list. The available options to import classes to are Departments and Cost Codes.
-
- Department is at the header level of the PO and is where you will have the most control in PLANERGY. You can restrict who can order for specific departments, set budgets per department, and set approval workflows.
- Cost Code is an expenditure tracking field at the line level of the Purchase Order. It can be used for reporting but does not have similar control like Department.
- Select the PLANERGY field you would like Bill.com projects to be imported to using the Import Project As dropdown list. The available option is Cost Code.
- Select the PLANERGY field you would like QuickBooks locations to be imported to using the Import Location As dropdown list. The available options are Department and Delivery Location.
-
- Delivery Locations are the locations available to assign deliveries to. They can be restricted to be available only to certain users.
Note
- Press Save.
 A notification confirming the successful saving of the settings is displayed.
Connect Bill.com With PLANERGY
- Press Connect to QuickBooks.
 The Intuit QuickBooks Sign In page is displayed.
Note
It is important to ensure you have the same company name in PLANERGY and Bill.com to connect the two systems. - Enter your email address in the Email or User ID field, your password in the Password field, and then press Sign In.
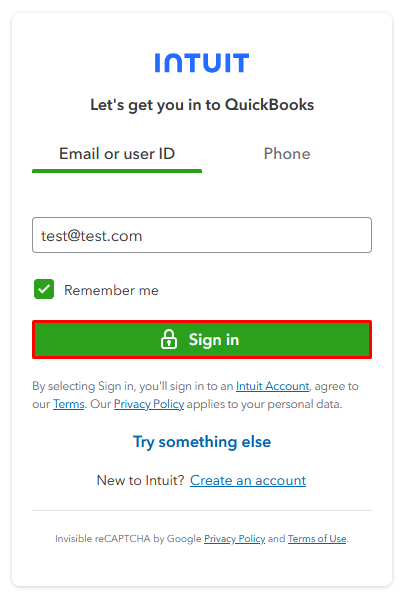 The page to select a company is displayed.
 - Select the company you want to connect from the drop down list and press Next.
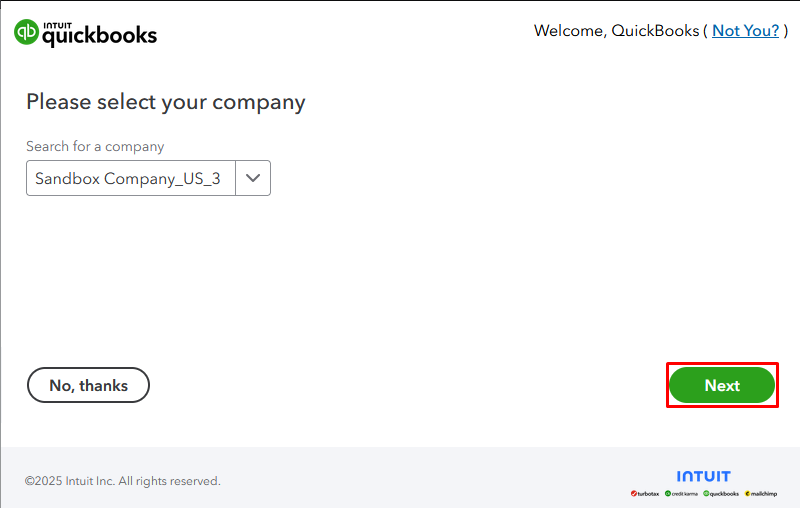 The page to connect is displayed.
 - Press Connect.
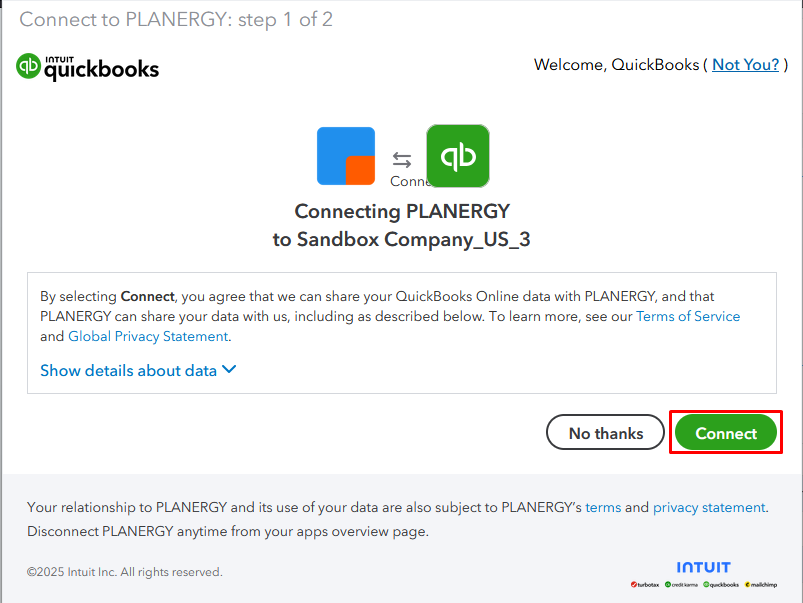 The connection to Bill.com is created and a confirmation message is displayed.
 The QuickBooks Integration History section will update to include a record of the connection.
Import Data From Bill.com
When first integrating PLANERGY with Bill.com you should import all data after setting up the integration.
For a more information on the other options for importing data from Bill.com you can read How To Import Data From Bill.com.
After saving your data mapping settings for the Bill.com you will be on the QuickBooks Settings page.
- Press Import All Data.
 The import process is started. You will see a confirmation message on screen.
- When the import is completed, you will receive an email confirmation for each piece of data imported.

Note
If you want to integrate with multiple companies, follow the steps Connect Bill.com with PLANERGY and Import Data from Bill.com for each company you want to integrate with.
How To Import Data From Bill.com
You can import data from Bill.com to map data, set up budgets and control user spending limits along with managing item catalogs, approval routing and vendor management.
Import All Bill.com Data Manually
To import all data from Bill.com:
- On the Home page, press Profile Icon in the top right corner of the page.
 The Profile Menu is displayed.
 - Press Control Panel in the Profile Menu.
 The Control Panel is displayed.
 - Press QuickBooks Settings in the Advanced Controls section.
 The QuickBooks Settings page is displayed.
 - Press Import All Data.
 The import process is started. You will see a confirmation message on screen.
Note
If you want to integrate with multiple companies, follow the steps Connect Bill.com with PLANERGY and Import Data from Bill.com for each company you want to integrate with. - When the import process completes you will receive email confirmations. This includes updates on what data was imported and any relevant errors.
 If there are any errors during the import process, they can be reviewed by clicking on the To see the details of this import click here link in the email. This will open the Integration History – Details page.