Users – 01 – Users
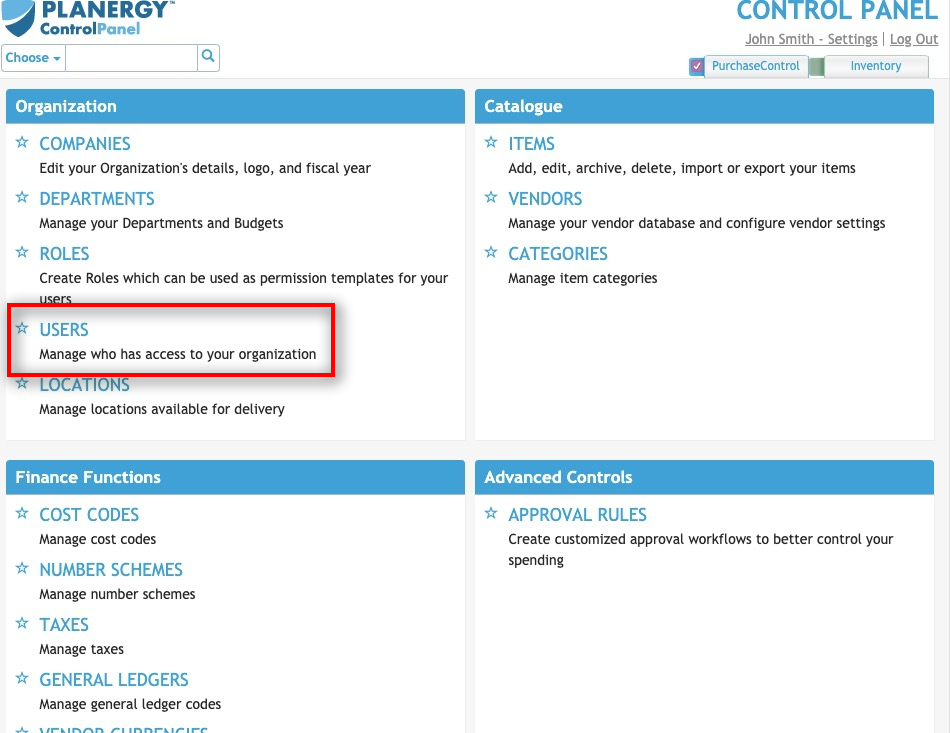
Figure 1: Control Panel menu – Users section
User configuration and management tasks are carried out using the Users section of the Control Panel. If this option is not visible in the menu when you open the Control Panel you have not been given permissions related to users in the system and you would need to request any changes to the users are made by somebody who has been assigned that permission.
From the main page of the Users section you can view, edit or add users. Depending on your permissions you may not see all of these options.

Figure 2: Users Page
- Add New UserButton to add a single user. This will bring you to the Add User page where you can set the permissions and access for a new single user.
- Edit UsersButton to select multiple users to edit and call the multi-edit popup screen. The users selected using the checkboxes on the right hand side of the user search results will be selected for editing.
- Add New UsersButton to call the popup screen for adding multiple new users. This does not give you full access to assign all the user settings. However, it will give the option to assign these new users with a role. Assigning a role will assign the user with all the settings related to that role.
- Clone UsersButton to create new users with the same settings as a user selected using the checkboxes on the right hand side of the user search results will be selected for cloning. The cloned user will take the same role as the user they were cloned from but will not include any user specific permissions.
- Number of ClonesSet the number of new users to create with the same user settings as the user you have selected to clone.
- User Search FieldsSearch options to narrow the results of the user search or export. The search fields can be combined as needed to return the specific list of users. Fill the search fields and click the Search button to update the search results below. Use the export button to export the data to a CSV format spreadsheet.
- Include ArchivedSwitch to set if archived users are included in the search results. By default archived users are excluded from the results and exports. Click the switch to include archived users in the search results or export file.
- Export CSVButton to generate a CSV file containing the details of all departments matching the search fields currently set. Anything not matching the search fields will be excluded from the export.
- SearchButton to run a search of the users list. After clicking this button the Users search results will be updated showing only results that match what is set in the search fields.
- User Search ResultsThe list shows the users that match the search parameters filled in the User Search. By clicking a user in the list you can go to the Edit User page for that user. The default search results show only active users but you can see any archived or inactive users by editing the fields in the search.